A while ago I began to model the company name so that we can put it on the wall behind the reception desk in the art gallery lobby. The model itself was not hard to create as I used the text tool, this was the first time I had actually used this tool and it was simpler than expected. I did some research to find out how to use this tool. I also spent some time playing around with different fonts to see what I think would suit the Art Galleries theme. I then went onto the Darling Media Group website and the first thing I saw was a simple streamlined text. Due to this I decided to go for a simple font.

I liked how the text was looking and I was happy with the outcome. One problem with the text tool was the fact the fronts of the letters had engons, due to this I had to triangulate the mesh. I also used the clean up tool to make sure the model did not have any glitched faces or edges.
I then automatic UV unwrapped. Due to the simpleness of the text I think this was an okay way to UV unwrap the model. I then sewed the necessary edges together. I also put the words in order just so the lay out was nicer on a whole. I tried to take up as much space as possible on the UV map. This process took me a long time due to how many different shells there initially was; there was a lot of sewing to do.

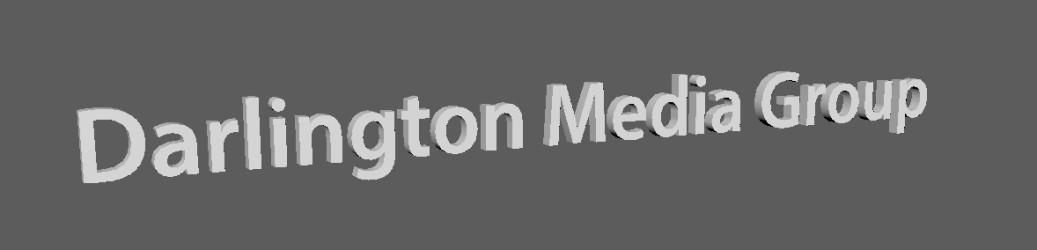
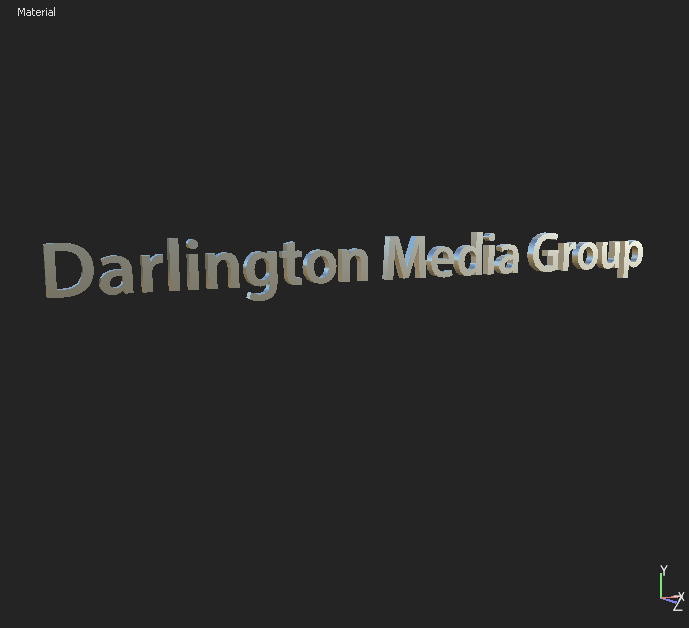
The reference images I was looking at were very minimalistic. The texture used was a simple flat metal that looked polished. It stands out from the wall while also keeping a simplistic feel. I believe that the font I used helped me with this approach and when it came to texturing I just simply used one of the metal materials that is already plugged into substance. Texturing took no time at all and I was happy with the result.
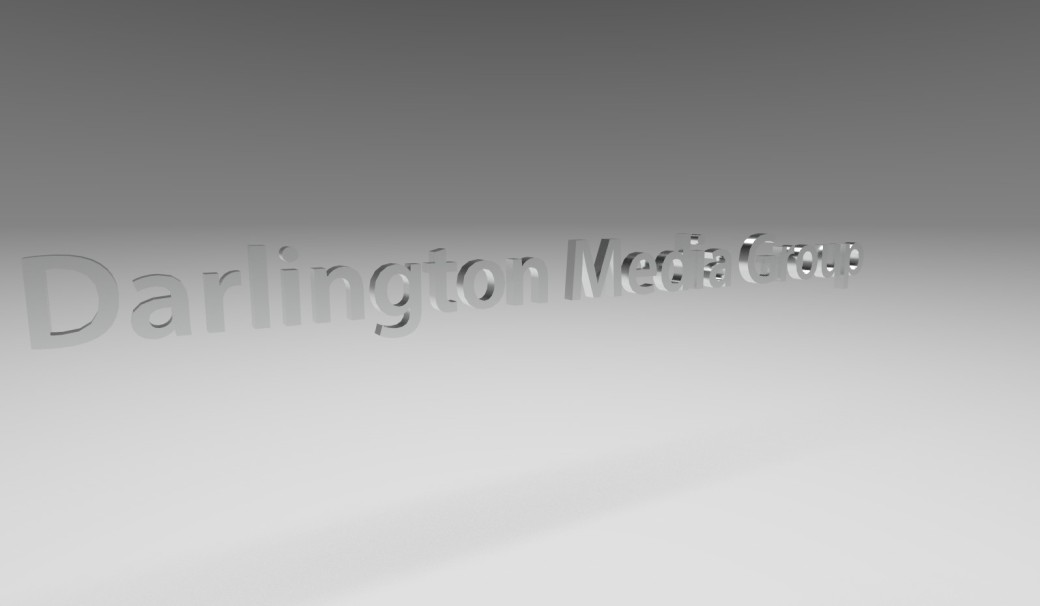
This is the render, it does not stand out too great due to the colour of the background but I will be posting images of it in the scene on a later date.