
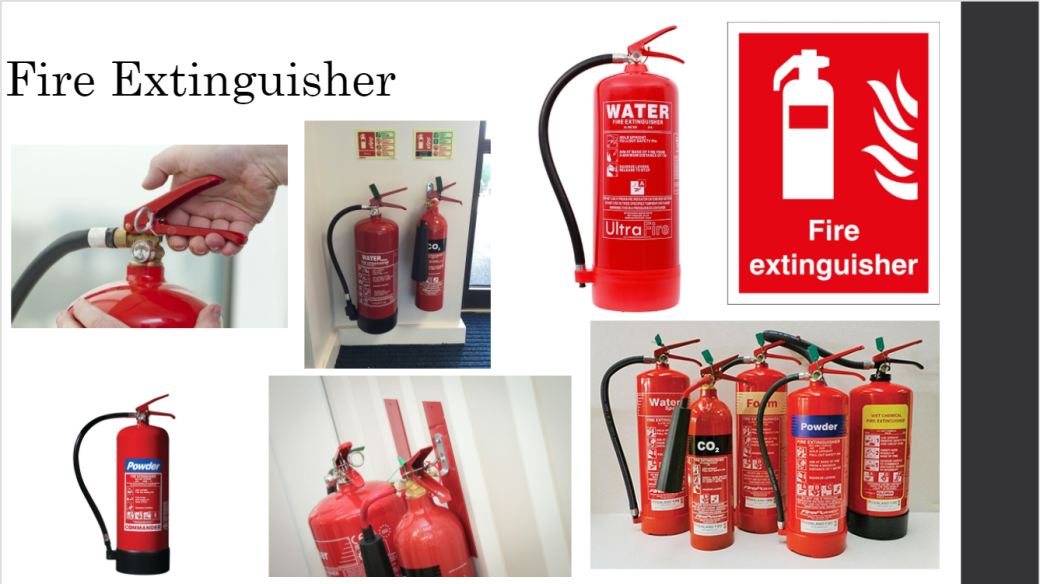
From my research images I was actually expecting this asset to be quite simple in nature to model however I was wrong. I chose to create the water fire extinguisher due to this being one of more the more common items you would find in a building. Especially one that is in a building filled with art as these are primarily used on wood, paper and textiles.
The way I had modelled the fire extinguisher was by creating a couple of different meshes then combining them at the end. I struggled the create the trigger as well as the part that connects to the trigger to the actual body of the fire extinguisher. I used the n curve tool and an extrude to create the hose that goes down the side of the mesh. This took me quite a long time to model due to it being more complicated than what I first anticipated and I had encountered a couple of smaller problems just due to trying to work out how to model certain aspects of the mesh.


When it came to UV unwrapping I knew that this would take a fair amount of time due to some of the smaller pieces and complicated shapes.

Originally I thought about putting these UVs onto two different diffuse maps, the smaller details and the main body. However i used the layout tool and moved some shells around so that I could fit it all onto one map that would be very busy. I made sure that the texel density was correct through the entire mesh using the checkers.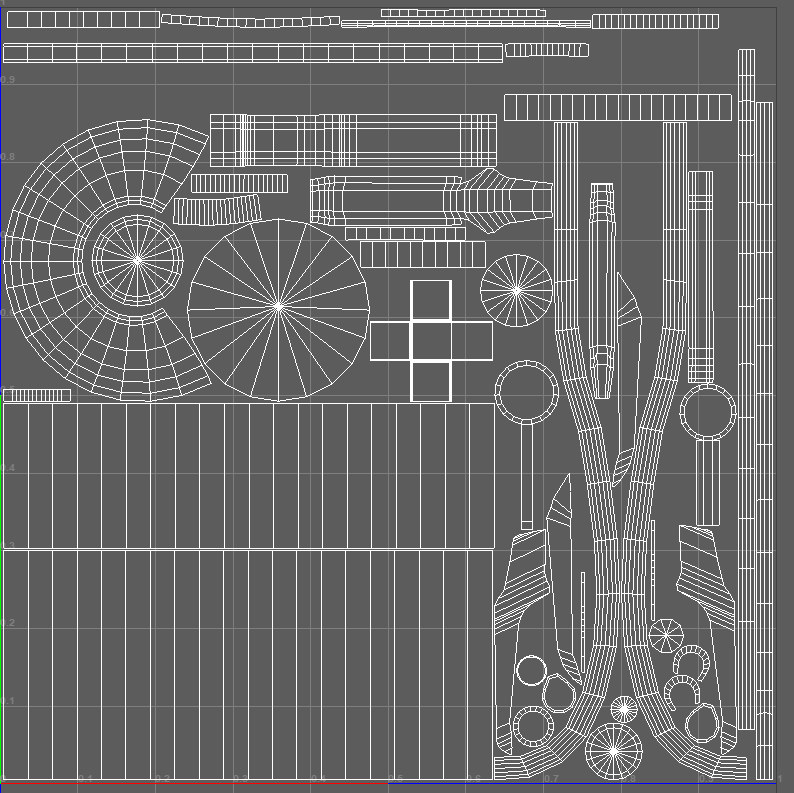
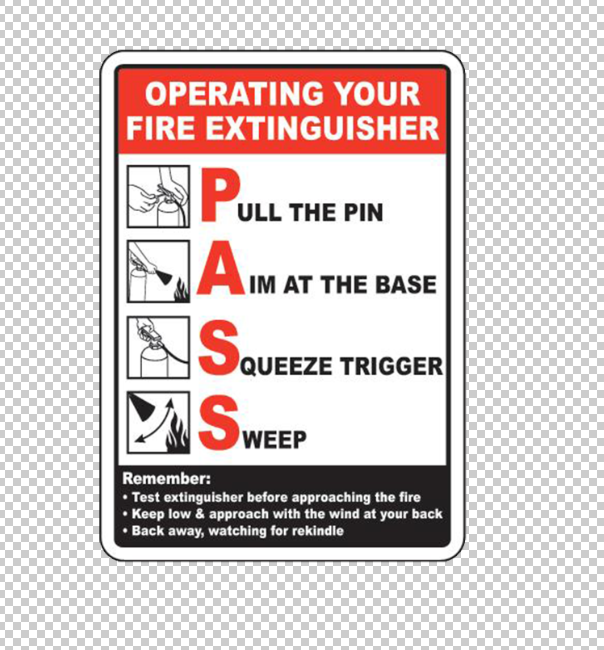
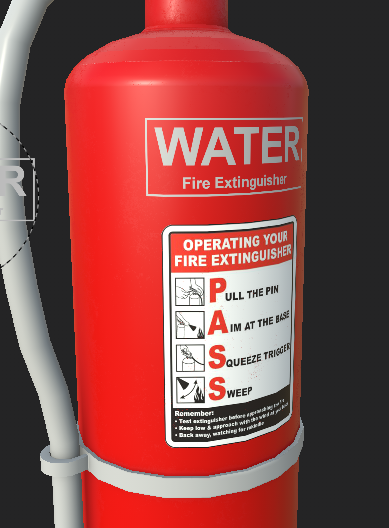
When it came to texturing this object I had actually needed to use a new tool within substance that I had never used before. This was the projection setting. I grabbed an image of fire extinguisher instructions from online and put it onto a square image that would have an alpha map around it. This was because when projecting the image if there was no alpha around it then when painting it would start to repeat the image if I painted too far over.
I made sure to change the settings to UV and then painted this on using the projection tool. 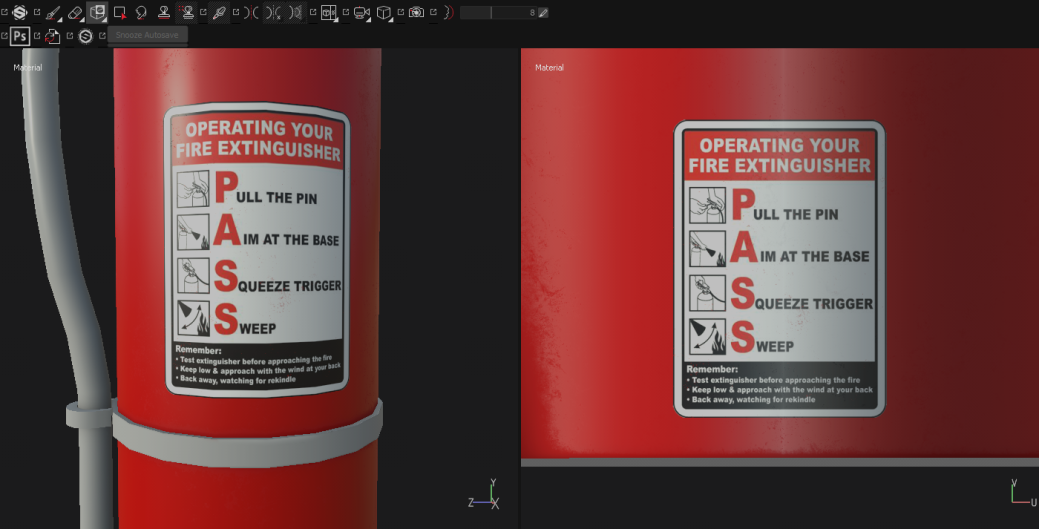
Other than this I also had another go at creating my own alpha. This time I did this for what was actually in the fire extinguisher. ![]()
This is what the alpha looked like on the mesh.
Other than this I also chose to do a different variation and do foam rather than water. 
When pasting this onto the mesh I could change the colour so it was more similar to the reference images.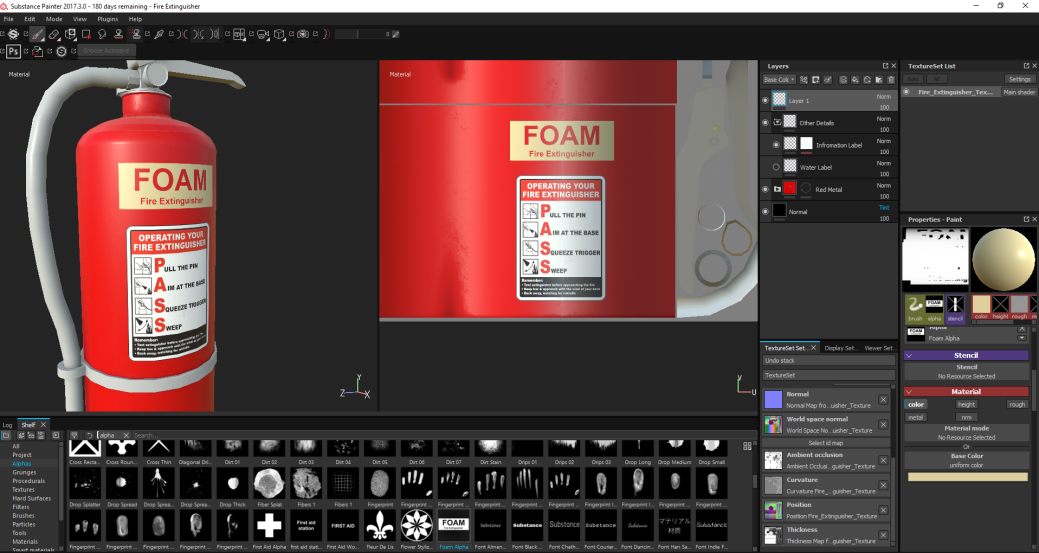
On my original exported mesh I had made the mistake of not softening some of my edges and this made the texture on the mesh go a little bit weird and reflect the light strangely. Due to this I had do go back and soften the edges where necessary. This allowed the texture to look a lot more seamless and nice. 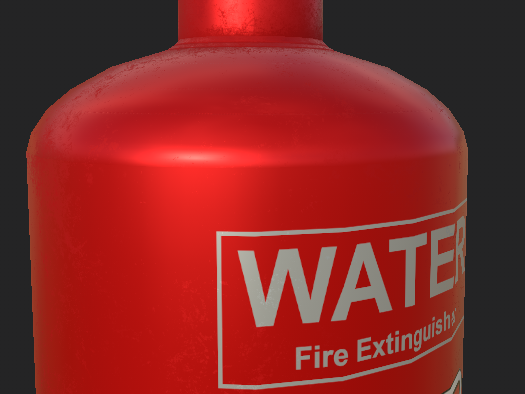
This was the overall texture of my model. I used a nice red for the main base and added a brass for the piping as well as a silver for other smaller details. 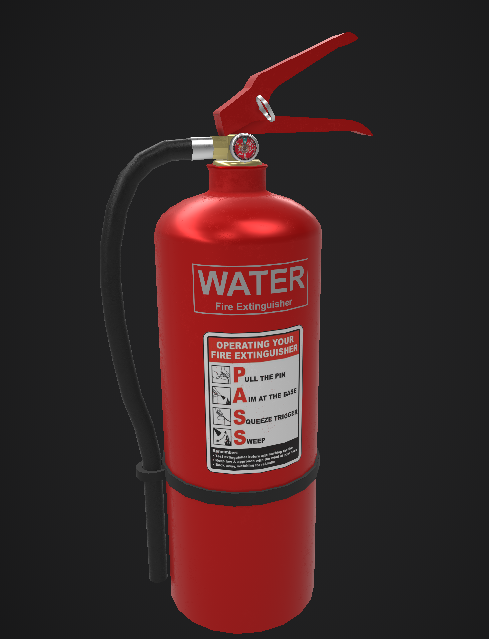
Ben had actually taught me some tricks to create my own smart materials rather than using someone elses and altering the different settings. For this mesh I started out with a normal fill layer but added different generators and effects to get the outcome that I wanted from the texture. It allowed me to get the shiny metal look I needed for the overall model as well as other details such as a bit of wear. I also used the projection tool again but this time it was for the pressure gauge that was on the top of the model.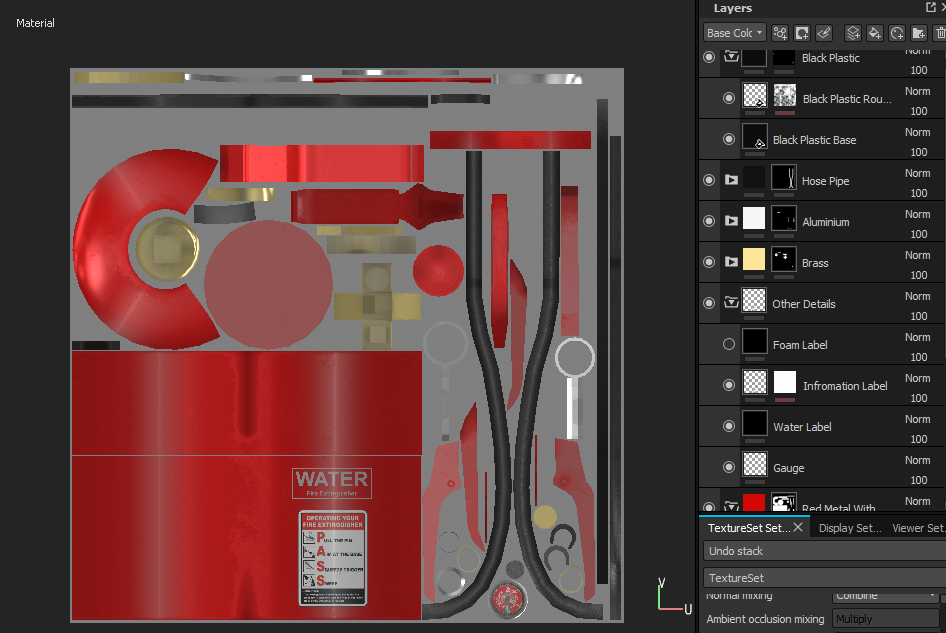
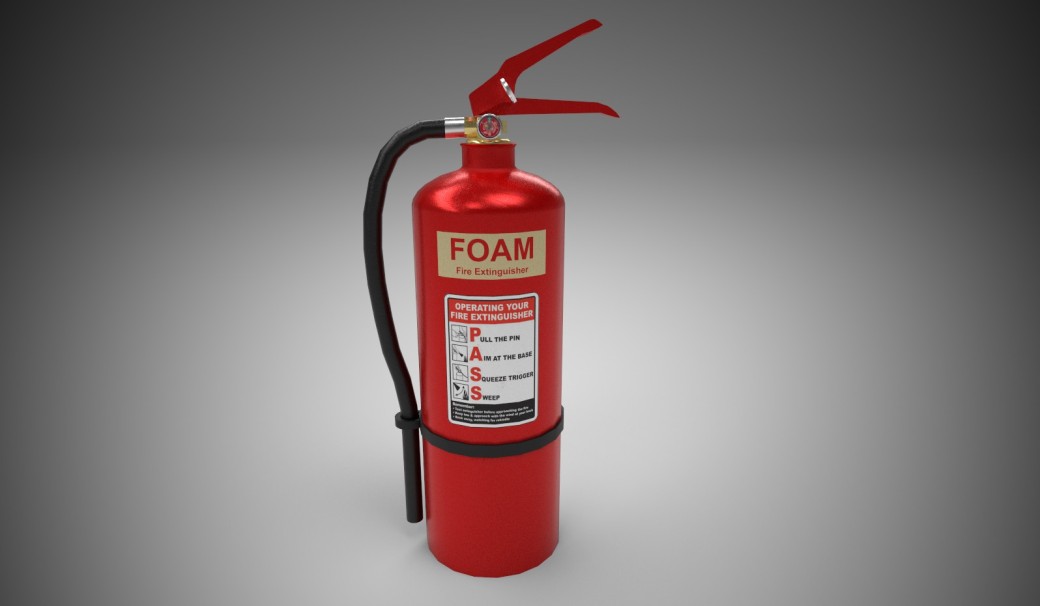
These are the renders of my model. I created two slightly different textures just so that there will be a little more variation within the scene. 
I also had a little try at using the post processing effects that are build into substance painters renderer. 
The next step will be to create the sign which will accompany this model as well as the hook that this will hang on.
