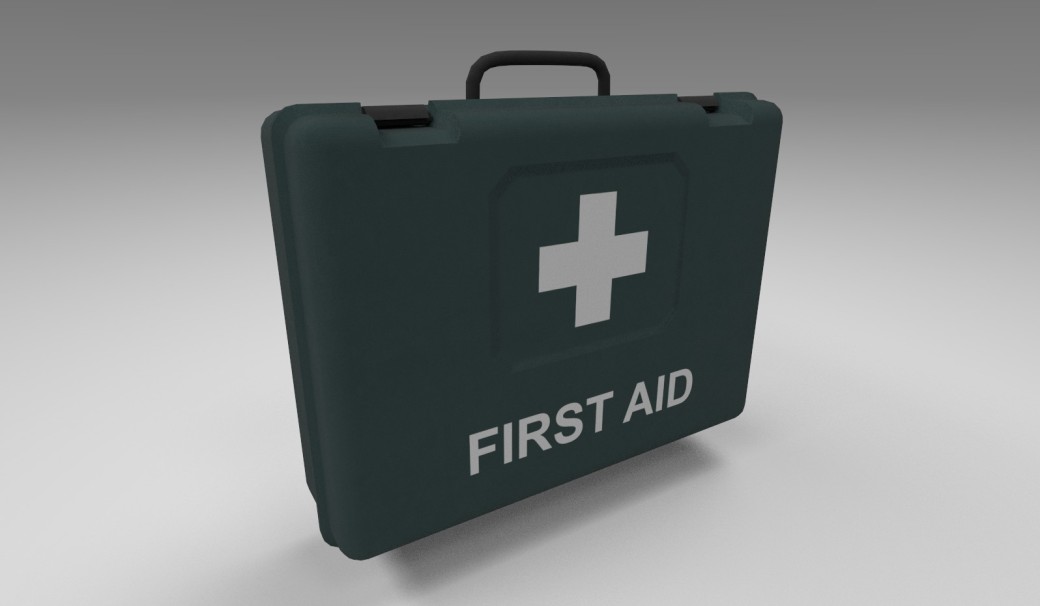
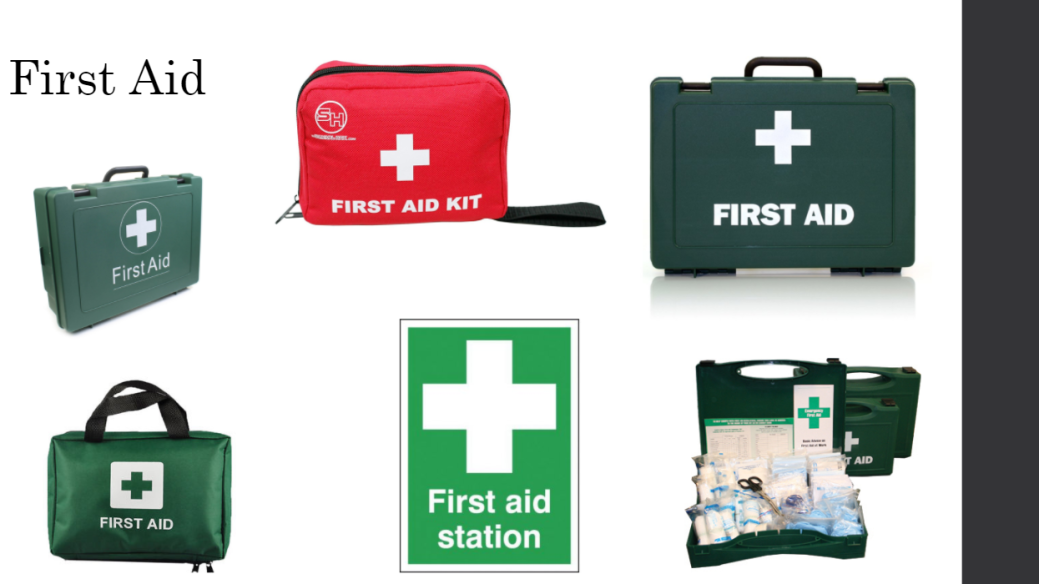
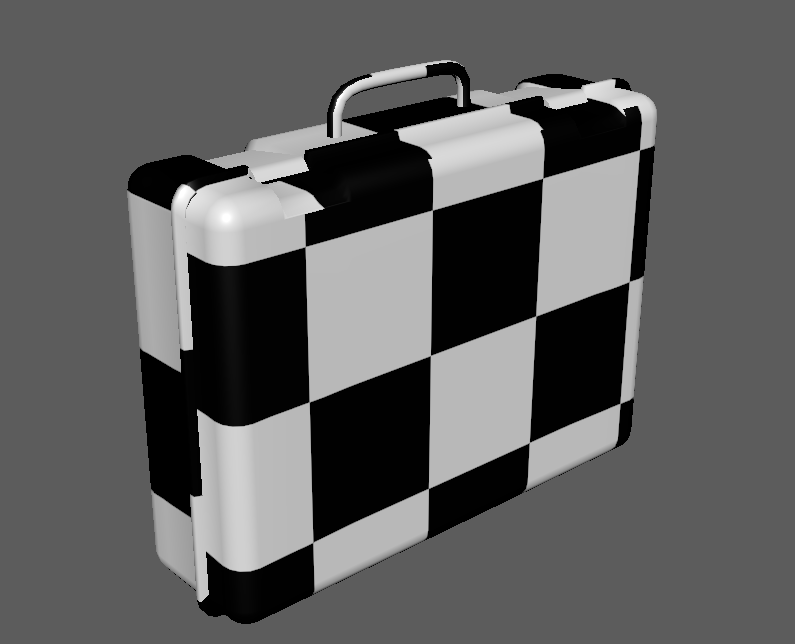
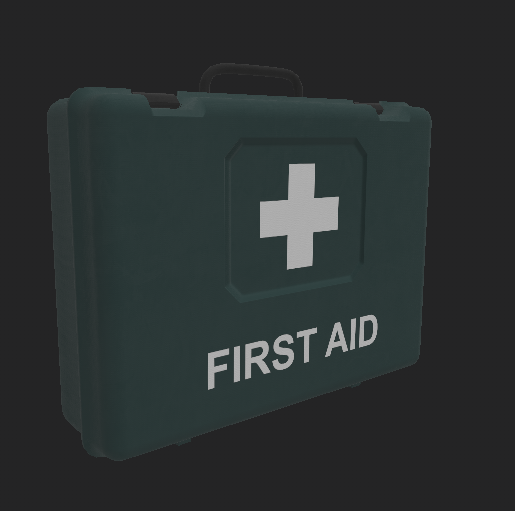
This weeks primary asset I needed to develop was the first aid kit. Before my research I had a small idea of what I wanted to do. The top right image was my primary source of inspiration for the model however I chose to make it a little more rounded with the bevels.
When it came to creating my mesh I really took my time with this model. I used the reference photo to get the correct scale for my object. I used the n curve tool to create the handle for the mesh. I beveled all of the edges and I also pulled some of the middle faces out so that the mesh looked like it could be opened. As the first aid is made to just go on the desk behind the reception I chose not to rig this object as it would have no interior and not need to be opened.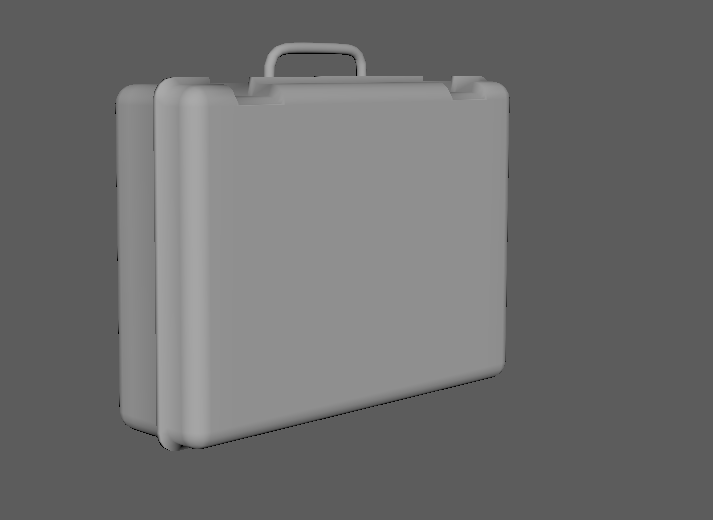
Other than this I also added detail to the bottom of the mesh. I added the hinges again to add to the immersion as well as little feet that the hinges go through so it looks like the object can actually stand. 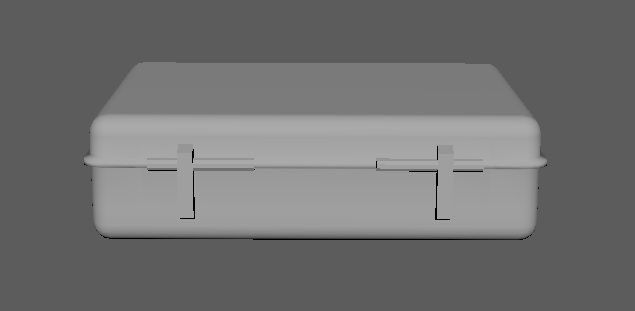
I managed to keep the amount of polys of this object to a minimum. Most of the polys are in the handle due to this being a cylinder and it needing to look smooth like a real handle.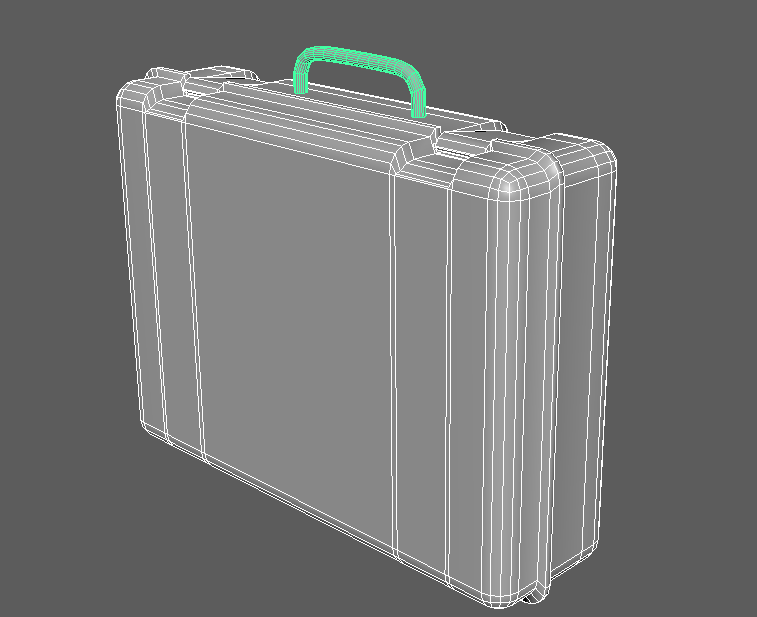
UV unwrapping was quite enjoyable for this model as it was slightly more complex than some of my other models. this took a bit of time to do but I was happy with the overall result.
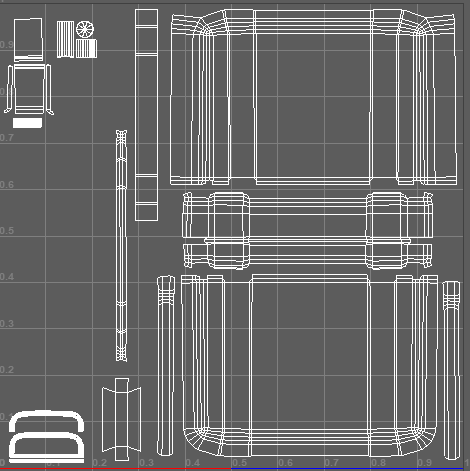 I added the checker texture to the models shader to make sure that none of the checkers were distorted as well as making sure that the texel density was correct on the object.
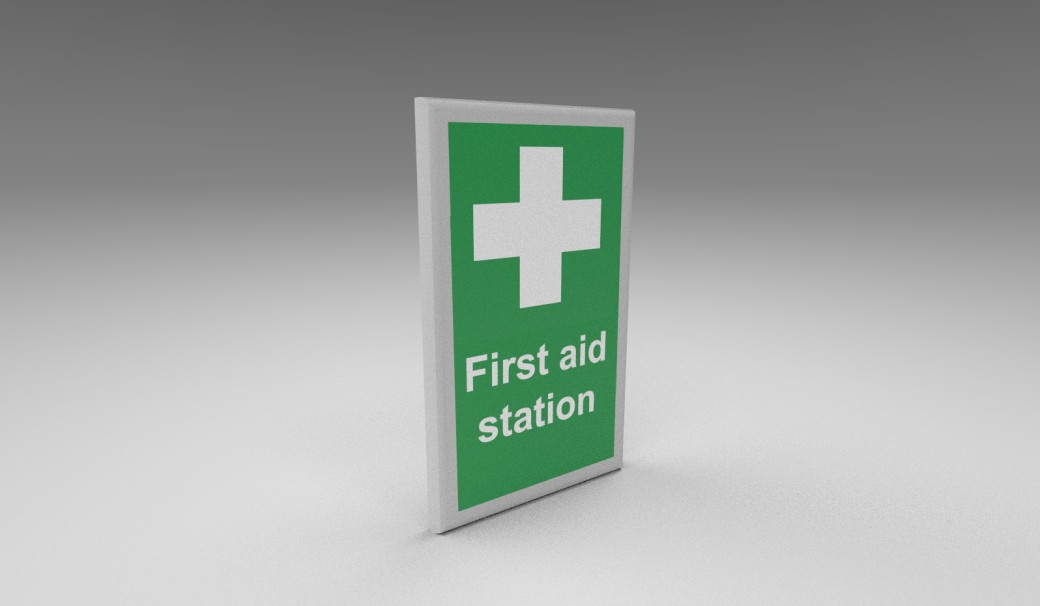
Other than just the first aid kit I had to create a sign that would go on the wall to indicate where the first aid was kept. This model was simple as it was just a rectangle with beveled edges. I also removed the back face as these would not be seen.
UV unwrapping this object was very simple.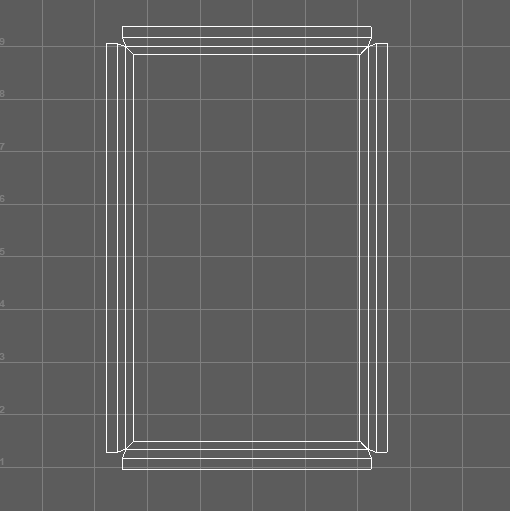
I still added the checkers to the model just to make sure the UVs were correct.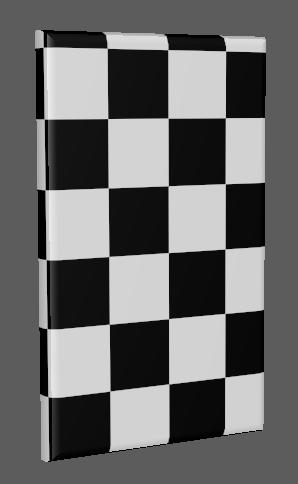
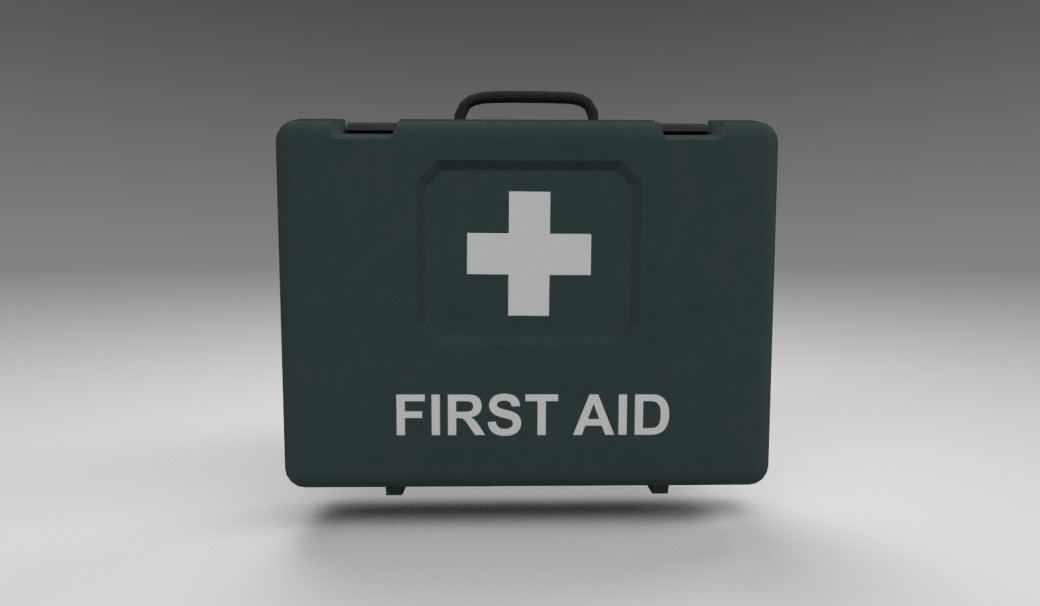
When it came to texturing I added a matte plastic texture and used the eye drop tool to select the reference image so that I could get a similar colour for the object. When I had this base texture sorted I added a filter to the material which added a small discolor as well as a making the mesh look less flat and more rough. I also used some of the build in hard surface tools to add some extra normal detail into the mesh. I indented an area on the front of the case where the logo would go. There was similar detail to this on the reference images. I also added an indent to the latches so that it looks like it can be easily gripped when someone needs to open it.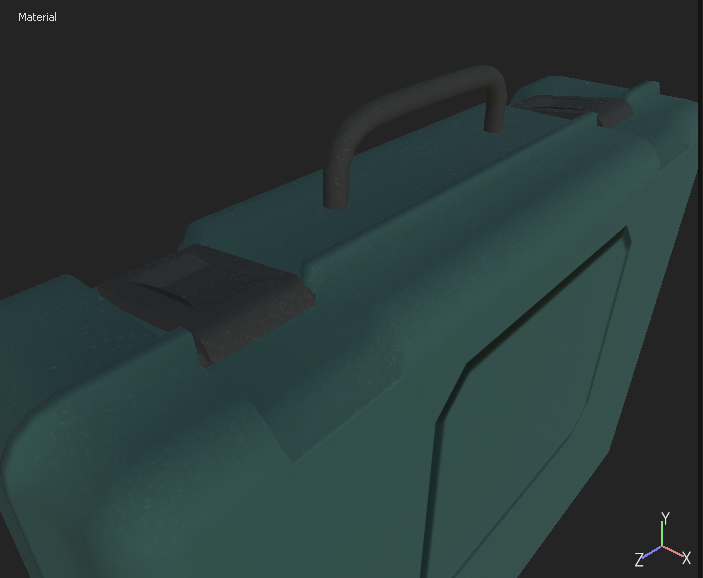
I also used Photoshop for this texture as I had to source a first aid sign as well as used a font within Photoshop to create the “first aid” sign. I created alphas using these so that I could stamp them onto my object to add the final bit of detail that was required. As without this detail it would just look like a regular case.
I also used this same alphas to stamp onto my first aid station sign. The reference for this photo was a simple white plastic with a bit of green outlining the information to indicate that it is a first aid station. 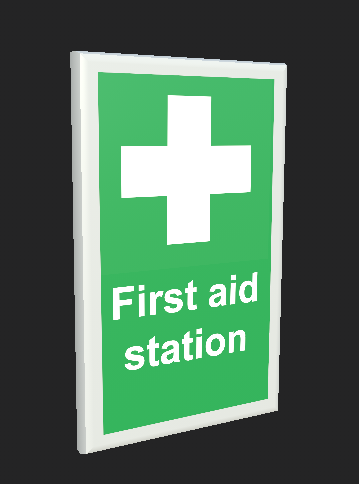
Overall I think I did a good job creating this asset. I really took my time with this as it was a much more intricate shape than some of my previous models. As well I used some different texturing techniques by combining different resources to help create the final material. The hard surface tools were also very helpful and added a cool layer of detail overall.