Synoptic Project – Creating Signs to Accompany the Fire Extinguisher

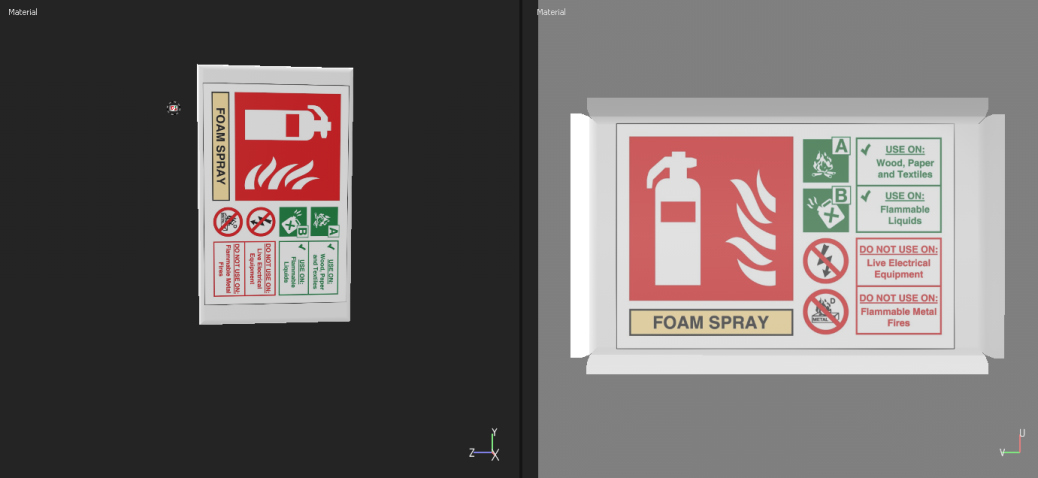
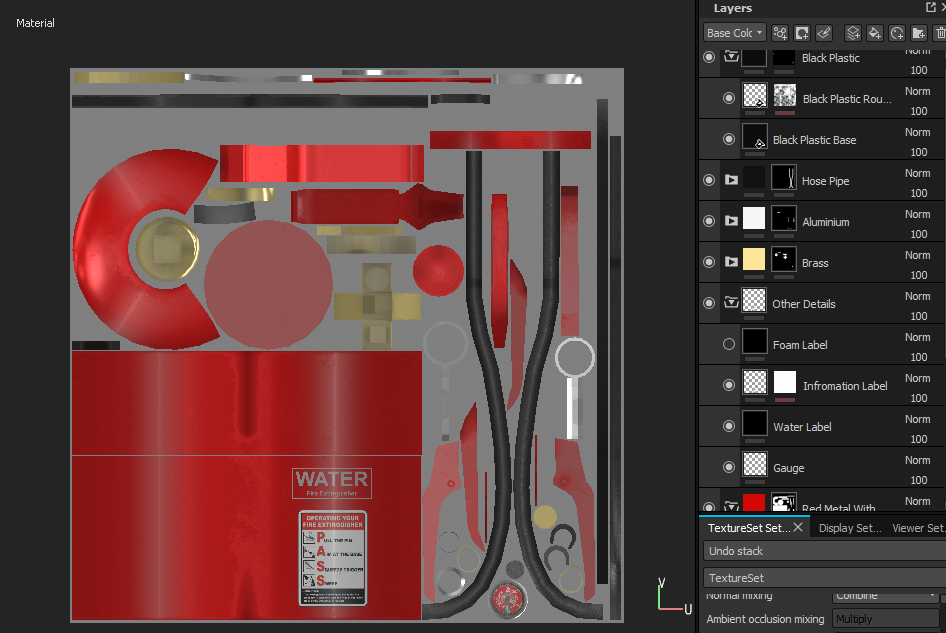
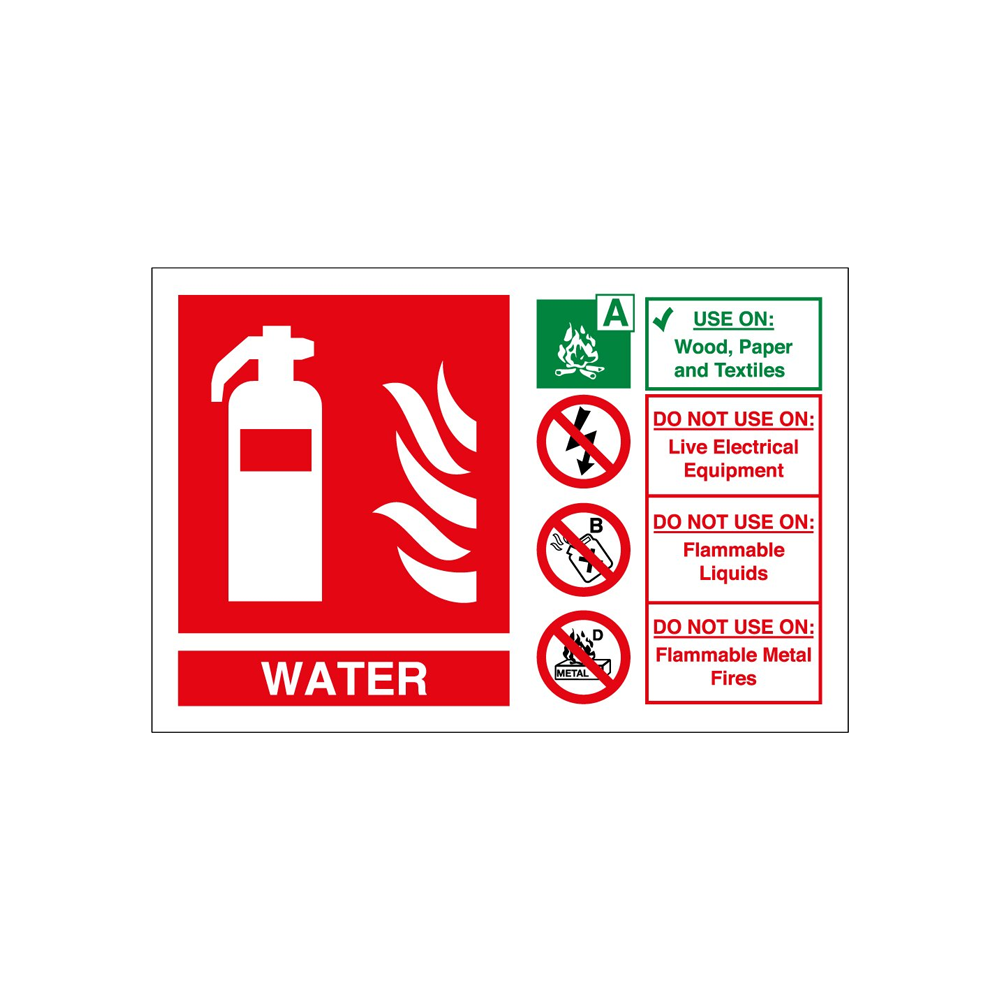
This asset was a quick one and took a short amount of time due to reusing a different asset and simply re-texturing it. The first step for this was to source images for the foam and water fire extinguisher signs. I then did the same as what I did with the fire extinguisher asset and used the projection tool. I placed these sourced images into a 1000×1000 pixel Photoshop document and removed the background and added transparency around the edges so it could be easily painted on.

Foam SignSign

Once this was done I imported the resources as a texture and and rotated the UVs around and painted onto them. Currently the signs are not the right way due to the way that I exported the model. However this can be easily rotated in engine.

Foam ReuseReuse

Synoptic Project – Scrum 26/03/18

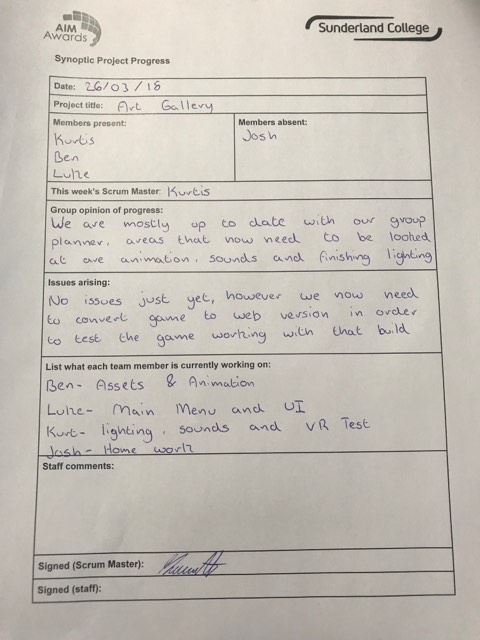
Today I was absent from the primary weekly scrum due to illness however I managed to get a member of my group to send me the a picture of the scrum sheet. I placed this downloaded image onto the google drive as well as had a read through to see where everyone in my group is at. Currently the only issue we are having is that we have not tested the WebGL build yet, however this will be done at some point this week.

scrum 2The scrum log is being updated well and it also allows me to see where everyone in my group is at, I have reminded Luke and Kurtis to update this log as they do different tasks as they have not used it that much yet. Scrum3

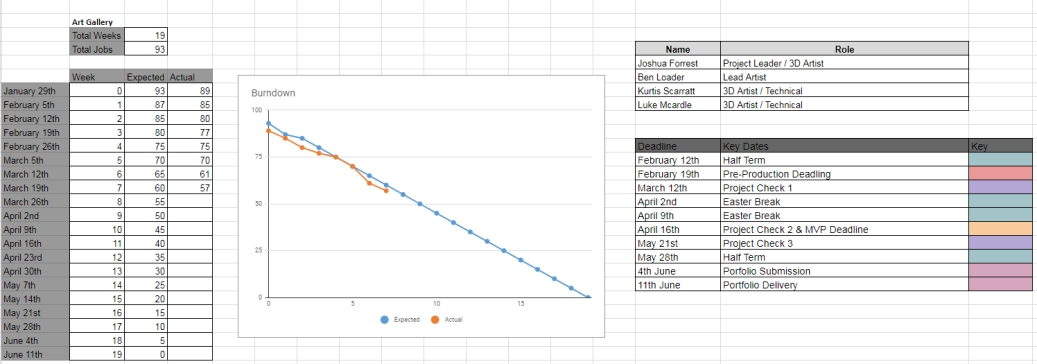
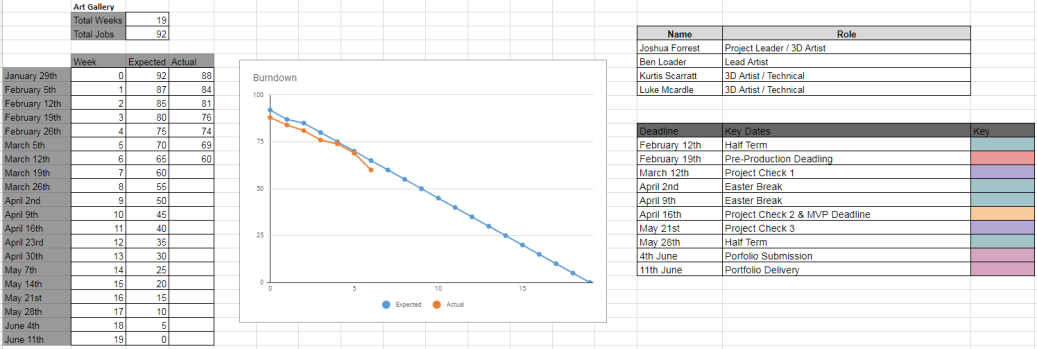
So far we are perfectly on the predicted amount of jobs done, only two jobs got done last week. I had finished my fire extinguisher asset however I have not yet done the sign that will go above it which means that this job is still a work in progress. This week I will begin to model and texture the fire exit and the fire alarm assets. scrum1

From my production schedule I can see that I am currently slightly ahead of schedule as I have completed some of this weeks jobs last week as I had more time that expected.

scrum4.PNG

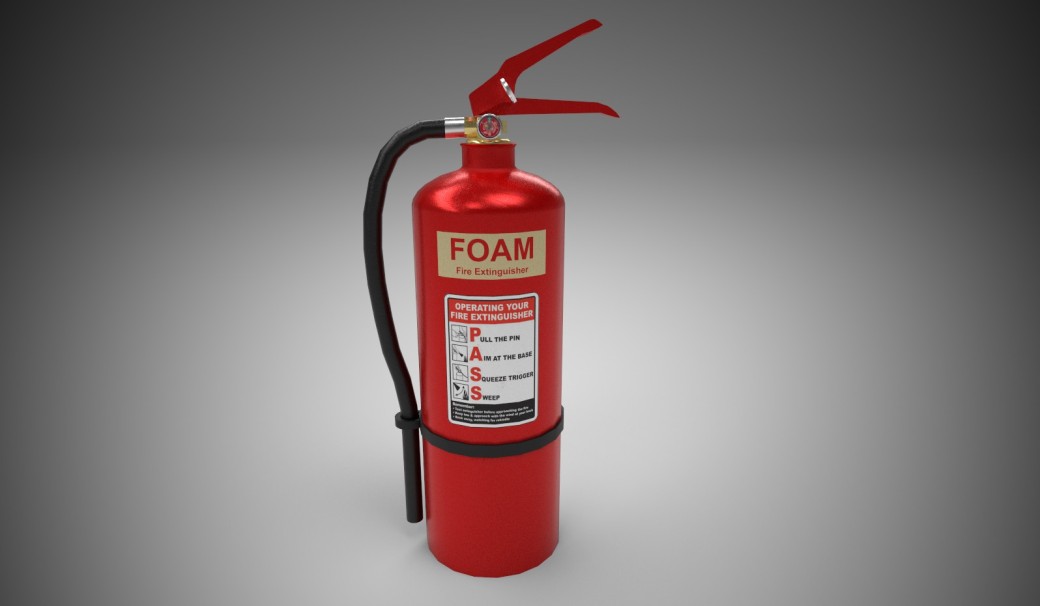
Synoptic Project – Creating a Fire Extinguisher

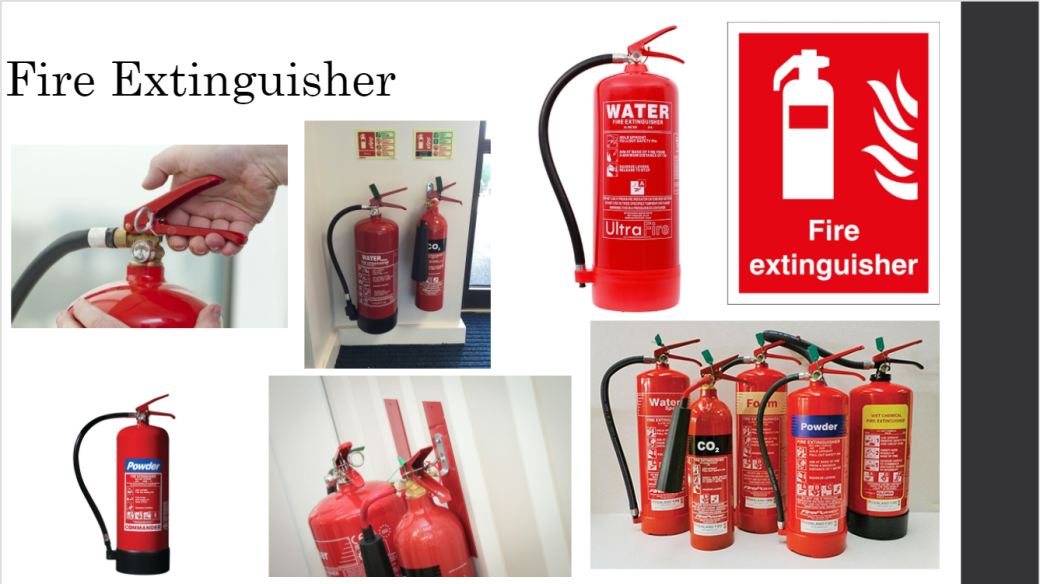
From my research images I was actually expecting this asset to be quite simple in nature to model however I was wrong. I chose to create the water fire extinguisher due to this being one of more the more common items you would find in a building. Especially one that is in a building filled with art as these are primarily used on wood, paper and textiles.
research.PNG

The way I had modelled the fire extinguisher was by creating a couple of different meshes then combining them at the end. I struggled the create the trigger as well as the part that connects to the trigger to the actual body of the fire extinguisher. I used the n curve tool and an extrude to create the hose that goes down the side of the mesh. This took me quite a long time to model due to it being more complicated than what I first anticipated and I had encountered a couple of smaller problems just due to trying to work out how to model certain aspects of the mesh.

MeshWire

When it came to UV unwrapping I knew that this would take a fair amount of time due to some of the smaller pieces and complicated shapes.

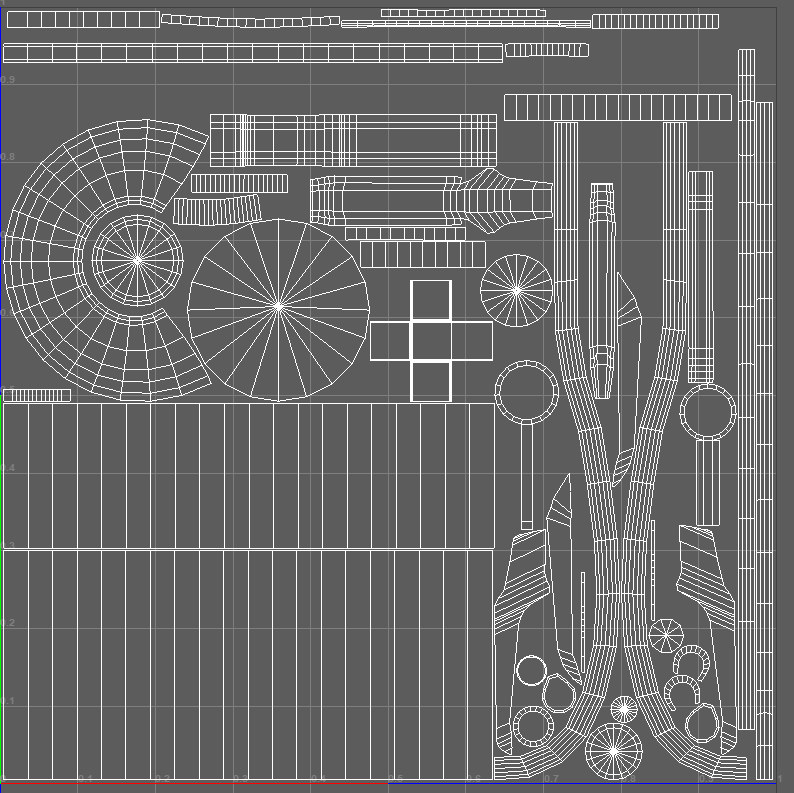
UVs

Originally I thought about putting these UVs onto two different diffuse maps, the smaller details and the main body. However i used the layout tool and moved some shells around so that I could fit it all onto one map that would be very busy. I made sure that the texel density was correct through the entire mesh using the checkers.UV Layout
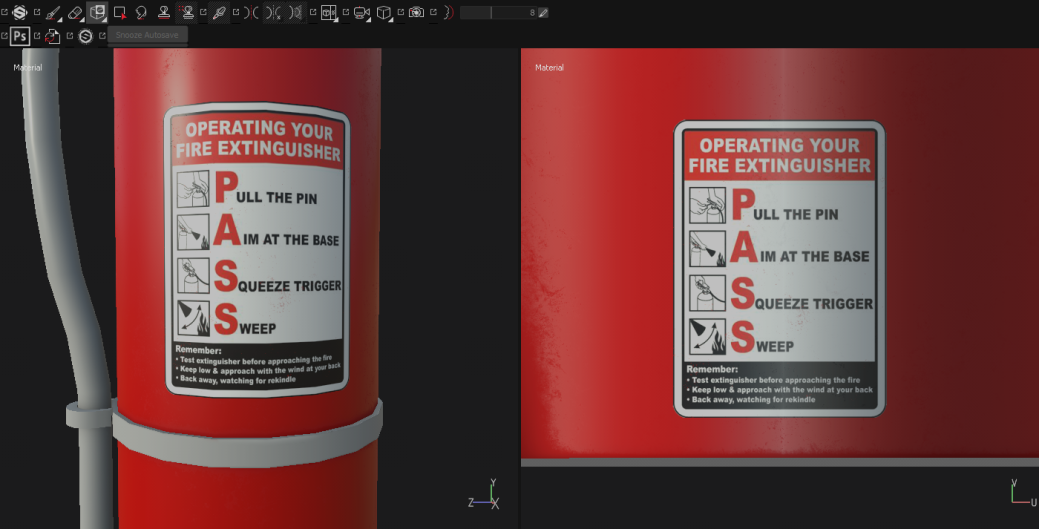
When it came to texturing this object I had actually needed to use a new tool within substance that I had never used before. This was the projection setting. I grabbed an image of fire extinguisher instructions from online and put it onto a square image that would have an alpha map around it. This was because when projecting the image if there was no alpha around it then when painting it would start to repeat the image if I painted too far over.
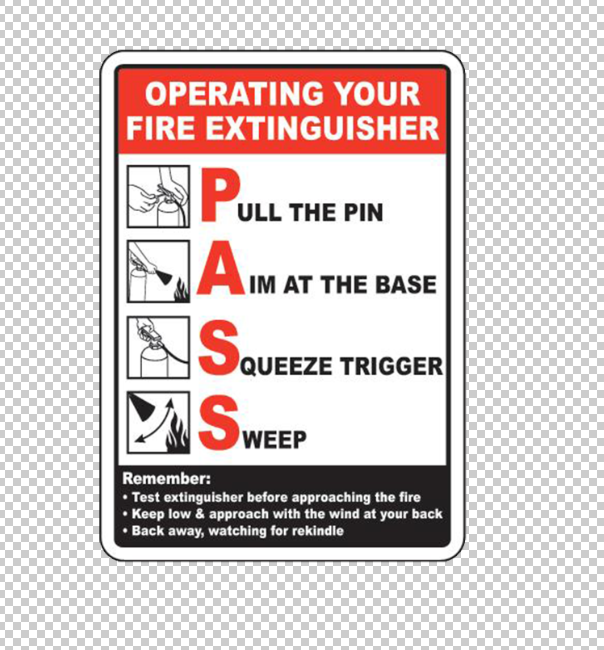
Image Manipulation so useable

I made sure to change the settings to UV and then painted this on using the projection tool. projection tool to add label
Other than this I also had another go at creating my own alpha. This time I did this for what was actually in the fire extinguisher. Creating Logo Alpha
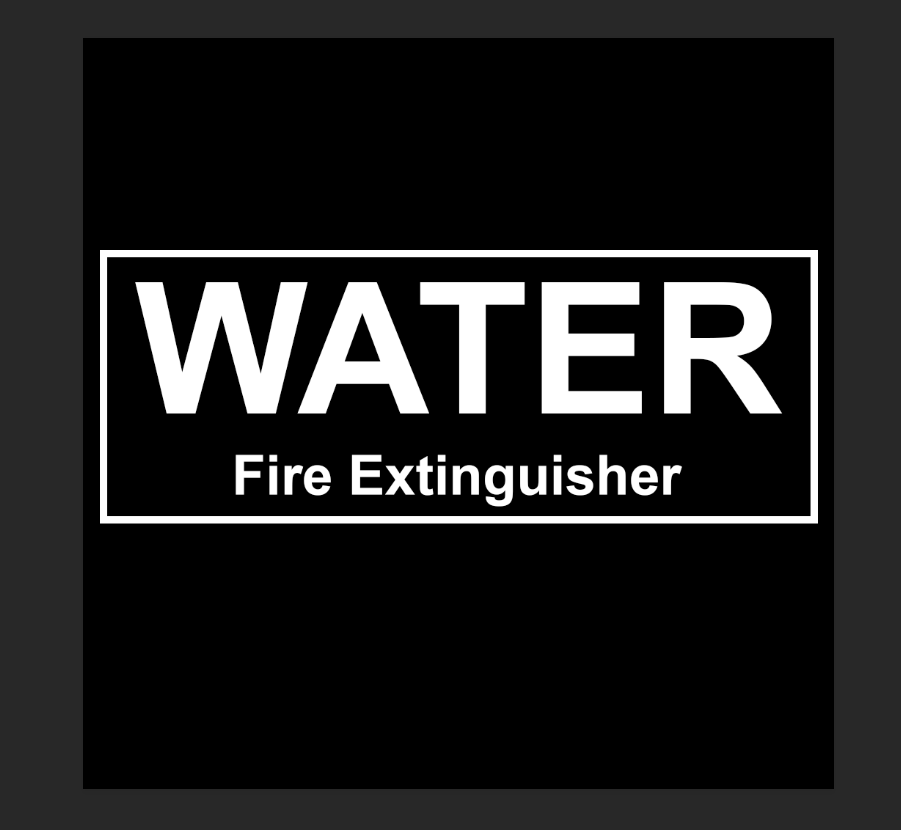
This is what the alpha looked like on the mesh.
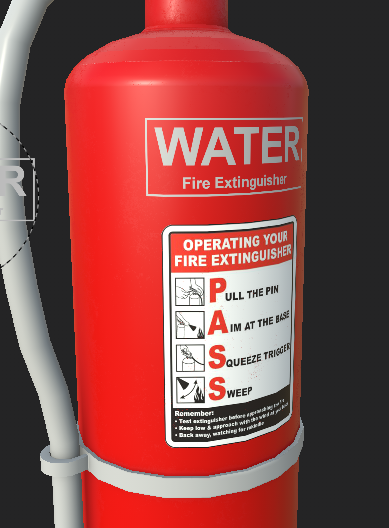
Using Alpha

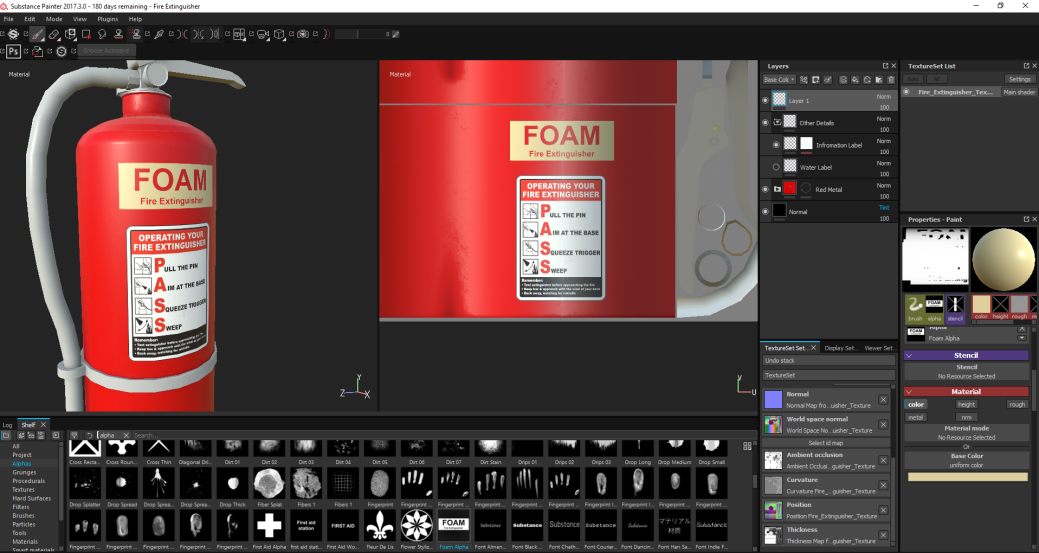
Other than this I also chose to do a different variation and do foam rather than water. Foam Alpha

When pasting this onto the mesh I could change the colour so it was more similar to the reference images.Foam Alpha with Colour
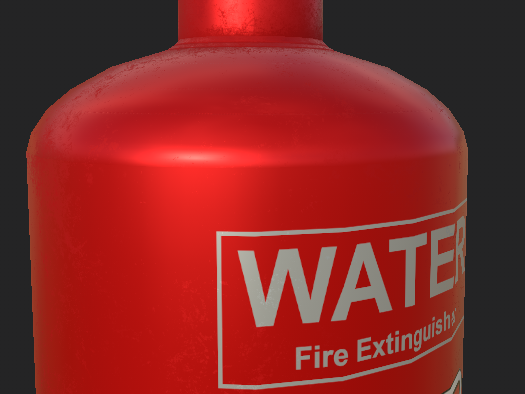
On my original exported mesh I had made the mistake of not softening some of my edges and this made the texture on the mesh go a little bit weird and reflect the light strangely. Due to this I had do go back and soften the edges where necessary. This allowed the texture to look a lot more seamless and nice. Re Importing mesh to fix the hard edges
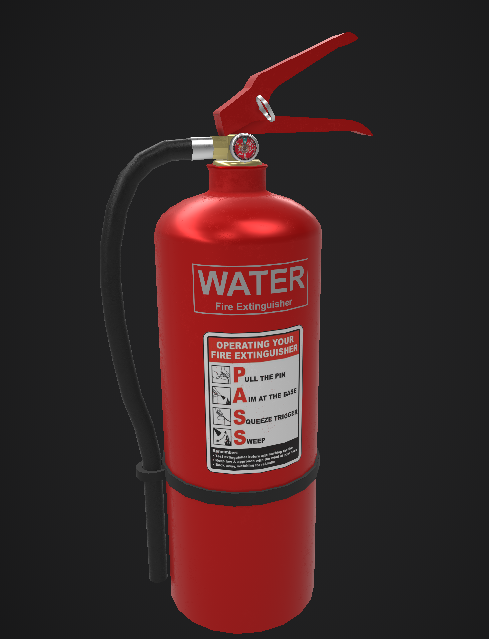
This was the overall texture of my model. I used a nice red for the main base and added a brass for the piping as well as a silver for other smaller details. Texture
Ben had actually taught me some tricks to create my own smart materials rather than using someone elses and altering the different settings. For this mesh I started out with a normal fill layer but added different generators and effects to get the outcome that I wanted from the texture. It allowed me to get the shiny metal look I needed for the overall model as well as other details such as a bit of wear. I also used the projection tool again but this time it was for the pressure gauge that was on the top of the model.Layers
These are the renders of my model. I created two slightly different textures just so that there will be a little more variation within the scene. Render 1

I also had a little try at using the post processing effects that are build into substance painters renderer. Render 2Foam render

The next step will be to create the sign which will accompany this model as well as the hook that this will hang on.

Synoptic Project – Scrum 19/03/18

This week was a little less productive than last week due to me and Ben taking a little more time on our models. However we are still three jobs ahead of schedule. I think that our progress is well ahead of schedule and Kurtis & Luke will begin to implement there coding research into actually creating some scripts for the game. Luke has managed to fix the problem that was involved in the main menu. We will implement this into the game. Luke will begin production of some of his assets. Kurtis is looking into implementing the VR teleportation movement into the level. Me and Ben will continue to create assets and add them into the scenes.

Capture.PNGOn a personal note I am happy with my progress, I am slightly behind on one of my tasks due to this only being added to my production schedule last week, however I will be able to get this done this week due to the assets being low poly. I have also already done one of this weeks jobs last week. Other than this I will also begin production of the fire exit assets including the alarm, doors and signs this week.
Capture.PNG

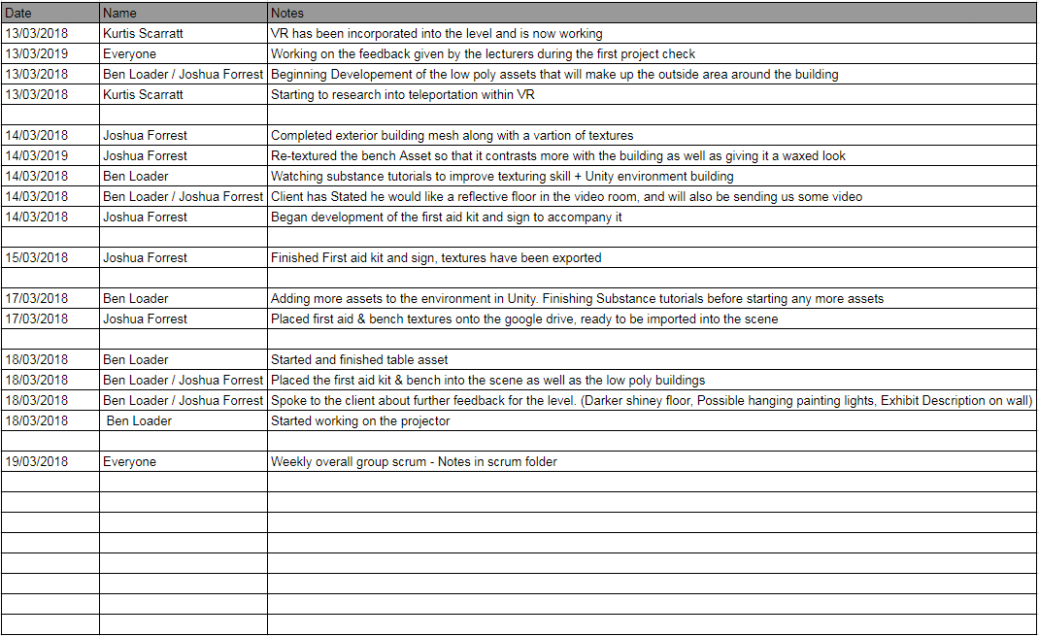
Below is the scrum log that my group has began adding to whenever jobs are done. I will begin to screenshot this weekly as well as the upload of the Monday morning scrum.

Capture.PNG

Scrum download link below –

19-03-2018

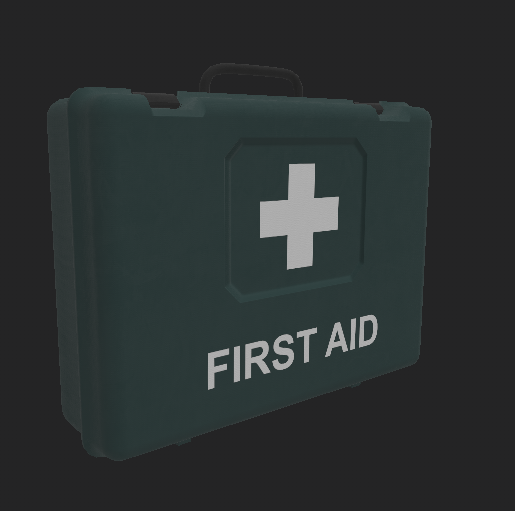
Synoptic Project – Creating the First Aid Kit & Sign

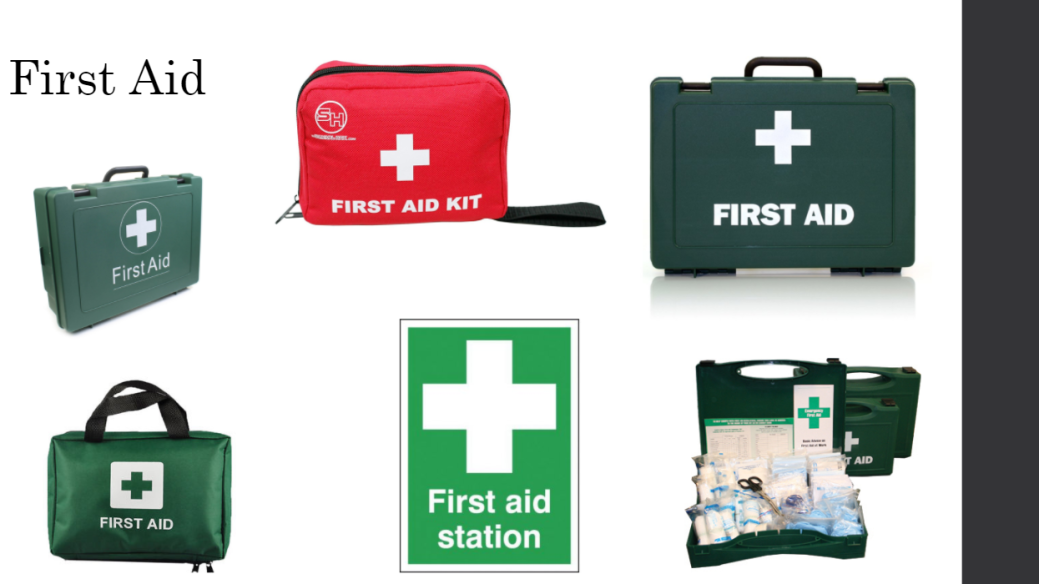
This weeks primary asset I needed to develop was the first aid kit. Before my research I had a small idea of what I wanted to do. The top right image was my primary source of inspiration for the model however I chose to make it a little more rounded with the bevels.

Research

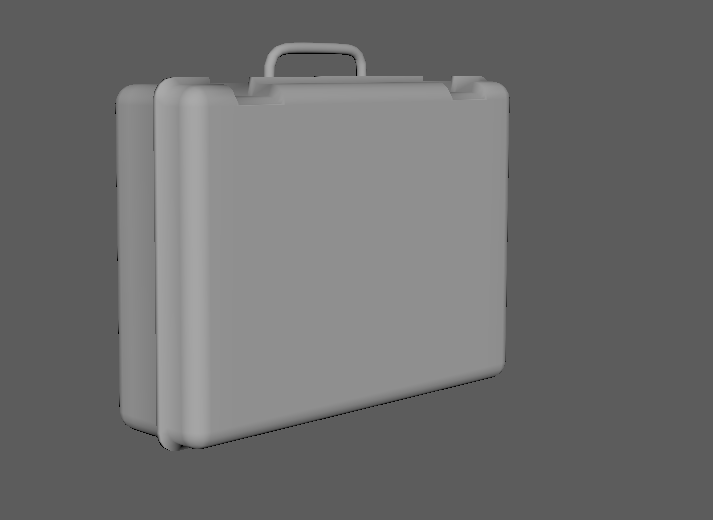
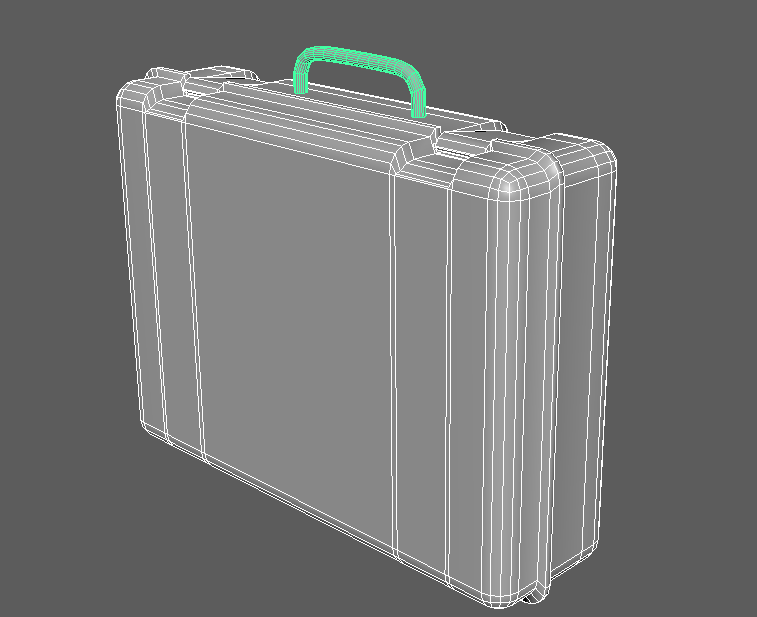
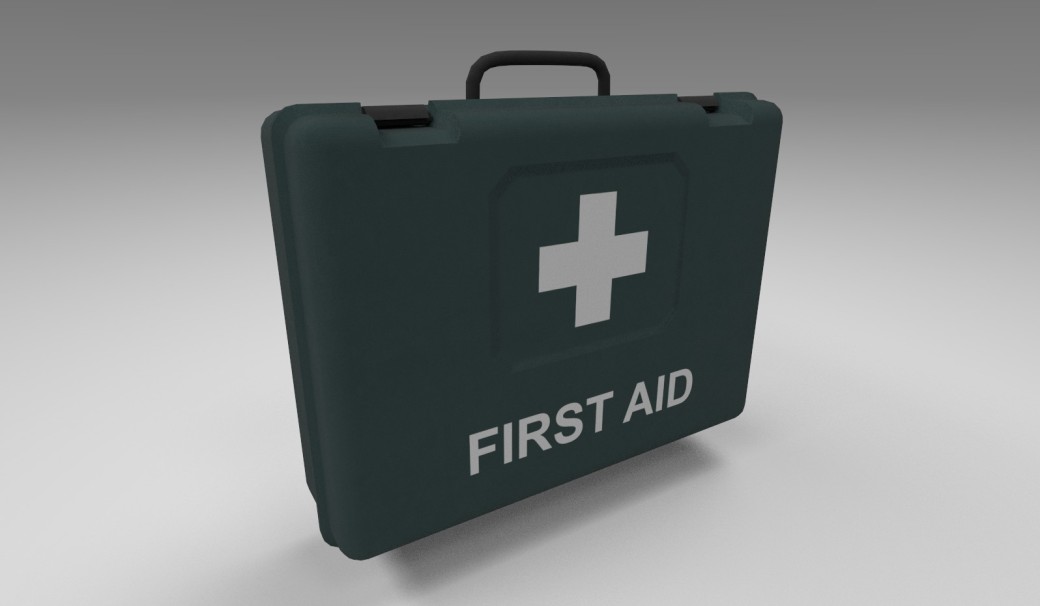
When it came to creating my mesh I really took my time with this model. I used the reference photo to get the correct scale for my object. I used the n curve tool to create the handle for the mesh. I beveled all of the edges and I also pulled some of the middle faces out so that the mesh looked like it could be opened. As the first aid is made to just go on the desk behind the reception I chose not to rig this object as it would have no interior and not need to be opened.Mesh 1

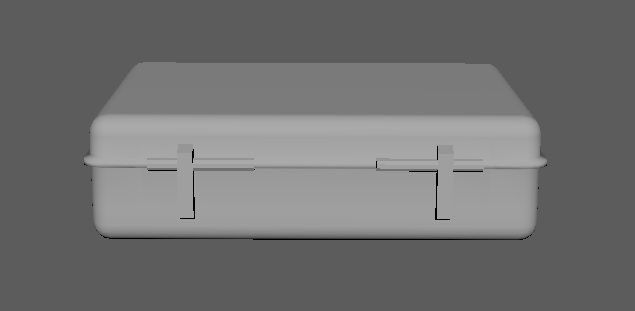
Other than this I also added detail to the bottom of the mesh. I added the hinges again to add to the immersion as well as little feet that the hinges go through so it looks like the object can actually stand. Mesh 2

I managed to keep the amount of polys of this object to a minimum. Most of the polys are in the handle due to this being a cylinder and it needing to look smooth like a real handle.Mesh 3

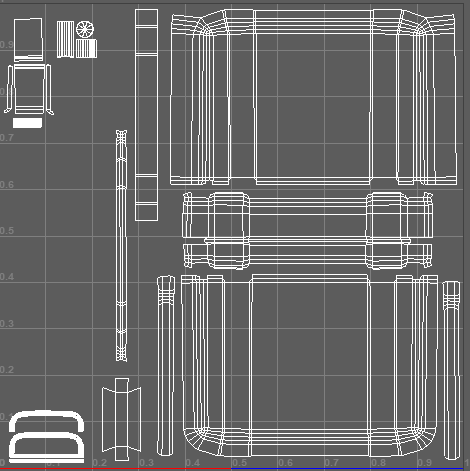
UV unwrapping was quite enjoyable for this model as it was slightly more complex than some of my other models. this took a bit of time to do but I was happy with the overall result.

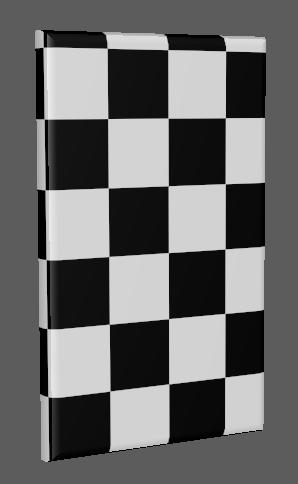
UV unwrapI added the checker texture to the models shader to make sure that none of the checkers were distorted as well as making sure that the texel density was correct on the object.
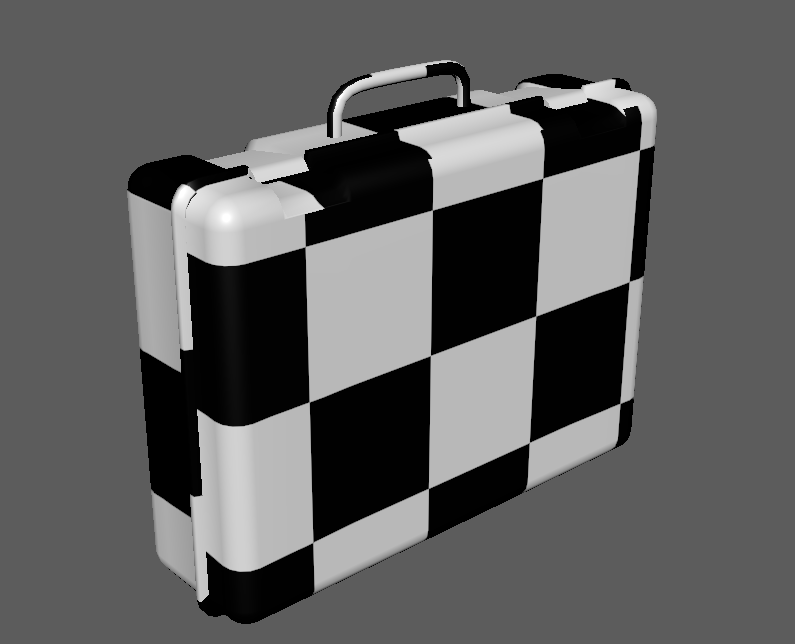
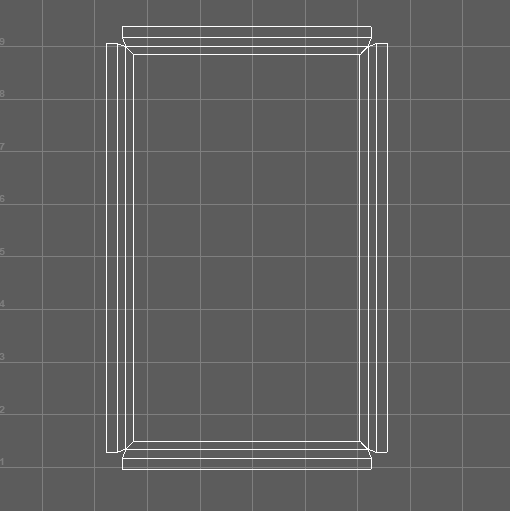
UYs

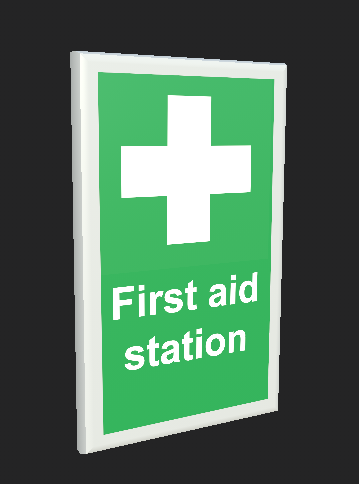
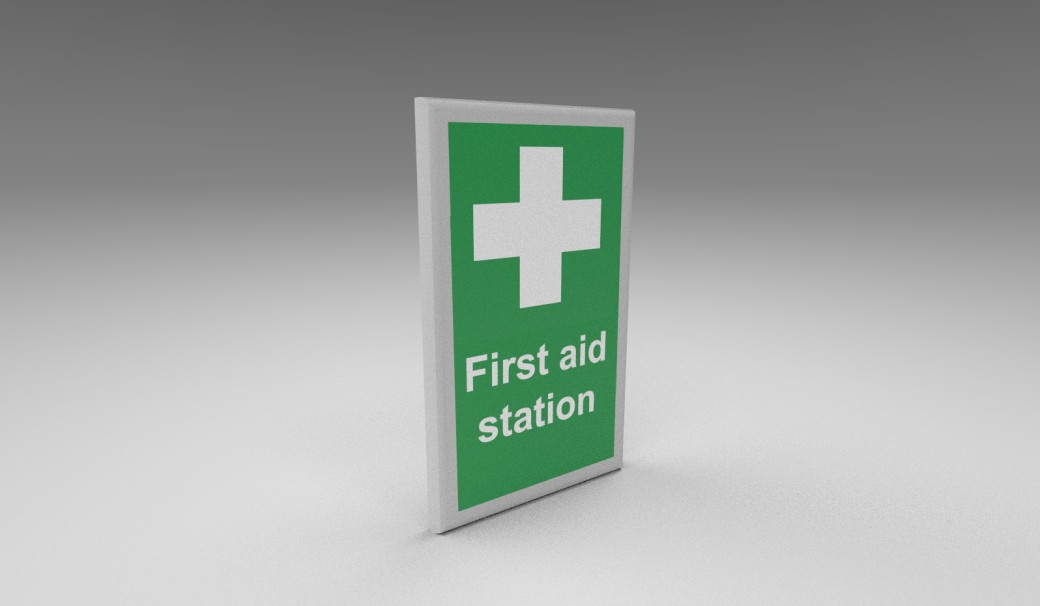
Other than just the first aid kit I had to create a sign that would go on the wall to indicate where the first aid was kept. This model was simple as it was just a rectangle with beveled edges. I also removed the back face as these would not be seen.First Aid Sign Mesh

UV unwrapping this object was very simple.Sign UVs

I still added the checkers to the model just to make sure the UVs were correct.Sign Check

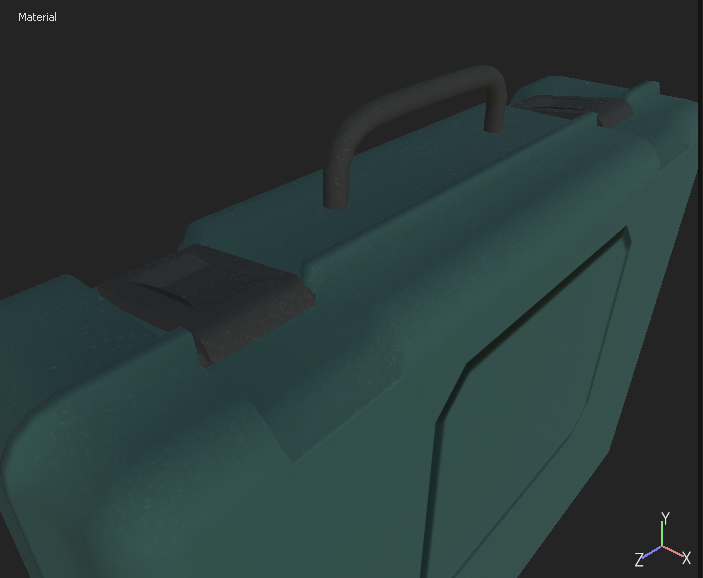
When it came to texturing I added a matte plastic texture and used the eye drop tool to select the reference image so that I could get a similar colour for the object. When I had this base texture sorted I added a filter to the material which added a small discolor as well as a making the mesh look less flat and more rough. I also used some of the build in hard surface tools to add some extra normal detail into the mesh. I indented an area on the front of the case where the logo would go. There was similar detail to this on the reference images. I also added an indent to the latches so that it looks like it can be easily gripped when someone needs to open it.Normal Detail

I also used Photoshop for this texture as I had to source a first aid sign as well as used a font within Photoshop to create the “first aid” sign. I created alphas using these so that I could stamp them onto my object to add the final bit of detail that was required. As without this detail it would just look like a regular case.
Texture

I also used this same alphas to stamp onto my first aid station sign. The reference for this photo was a simple white plastic with a bit of green outlining the information to indicate that it is a first aid station. Sign Texture

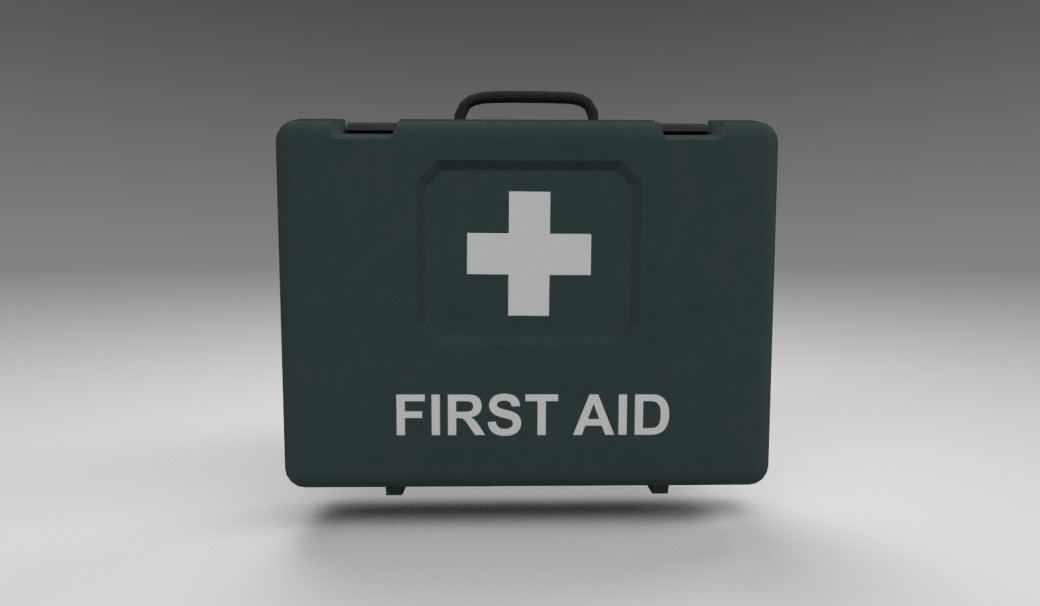
Overall I think I did a good job creating this asset. I really took my time with this as it was a much more intricate shape than some of my previous models. As well I used some different texturing techniques by combining different resources to help create the final material. The hard surface tools were also very helpful and added a cool layer of detail overall. Kit Render 1Kit Render 2Sign Renders

Synoptic Project – Working on Feedback

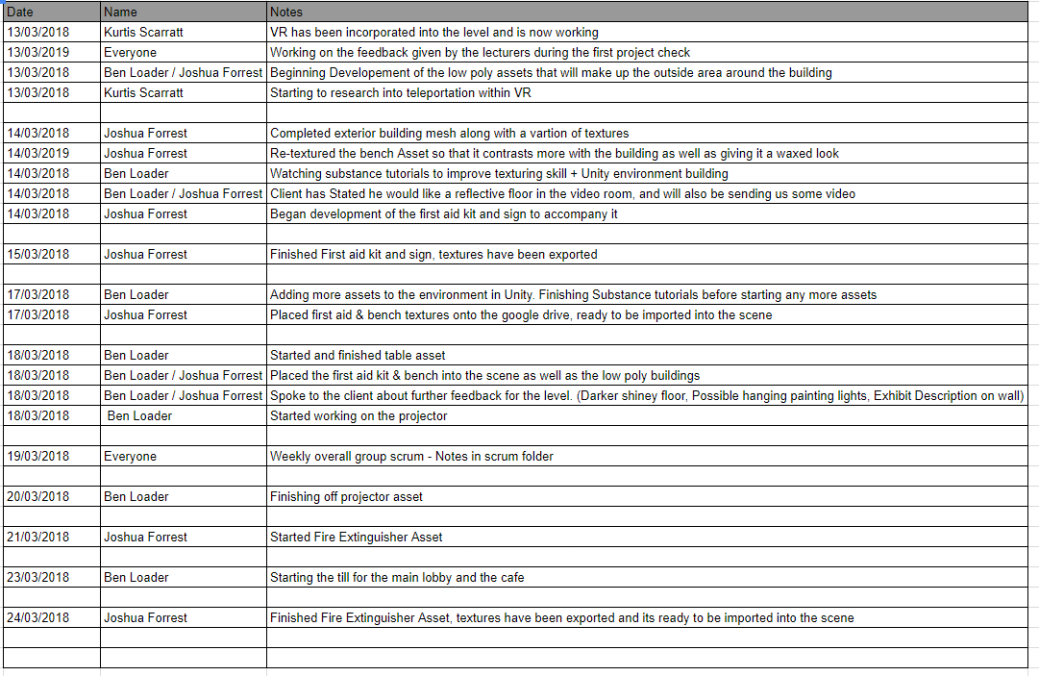
As we had recently received our feedback it was important to me to begin work on this as soon as possible so that we make early improvements before carrying on the development and leaving them to the end. The first smaller problem which was an easy fix was improving our scrumming sessions. At the time we were only keeping record of our Monday morning scrum as well as the client meetings. However we were told we should keep track more than this and perhaps keep a word log.  Due to this I have set up a scrumming log in excel on the projects google drive. This will be updated anytime anyone starts a task, finishes a task, encounters a problem or has any relevant knowledge. The log has the date, the note and the person posting. This should help our teams communication in terms of where everyone is at, at all times, and as the team leader it gives me a solid overview of when people are doing the tasks.

Capture.PNG

The next piece of feedback was pretty major for the level as this required some changes to the actual initial layout. “Look at the white windows – we could create a more reflective material that is heavily blurred and partially transparent to suggest an exterior.” Due to this we decided to completely remove the emissive material from the windows and make it look like actual glass. Ben removed the emissive material in unity and also created a altered wall panel that had a hole in so that the player would actually be able to see the outside through the window and not just be looking at the wall. As originally the window panel was just placed onto the wall rather than being in it.2

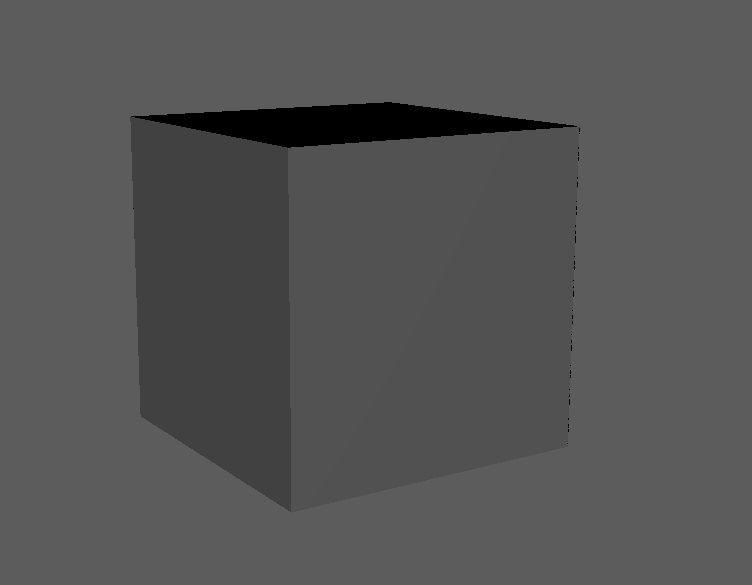
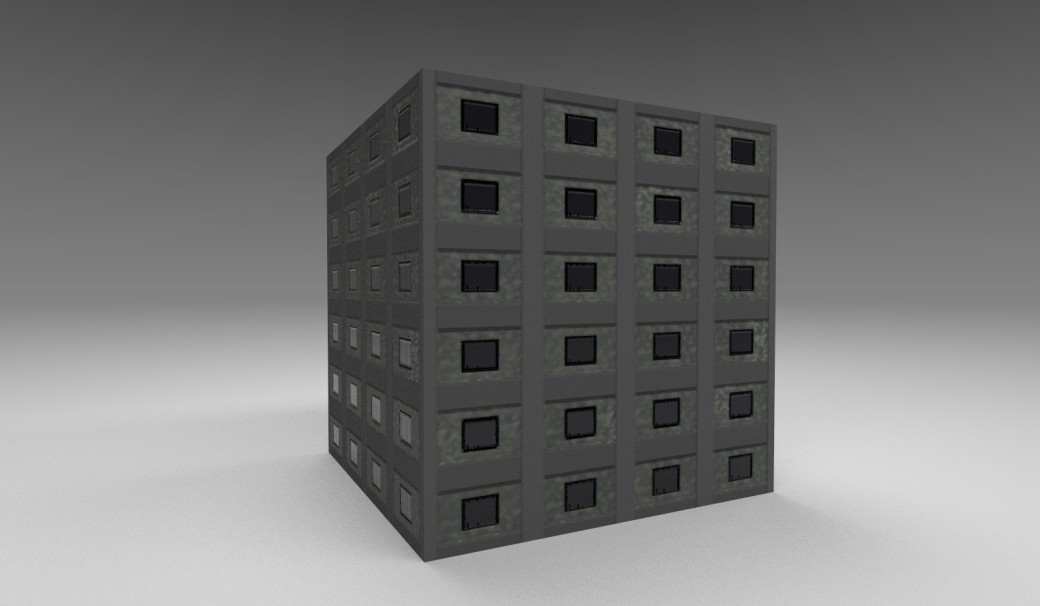
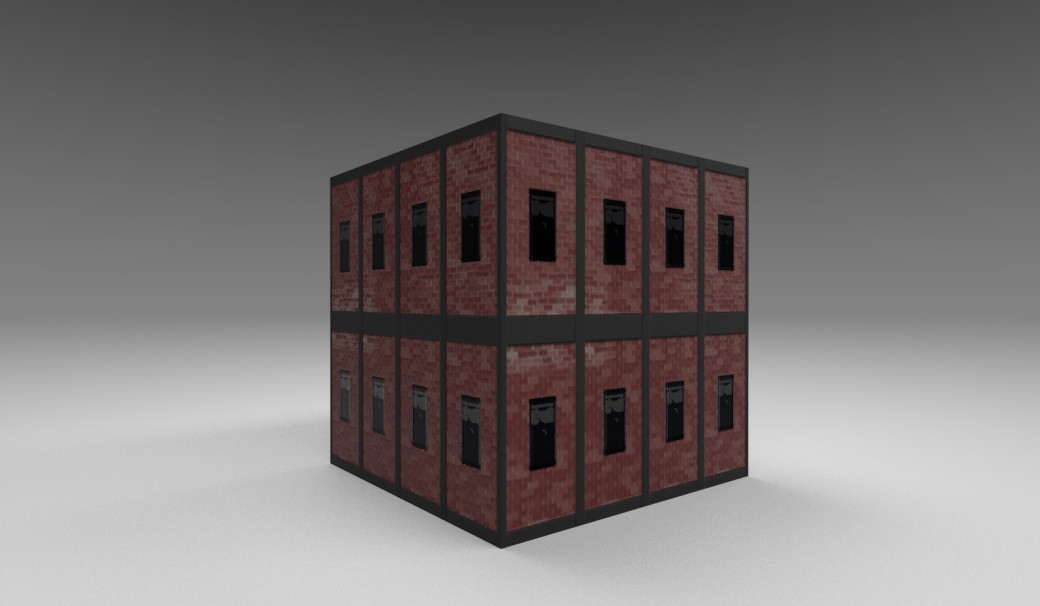
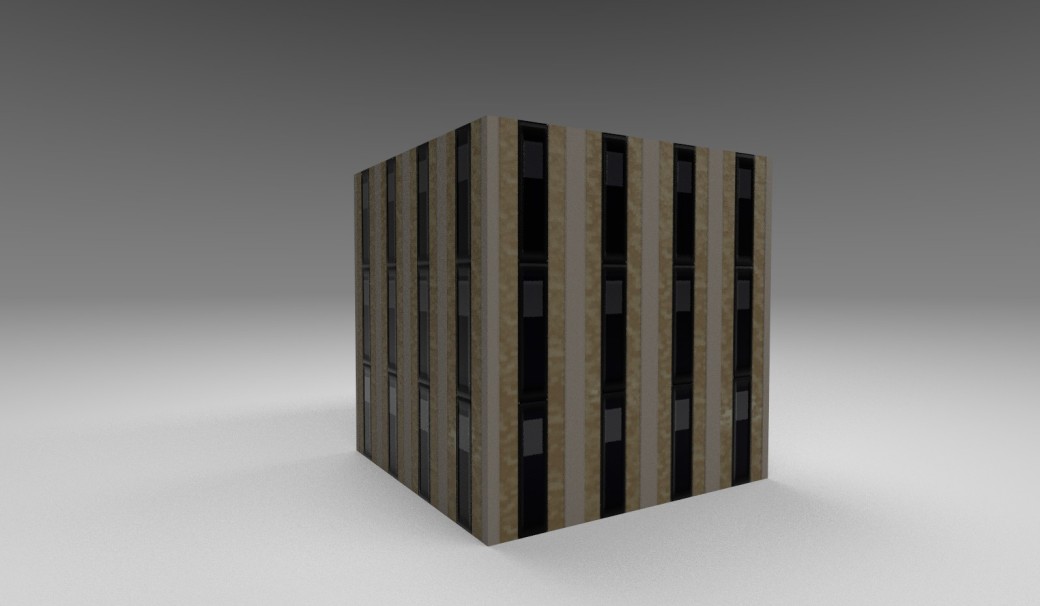
While Ben was doing this task I began to create some low poly buildings which would be used to go on the outdoors and later blurred to suggest to the player the gallery is in a city. Due to the blurring the models require little to no detail. Due to this I created a single cube with the bottom and top faces removed.

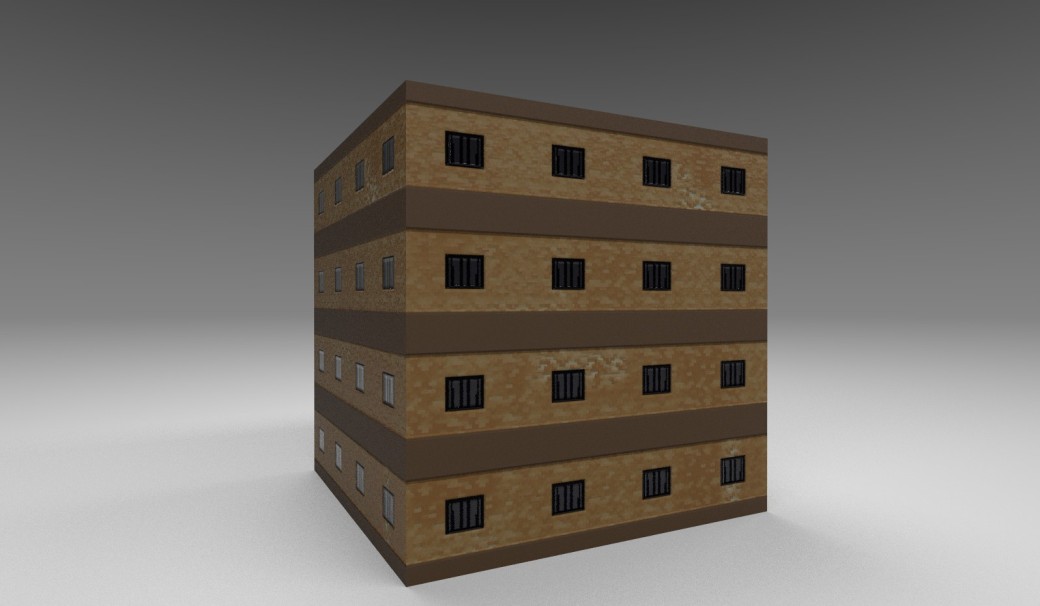
MeshI went onto the substance share website and found a nice procedural texture that allows me to alter settings to create different simple building layouts. I altered these settings in a few different ways to create four different textures that will stand out from one another. Again these will be heavily blurred and only used to to simulate an outdoor environment and not actually be explorable. Settings
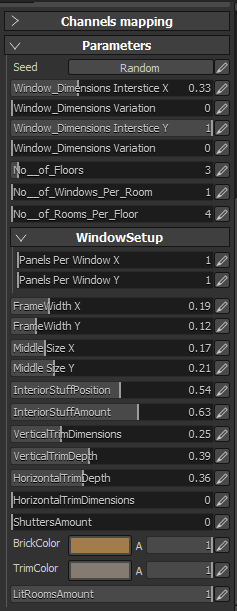
These were the renders of the different buildings. I tried to create quite a difference between the textures so they did not all look the same.

Render 1Render 2

Render 3Render 4

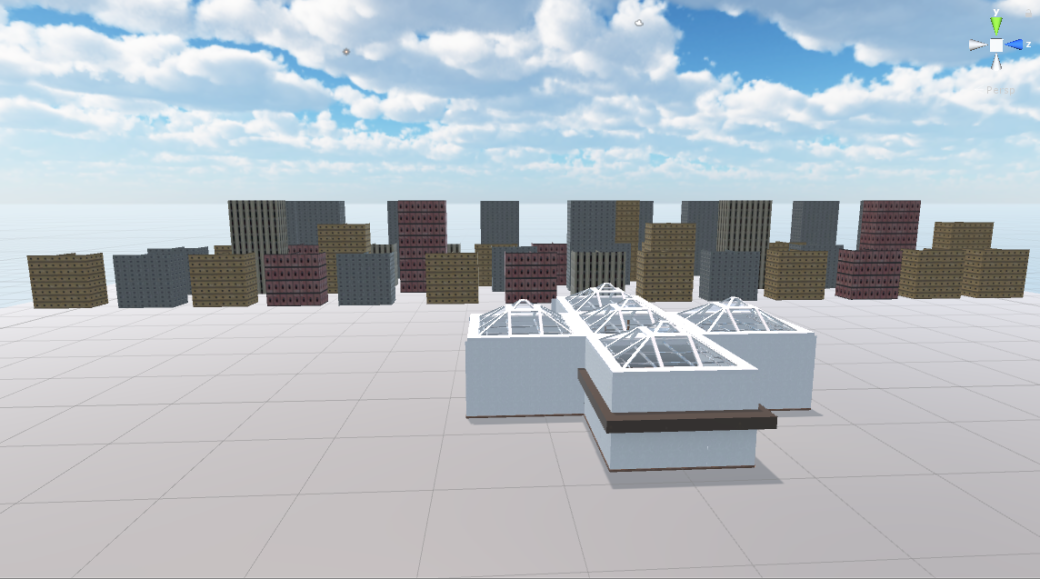
Ben then put these into the scene using the various different textures.

3

This is what they currently look like through the window without any blurring. We plan on developing some other smaller assets to go outside as well such as the roads.

1

Another problem with the level was my Bench and the way that it had been textured. I had used a very flat texture that did not look very appealing. It blended in with the floor and also did not look like the type of wood that would be used on an indoor bench. Because of this I found a waxed sort of wood that was a lot more dark in colour; so that it will contrast more with the flooring. New Render

We will continue to work on the feedback over the next couple of weeks as well as completing other jobs that we have on our production schedule.

Synoptic Project – VR Set up

Yesterday we finally got around to implementing VR into our game, it looked really nice but there was some jagged edges around certain objects, at this time we are not sure if this is due to the hardware or the textures / models within the scene. The next stage Kurtis will be implementing a teleportation movement mechanic into the game.

vr.jpg

This was a key component for hitting out MVP.

Synoptic Project – Level Update

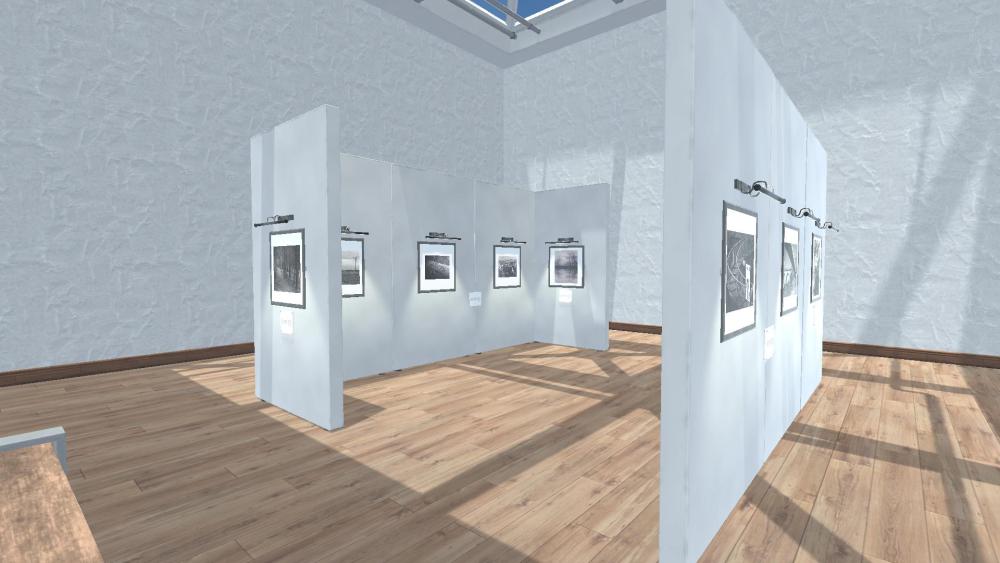
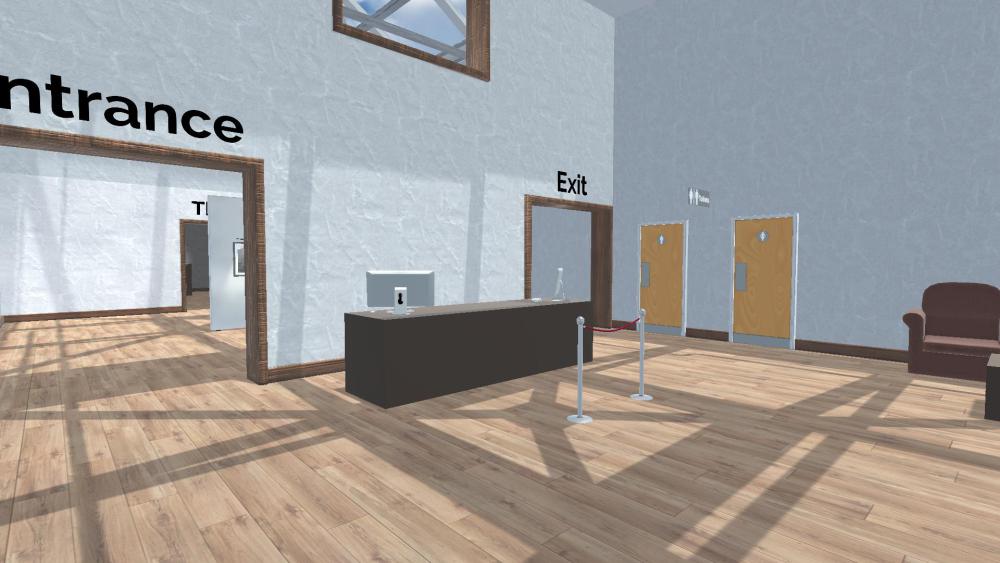
Since setting up the project me and Ben have began to build up the level while also making necessary changes so that everything fits nicely together.  Originally the walls were only one panel high however this still looked quite short. due to this Ben decided to layer some panels on top which doubled the size of the room, which was good as it was a lot more spacious, which is the design that we are going for overall as many of our reference photos of  modern art galleries are open. Ben had taken the project home with him last week which meant that he could update the level from there. I occasionally sat with him on discord while he shared his screen so I could watch but also have input on different aspects of the level, such as the placement of objects etc. Currently we have started to work on four out of the five rooms. This is due to the cafe being the stretch goal, because of this that rooms assets will be created and imported as last priority. So far the main exhibition, the middle room and the reception are almost complete whereas the theater is about half way done.  We plan on filling some of the empty space above the skylight with industrial looking piping and fans so that we can capture the overall style of our references.

Exhibition Room –

galleryroom

Reception Desk Area –lobbydesk

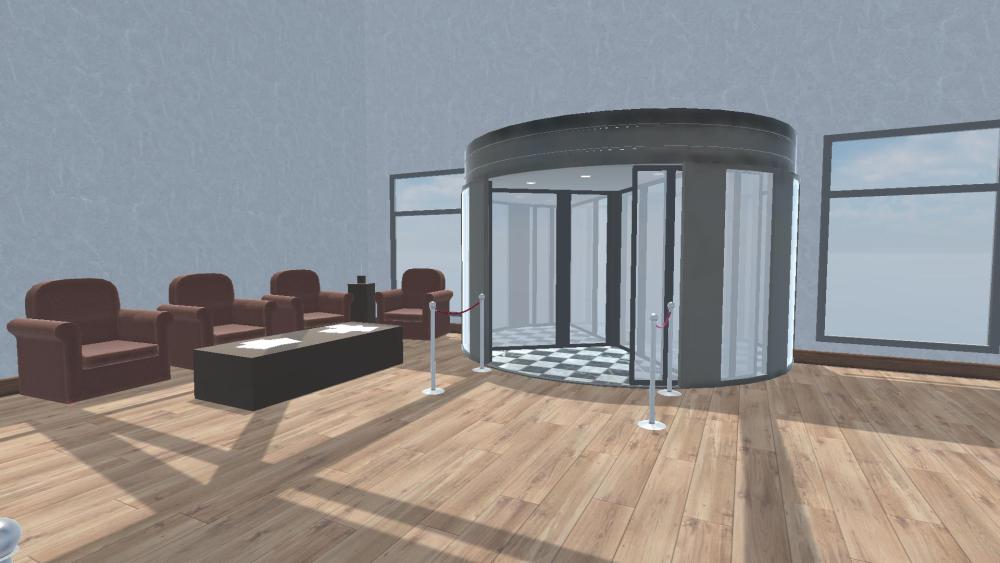
Reception & Main Building Entrance –

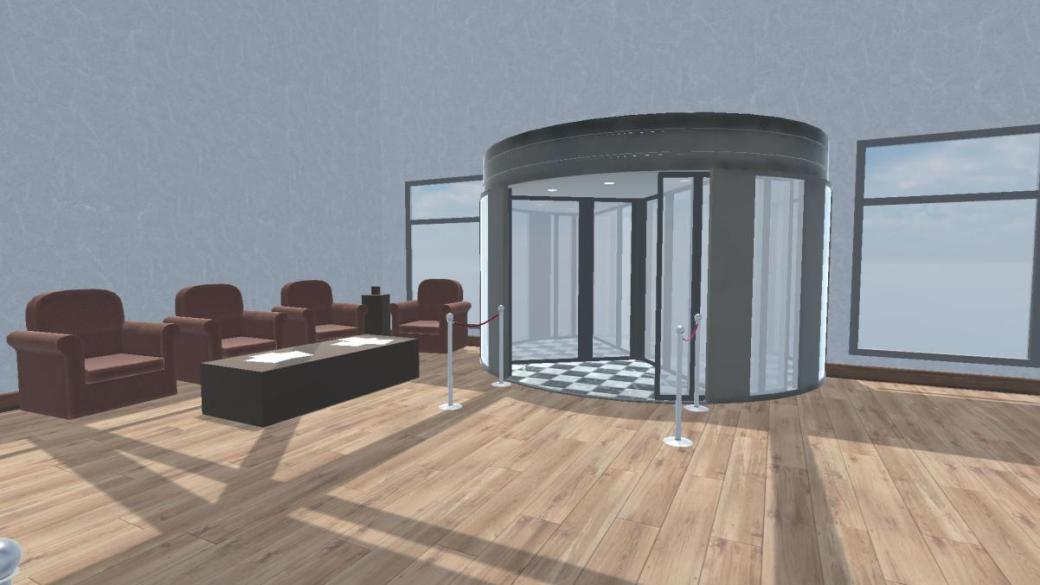
Last night after receiving our feedback Ben fixed the front room by making the windows transparent. The revolving door originally was clipping through the wall and an emissive plain was placed inside the door looking as if it was leading outside, however now the glass is transparent and the door actually can take the player outside, however this will actually take the player back to the main menu. We are also going to use some lo poly building assets and blur them to simulate the outdoors. My job for this will be to create another wall panel piece that my windows will fit into so the player can actually look through them towards the outdoors.  Originally the glass was all emissive simulating light shining through. lobbydoor

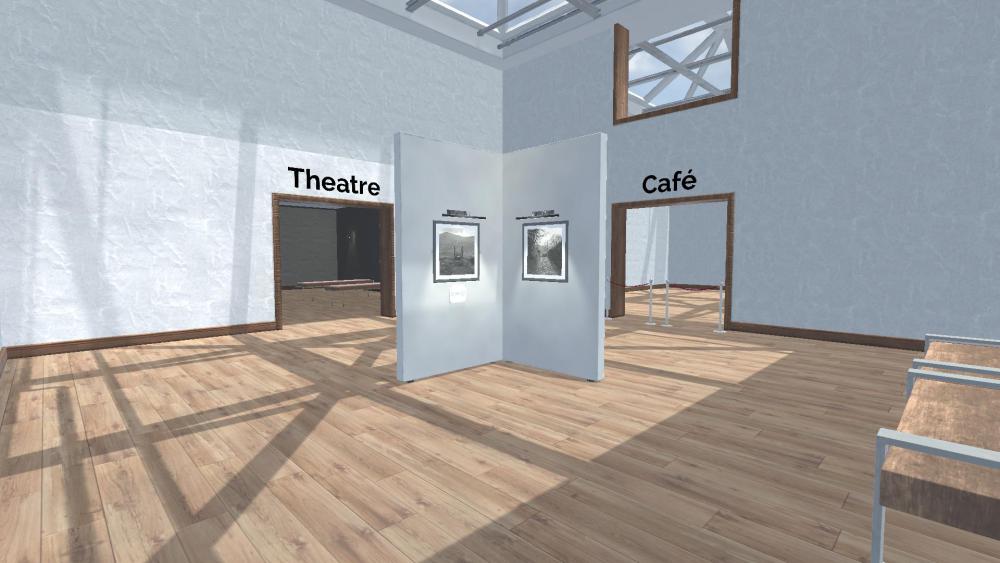
Middle Room –

This room will act as the center point of the building, because of this we have included some art and some benches but we will also be leaving this space open for freedom of movement for the player. middleroom

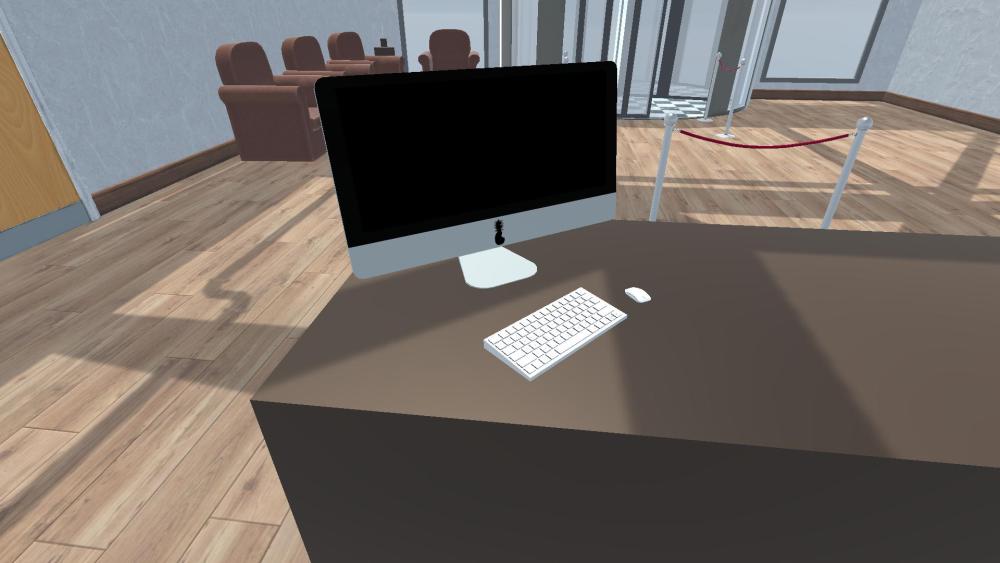
Computer on Temporary Desk in Reception –pc

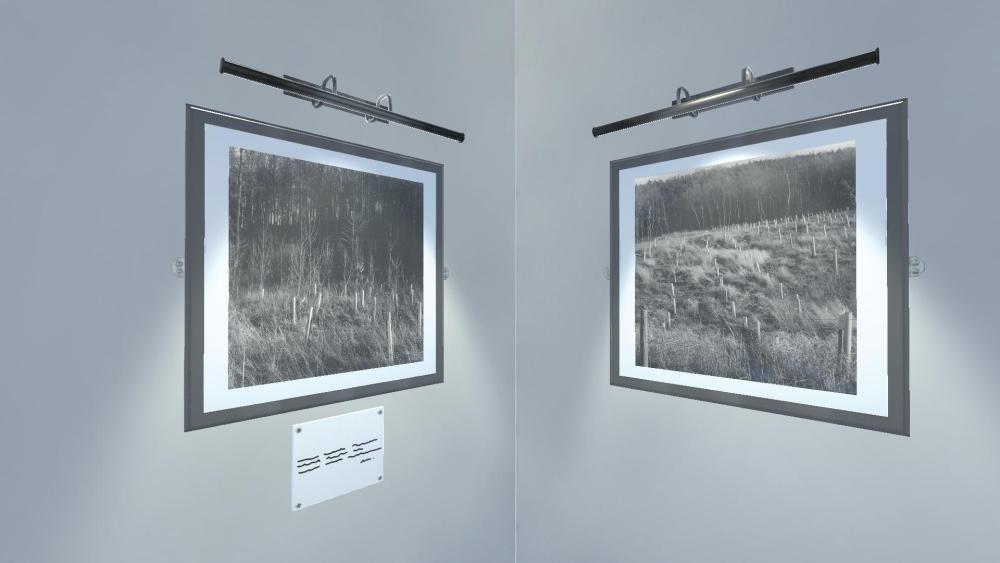
Paintings with Working Lights – photos

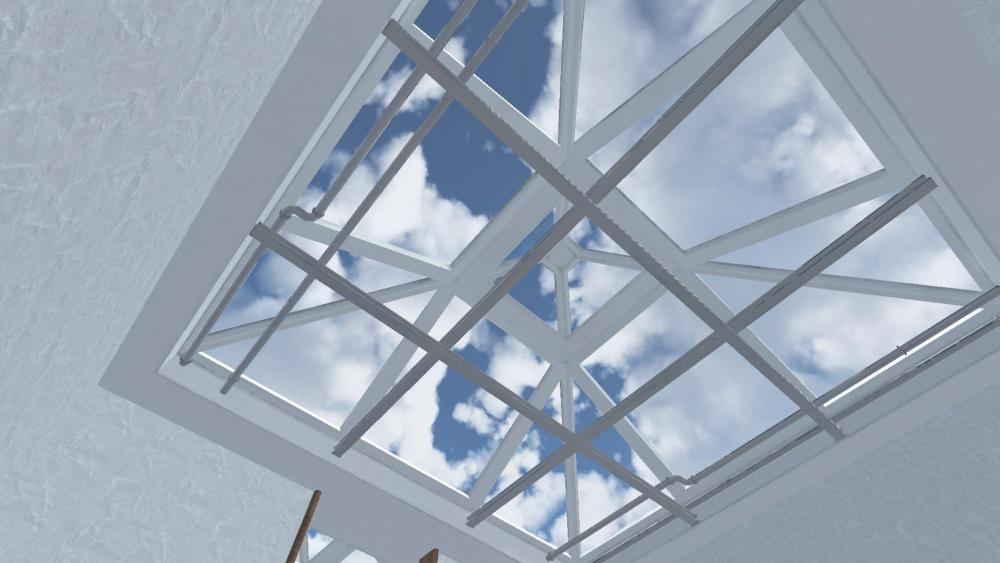
Skylight –

These are placed as the roof on every room except the theatre to allow natural light inroof

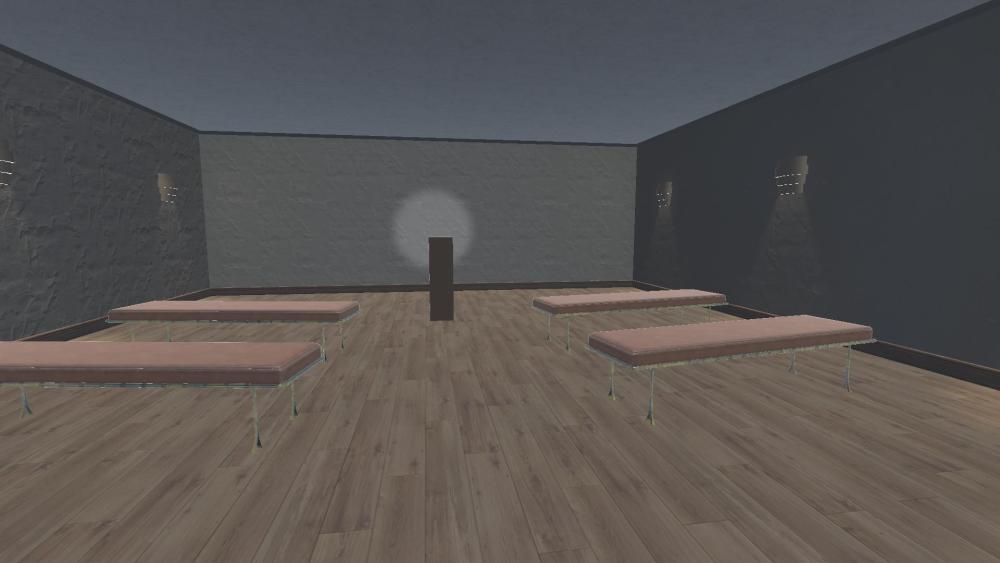
Theatre Room –

This room is looking good however we may be making some changes to the textures of the walls so that it looks like it suits the purpose of the room a little more. theatreroom

Toilets in Reception –toiletdoors

Birds eye view –

screen_1920x1080_0

Synoptic Project – Project Check 1 & Progress Update

Feedback“LM is sick. On track – 5 jobs ahead of shedule. Really nice progress on the whole – project is complete in unity. Benches are a little basic – work on creating a more detailed wood – I would do this through a high to low bake – look at real reference of wooden planks to inspire this. Design the Cafe inspired by blueprint designs of real ones. Look at the white windows – we could create a more reflective material that is heavily blurred and partially transparent to suggest an exterior. Think of the small details to add to desks to make it feel more alive. Think about how you will use the ceiling space – I would either add hanging lights or industrial air con. Look at soundproofing on the walls in the theatre. Look at making the benches in the theatre – these are a little boring – look at chester sofas. You are scrumming but it would be nice to see all scrums evidenced rather than only on your blog. Log everything you do on your individual contribution forms – some are up to date others are not.”
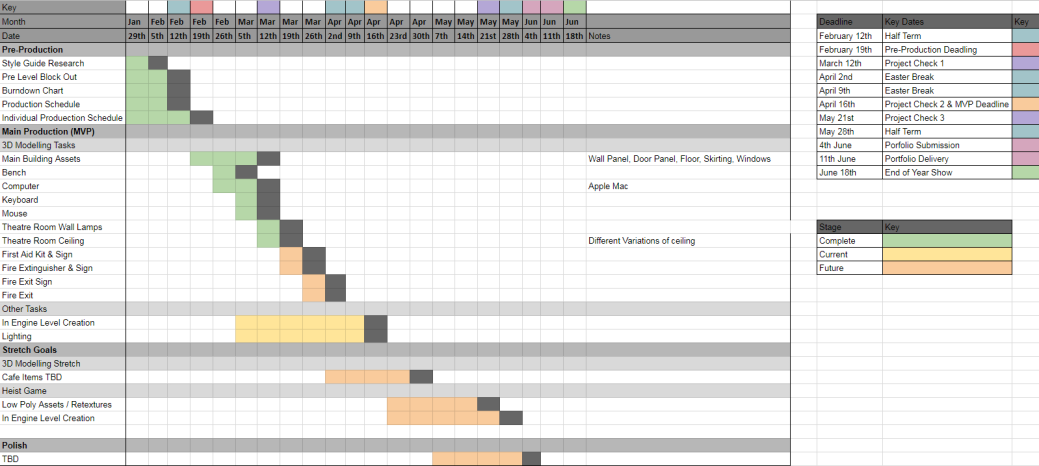
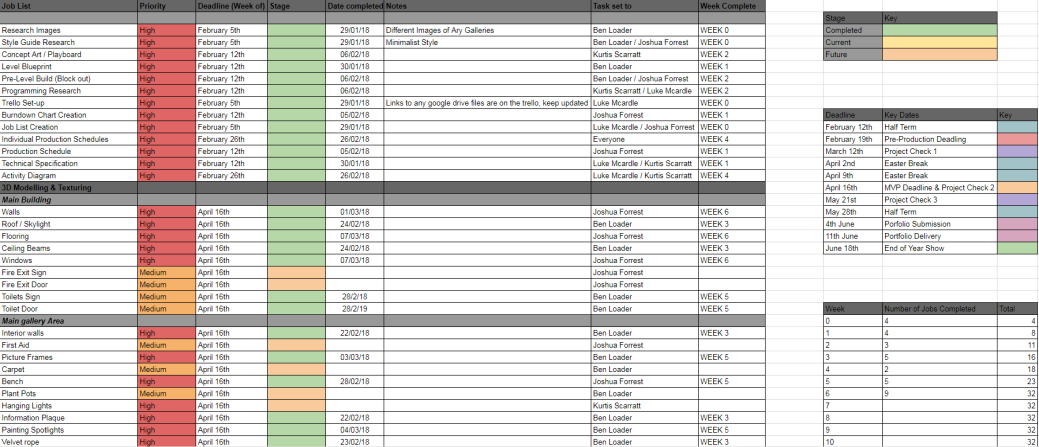
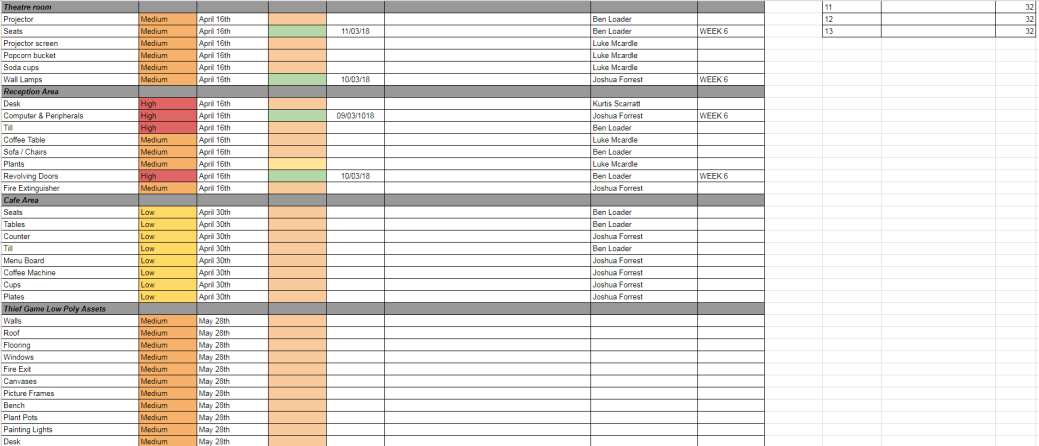
Overall I am happy with my groups progress by the first project check. We are five jobs ahead of schedule as of this week. Which means that we are exceeding our expected progress. Our feedback also shows that the quality of our product so far is good, which I am also very happy with. So far me and Ben have contributed many different assets to the scene and I believe that we will have the main level built by the MVP deadline. Kurtis and Luke will begin to implement their code to our level soon so that some different mechanics will be implemented. Our Trello is also perfectly fine as we update this when jobs get finished as well as add links to newer documentation when this is required. Some feedback we were given was the improve out scrum evidence and keep a word document that includes different notes as the members of the group complete or start tasks or if they encounter a problem and need some help. Because of this I will be setting up a production log for the group that can be updated as work is done. Other than this the group also needs to begin to work on a plan for the Artbook as this has not been done yet. Kurtis & Luke had also not updated their contribution forms at the time of the check however these have now been updated.

On an individual feedback basis I need to try and redo the texture of my Bench, this is because it looks flat due to the simple nature of the texture. it also does not contrast with the floor so it kind of just blends in. Other than this I will also be developing another wall panel which will have a hole in it. This will be for the window panel to slot into so that the player can now see through the windows rather than them being a white emissive texture.  I am currently ahead of my work schedule so I will have time to make these changes to my models.

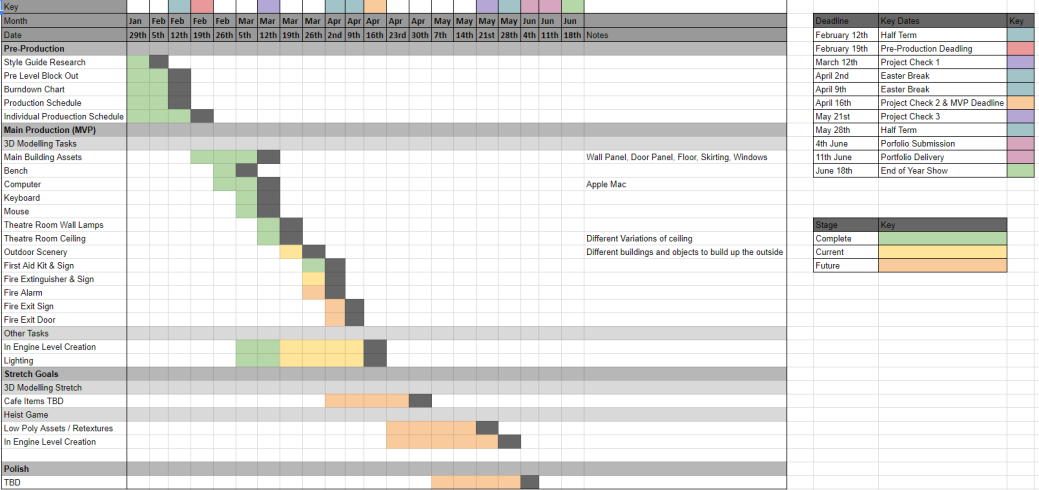
Individual Production Schedule –

Individual

Job List –

Job1Job2Job3

Burndown –

Burndown

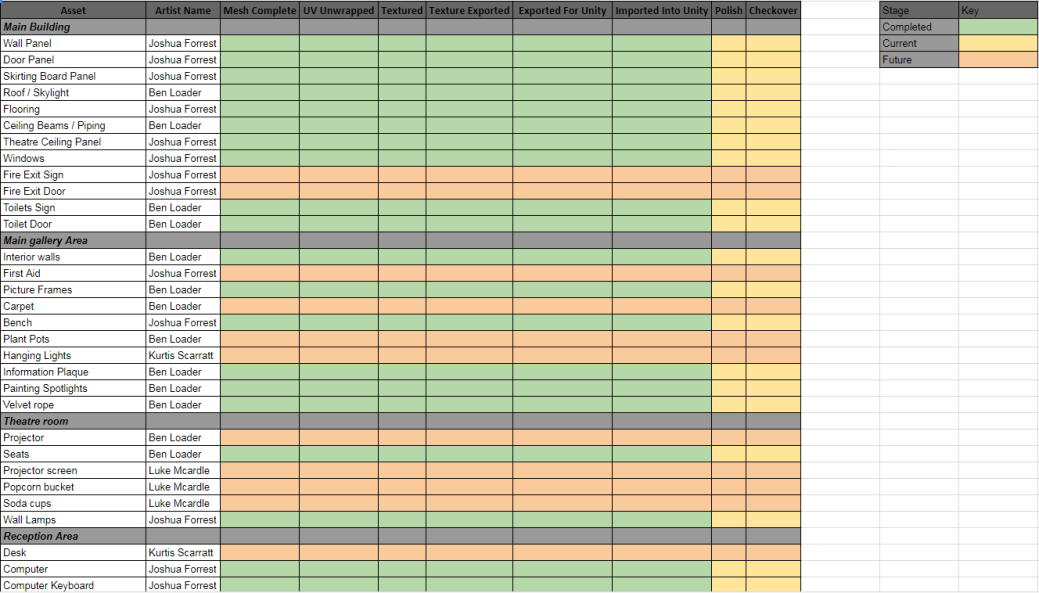
Asset List –

Asset1Asset2

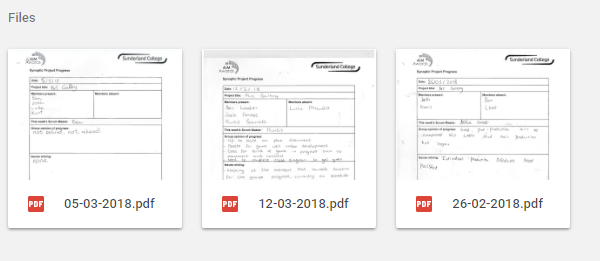
Scrum Files –

Scrums