Imagine Worlds – Final Build and Thoughts

Over the course of the last few months I have worked with my team to try and create a great product. Overall I think that the final build ended up looking great and I was really proud of my contribution to the project.

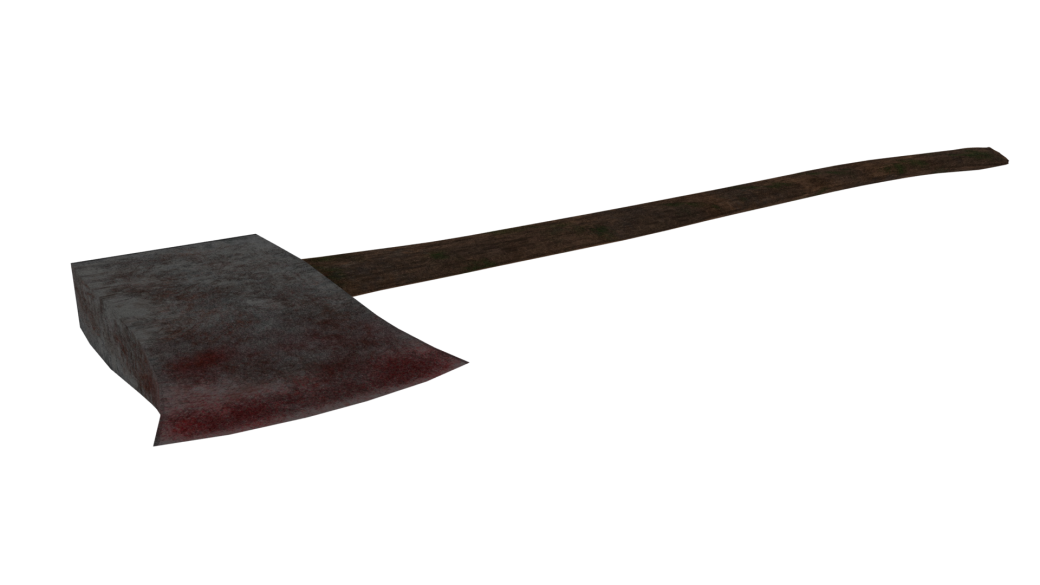
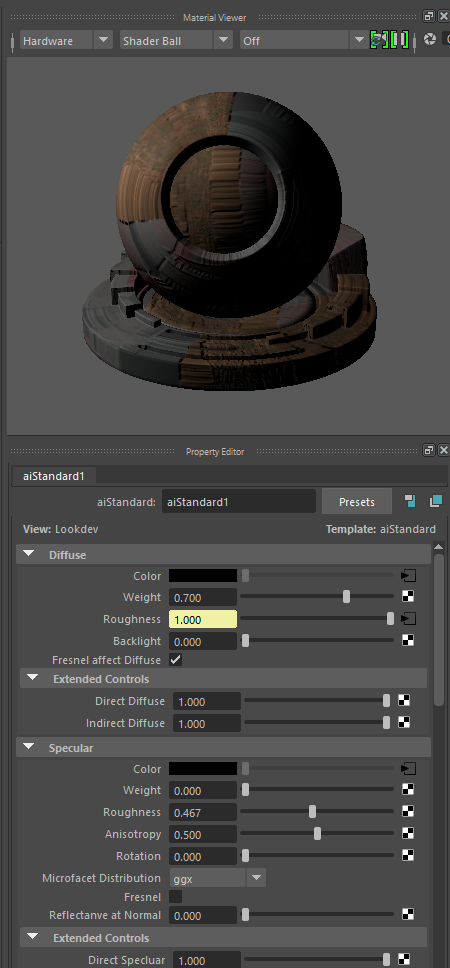
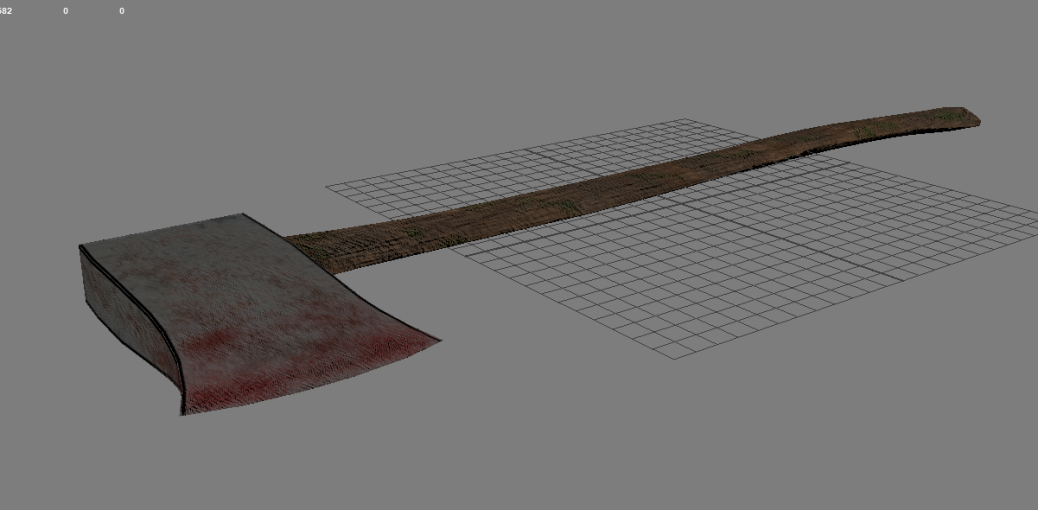
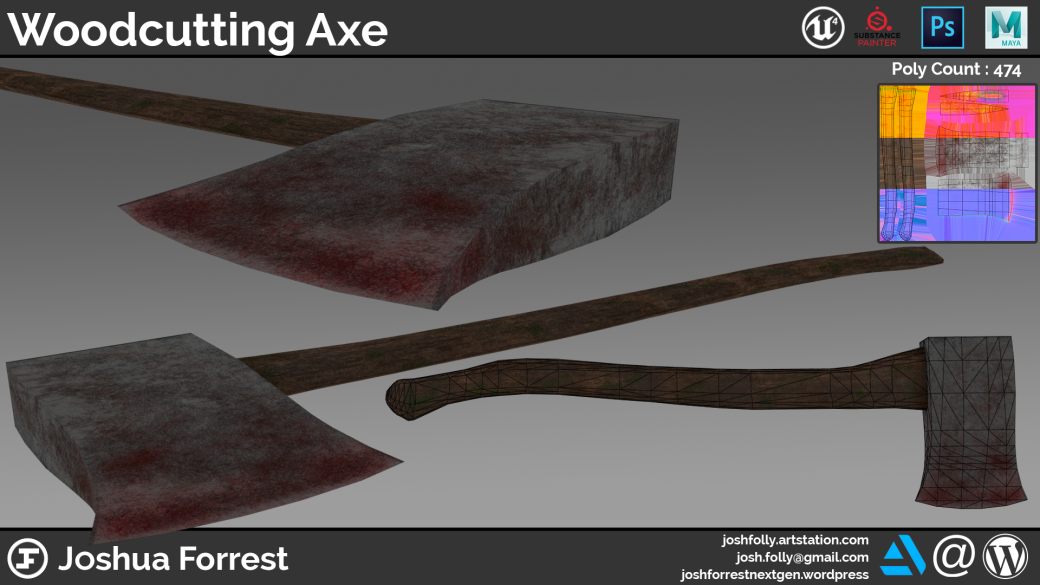
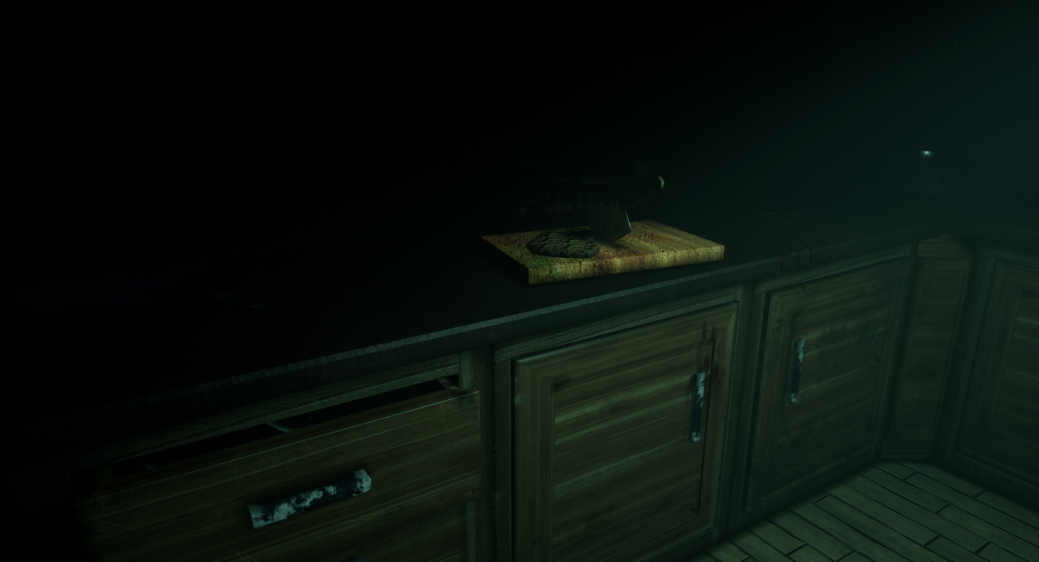
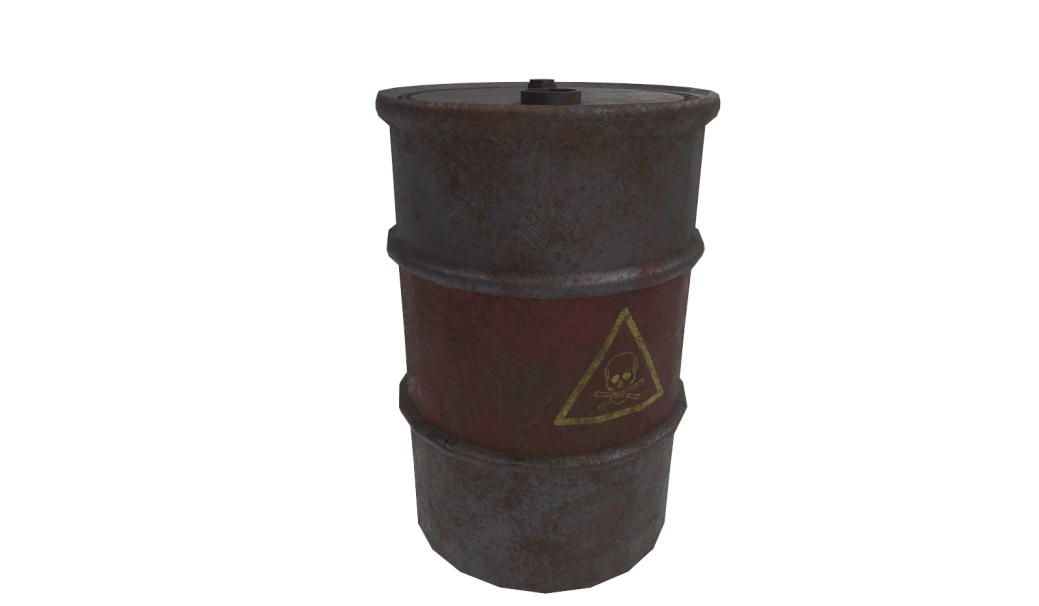
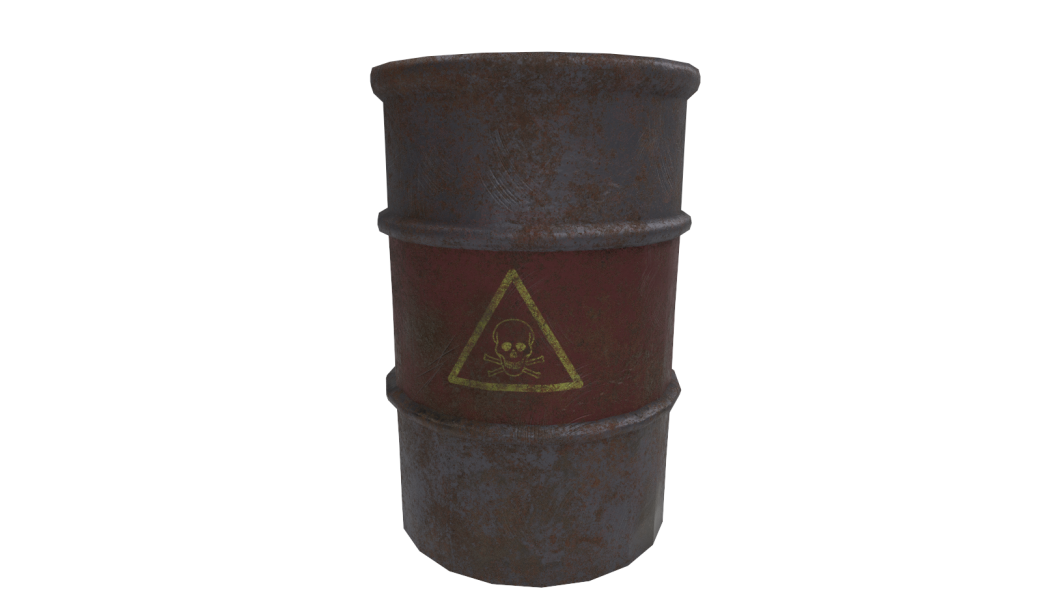
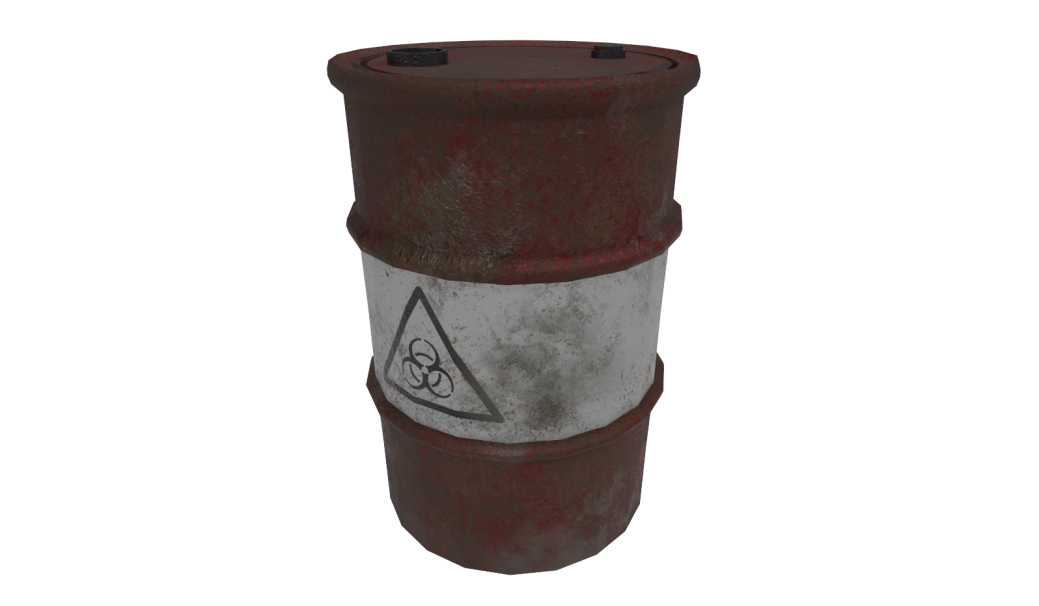
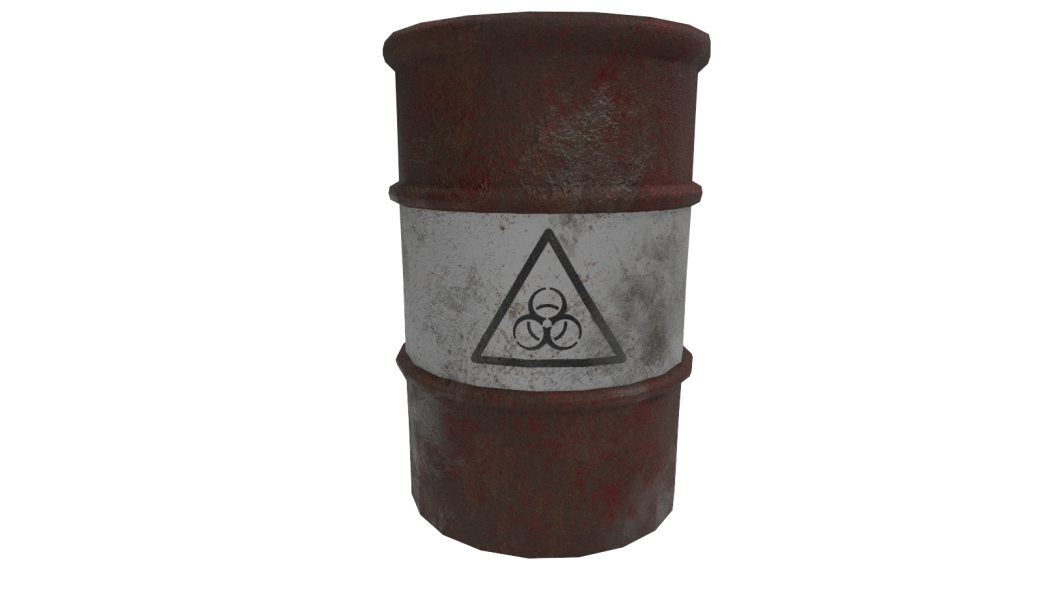
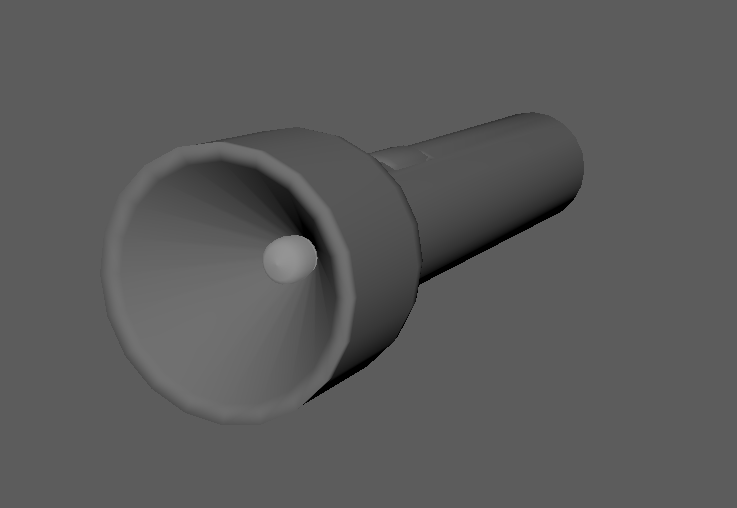
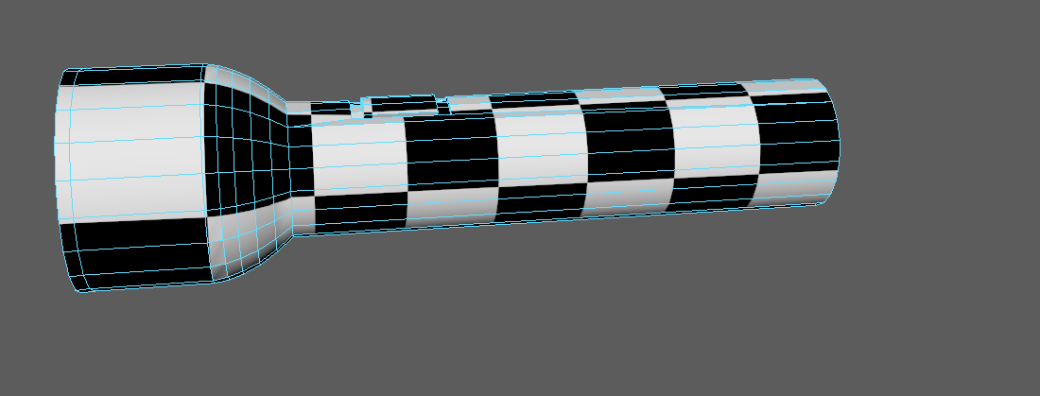
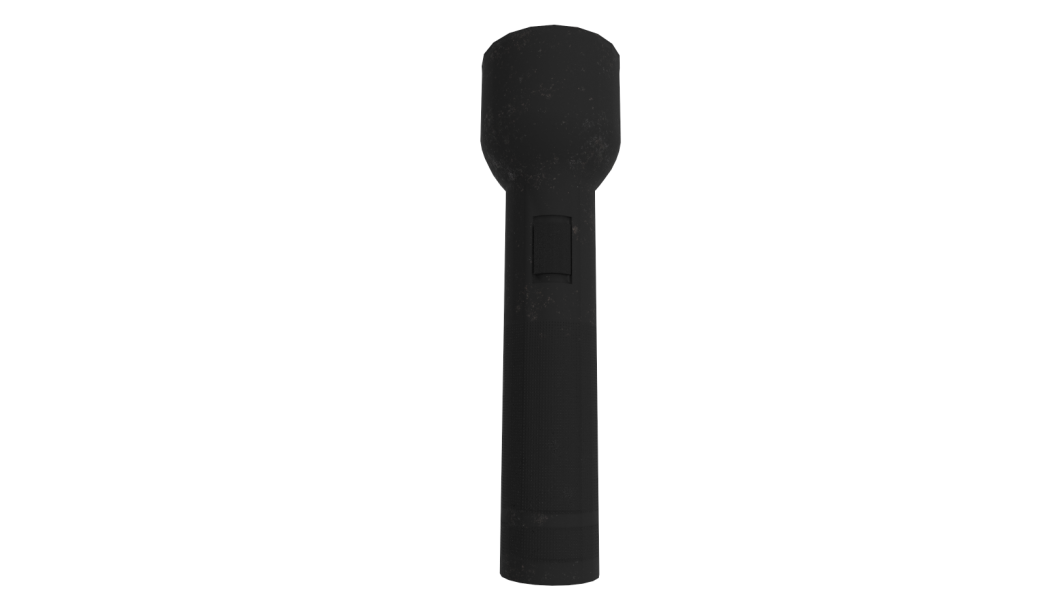
My primary role was to create 3D assets that would go into the scene to actually create the level. Everyone in my group had a modelling role as well as other jobs. Through the process of creating the models I developed some of my skills with different tools within the software and I am now much more familiar with substance painter than what I was in September. For many of my models I have tried to bake some details into them to try and have a good but also complete workflow. This is something I am going to try and continue working on by creating high poly mesh versions of each of the models I create. When exporting I would end up with three different maps but these would include things like normals, roughness and height. This project has also helped me get a further understanding of what each of the different maps do for the 3D models. I am also going to use a lot more reference images in the creation of my models so that the textures can be as good looking as possible.  Each member of the team created various models for the scene which can be seen in the asset sheet.

12

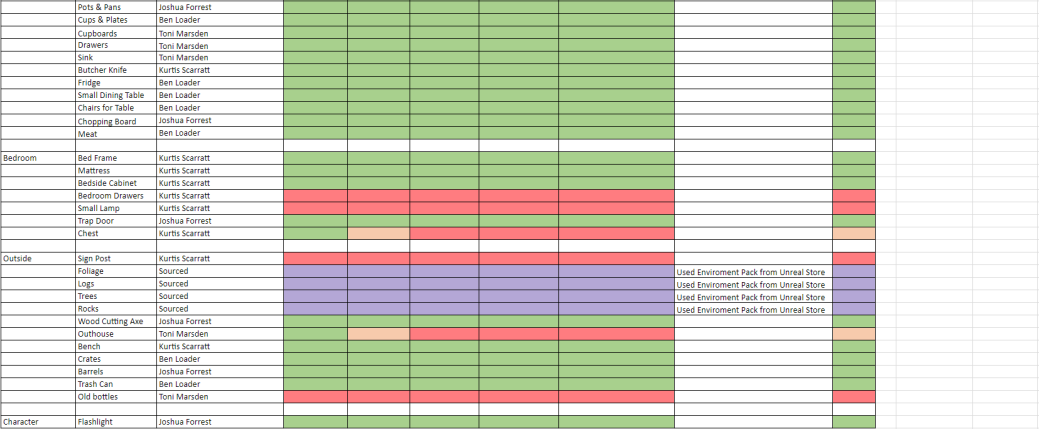
Not all of the assets were completed however this was due to us adding assets to the lists as we went along so we had more overall than what was originally planned.

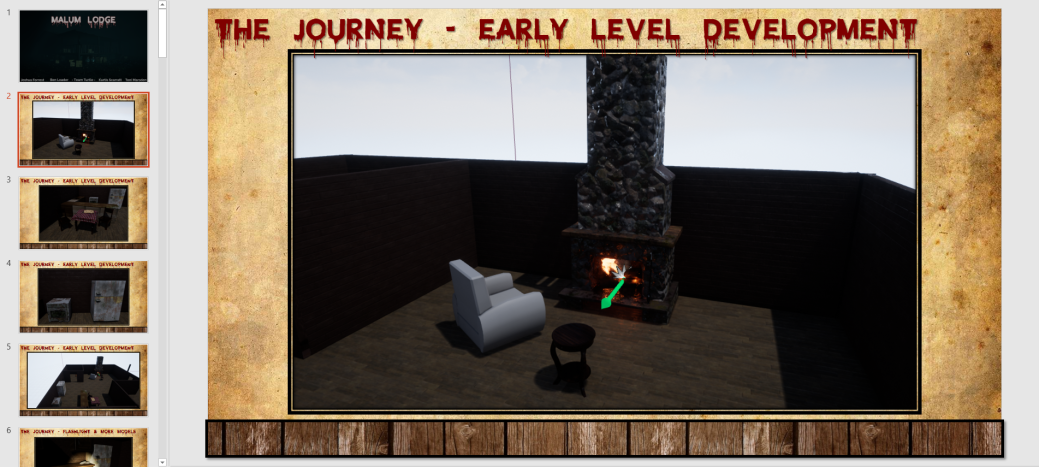
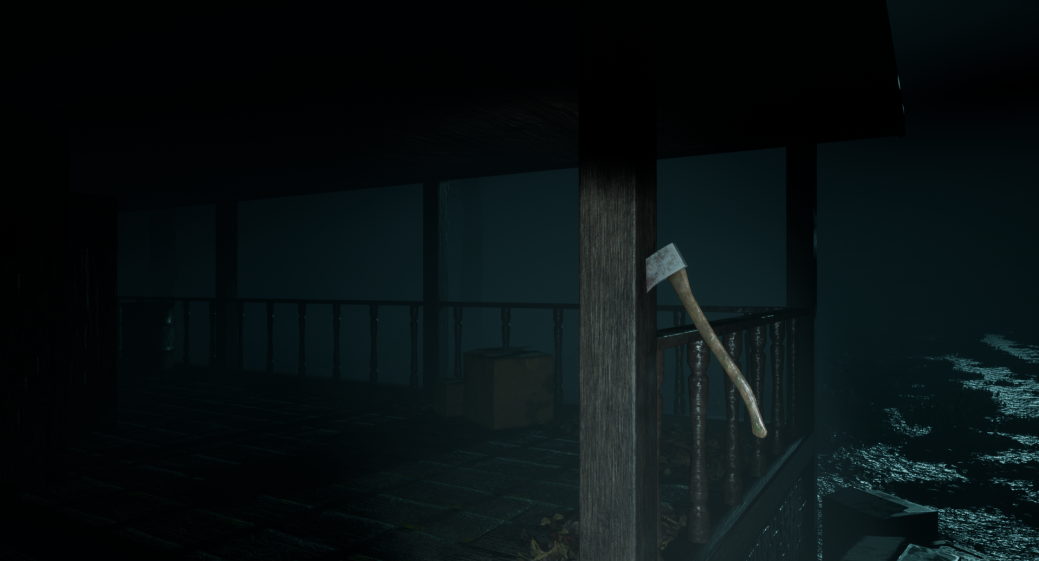
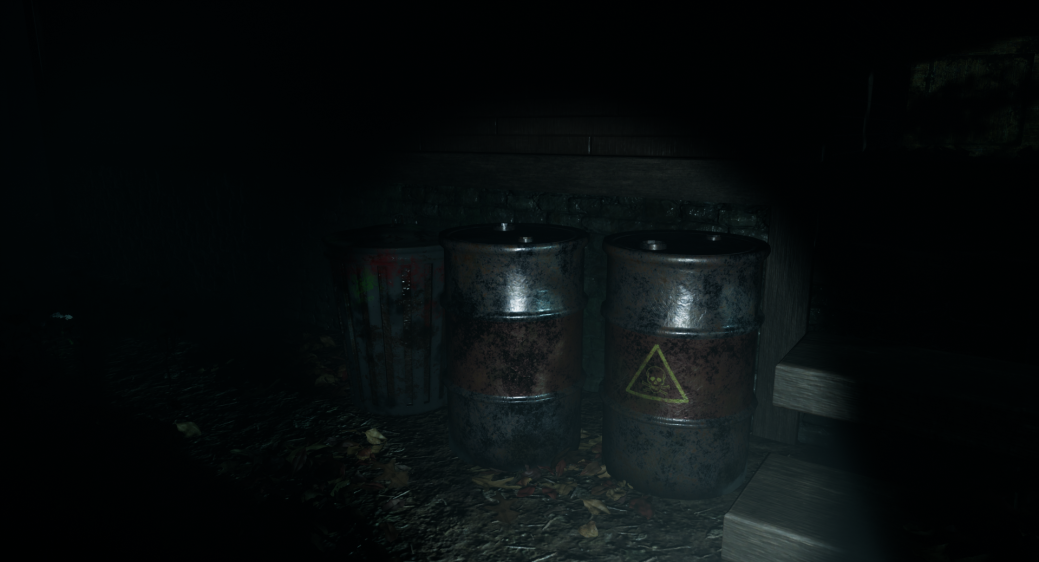
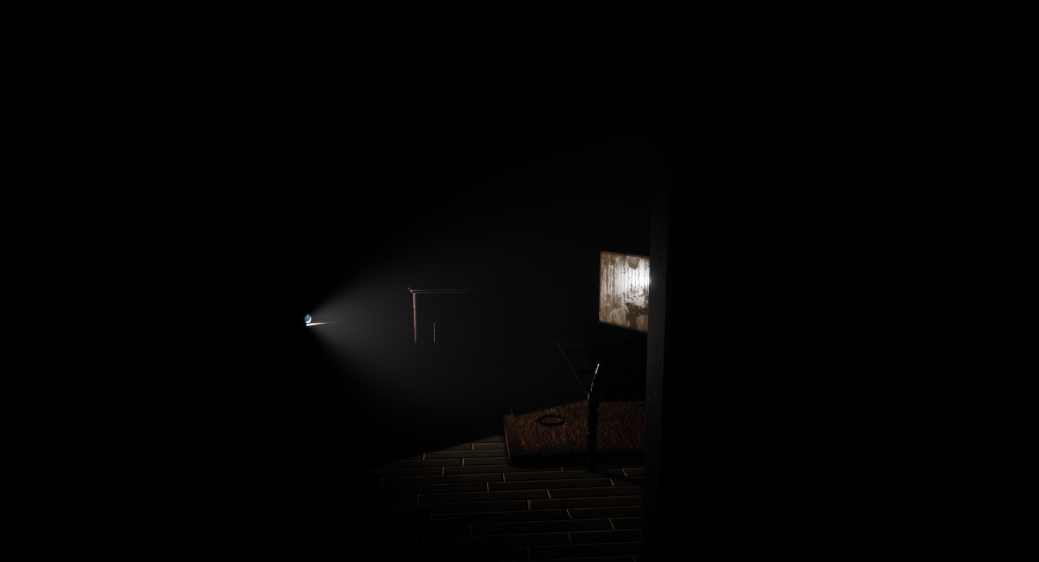
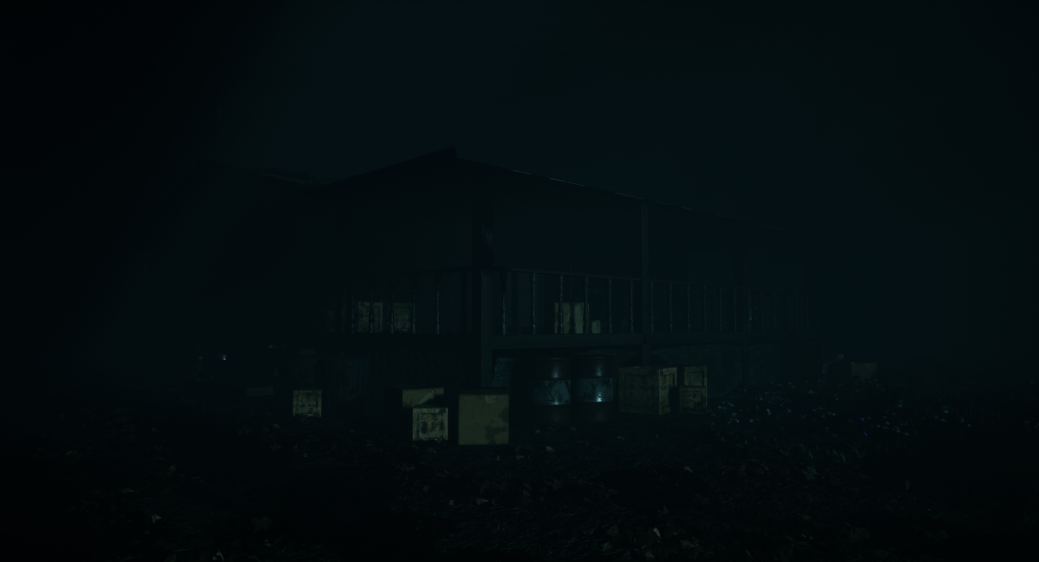
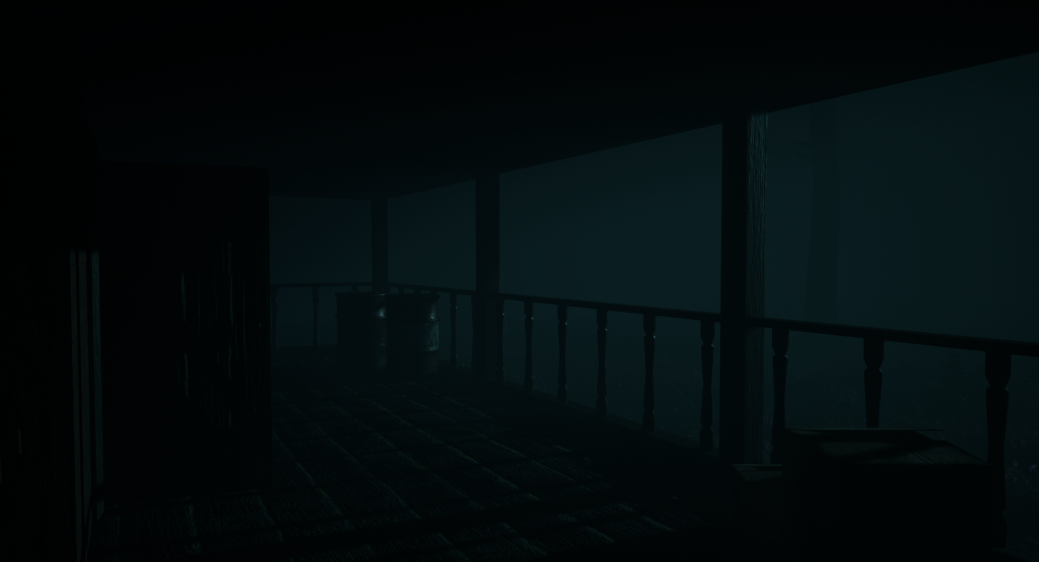
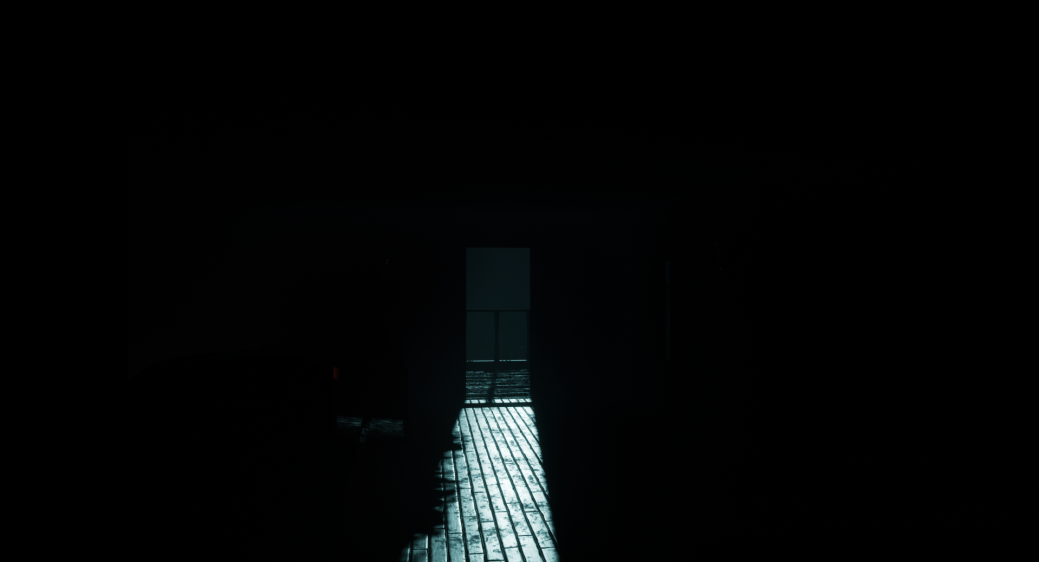
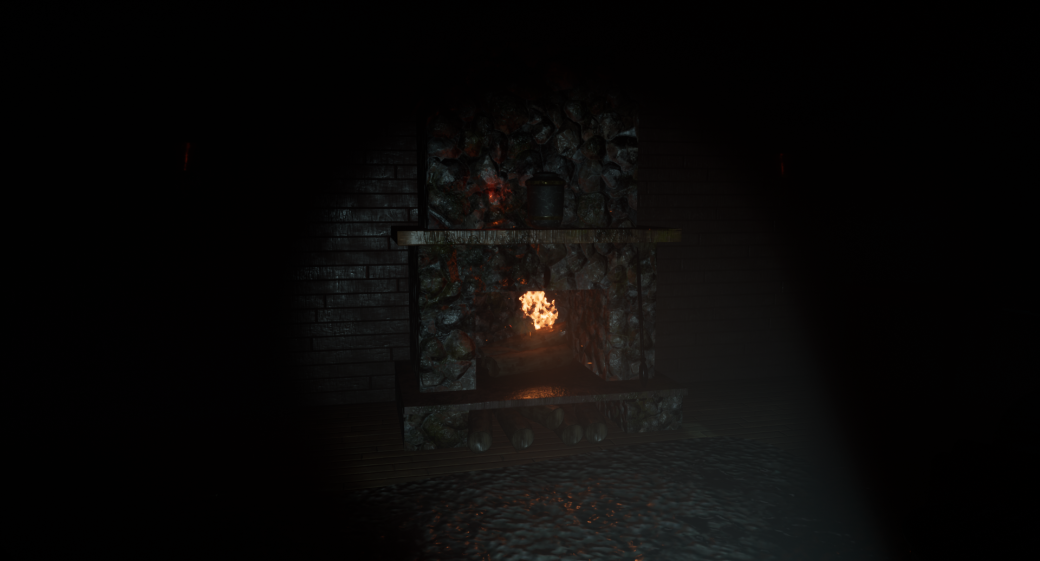
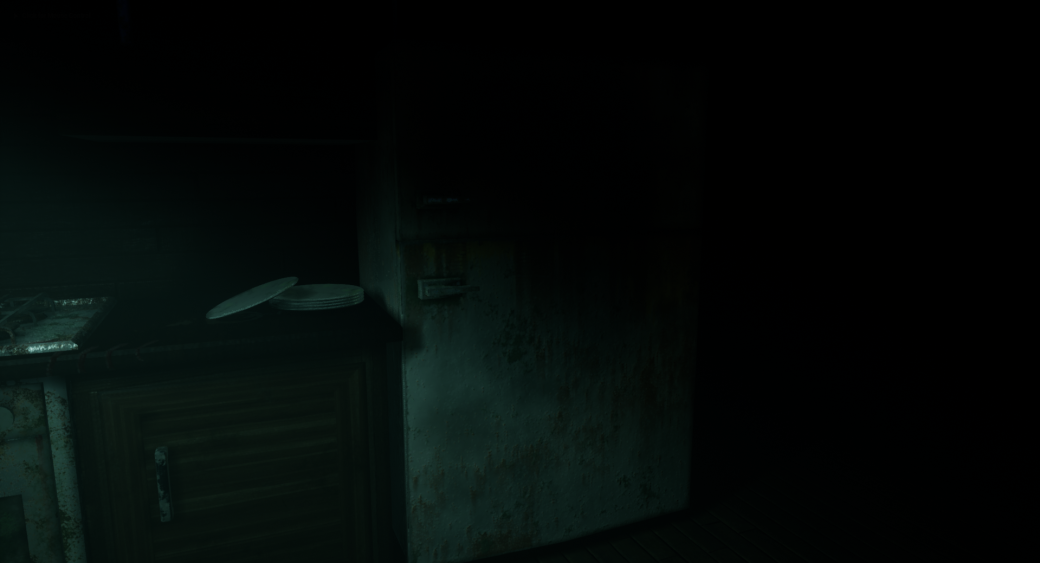
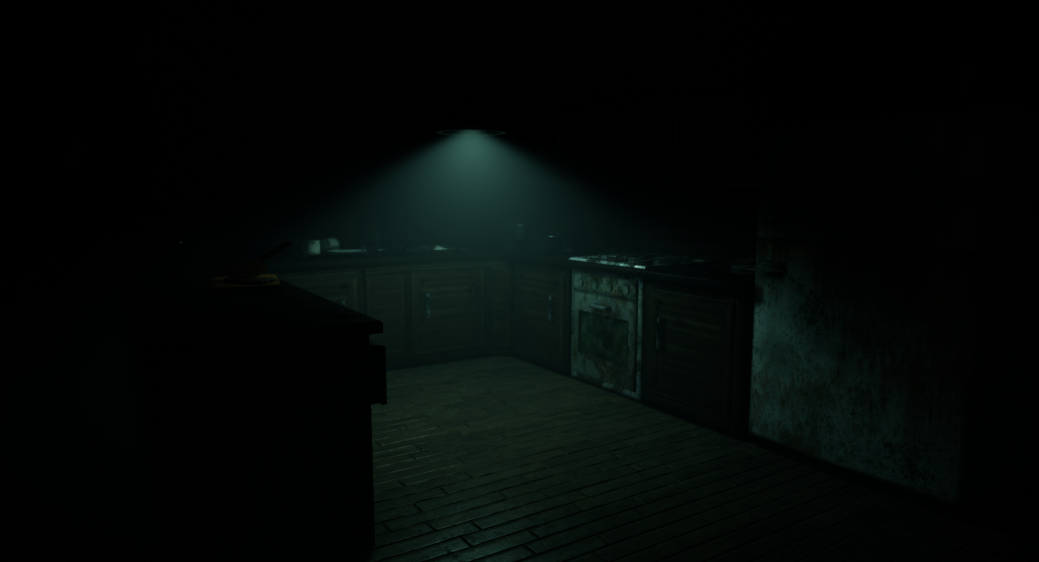
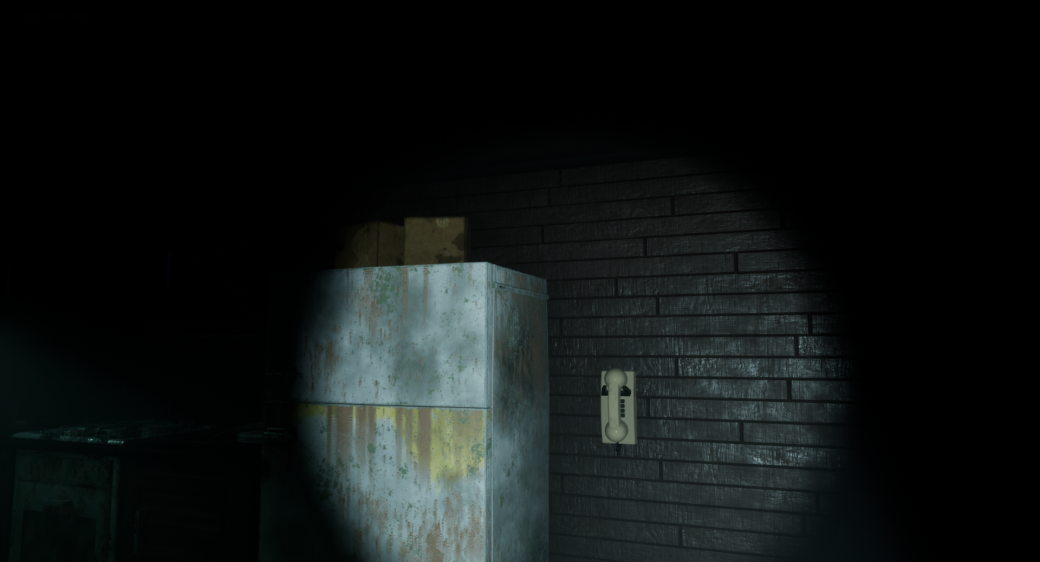
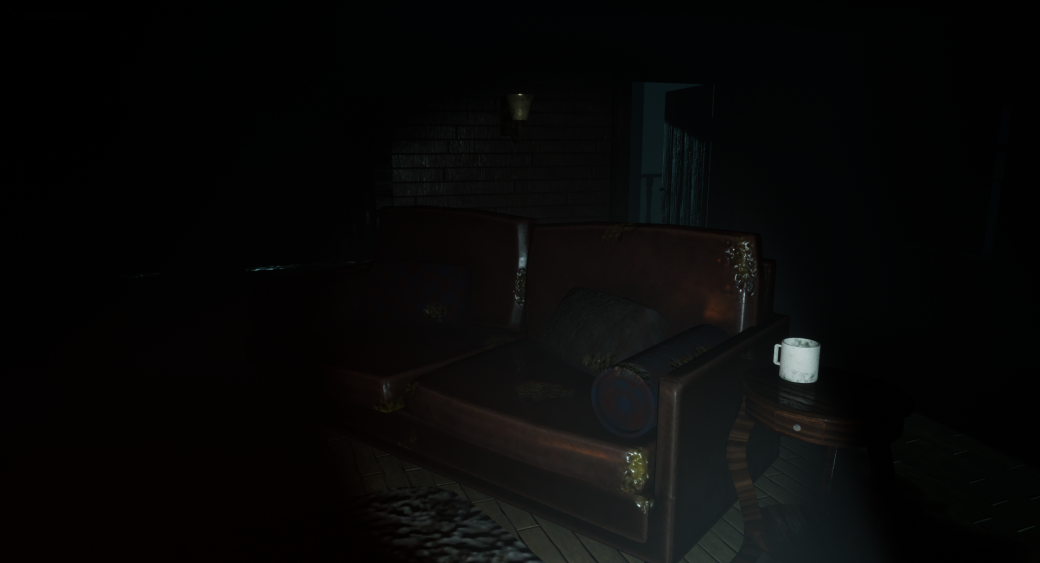
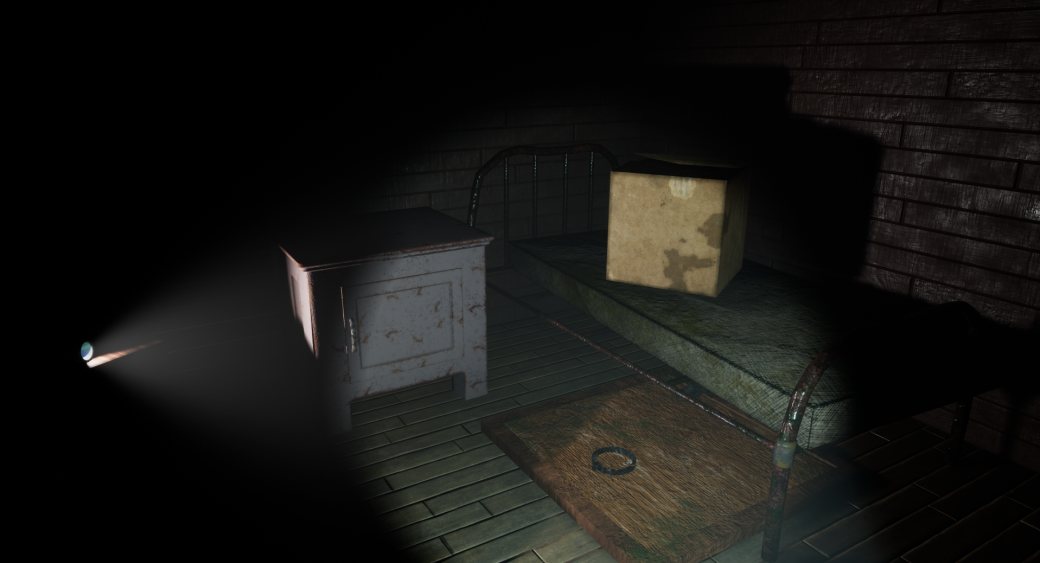
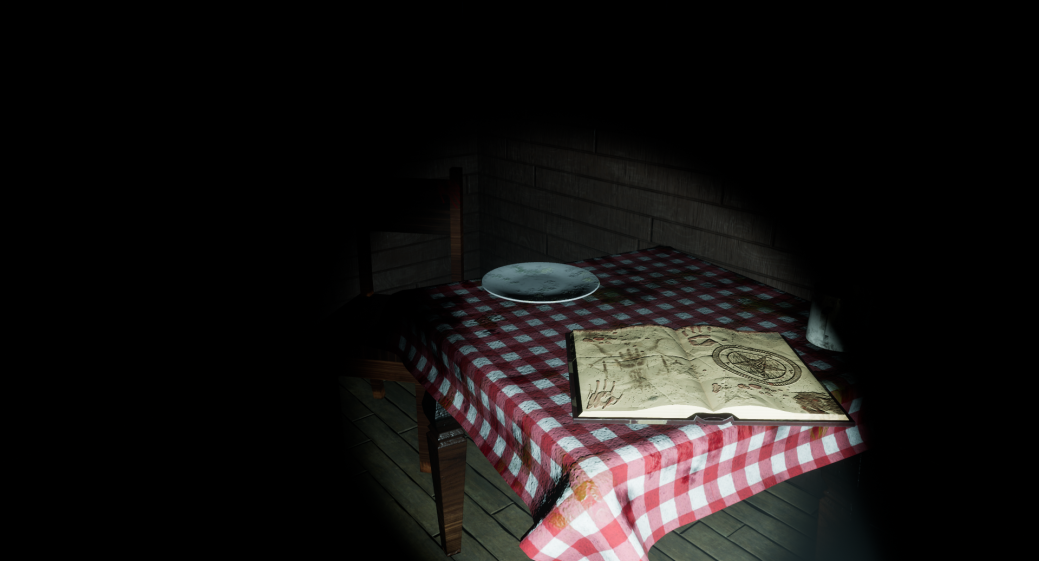
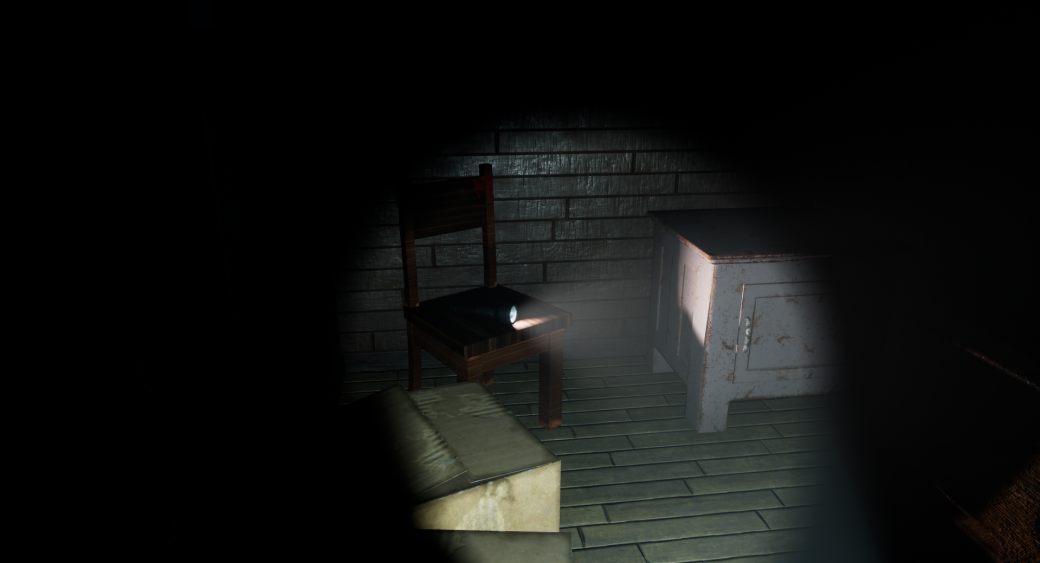
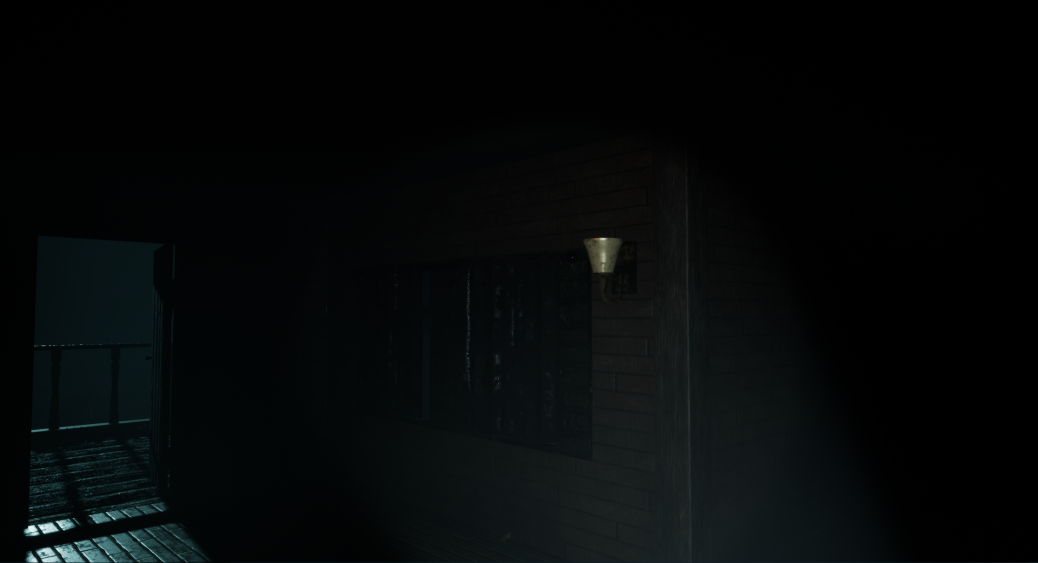
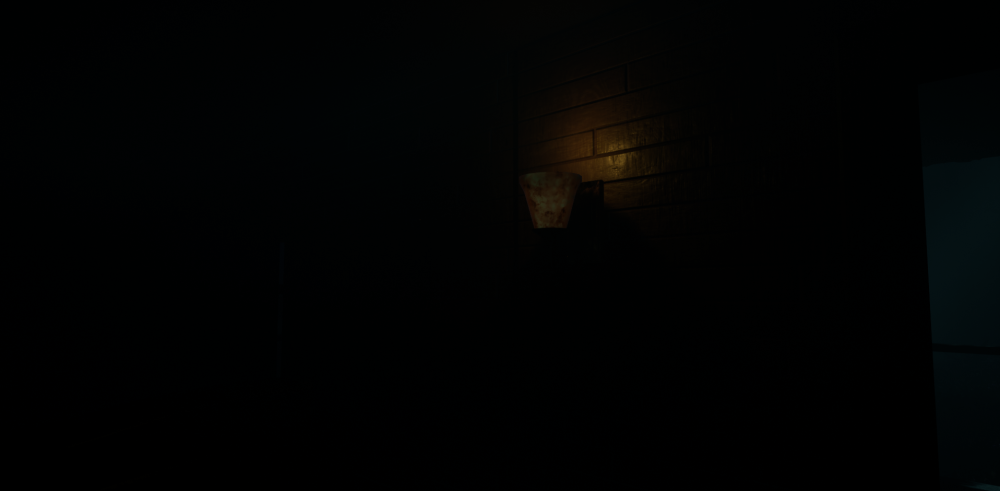
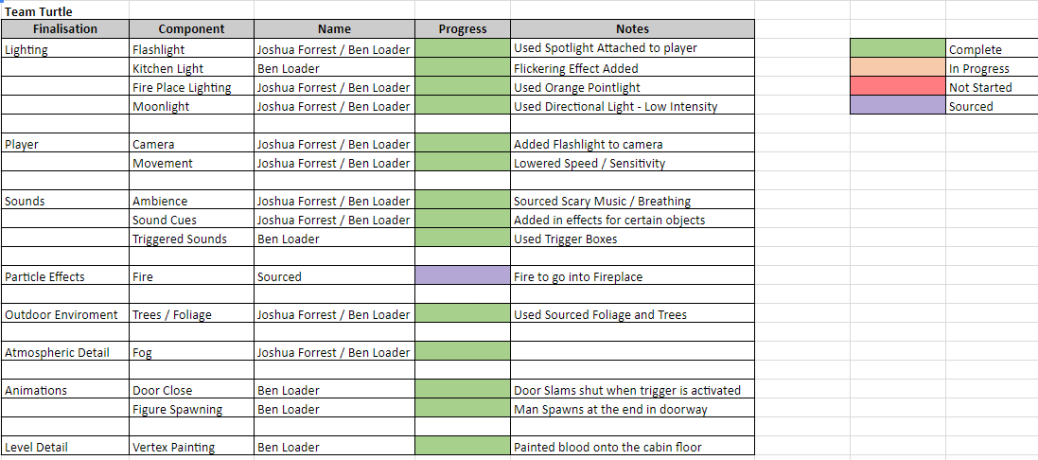
From the beginning of the project I opted to use Unreal Engine 4 to create the scene. During the planning we had forwarded a couple different ideas such as using Unity or actually building the scene in Maya. However we decided on UE4. I believe this was the correct choice due to the realistic lighting and how unreal allows the objects to look realistic in an environment. Me and Ben were assigned with compiling everyone’s model’s and compiling them into the scene. At first this was confusing due to the fact that applying shaders and maps in Unreal 4 is node based however once we understood that it became very simple to do.  Other than just simply adding the models into the scene we also had to do various other tasks such as add the lighting and atmospheric detail. By the end we had all of these jobs done and Ben even managed to add some animations into the final build. We also included Diegetic and none-diegetic sounds.

3

When it came to presenting the project we chose to do a gameplay demo. This would be a short video that was a recording of someone walking through the level. This was so that we could show off all of the different aspects of the scene including all of the individual models.

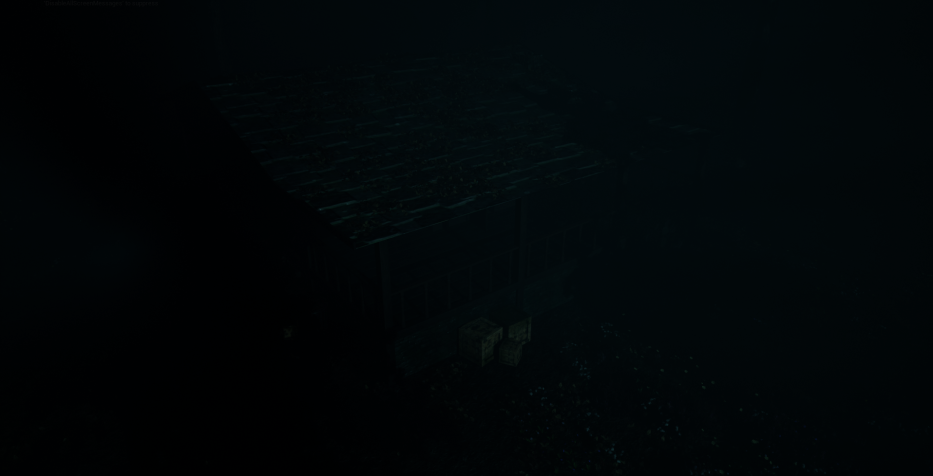
One thing that I believe needs the most improvement was the initial plans for the level as we started out with a simple idea and it kind of took shape overtime rather than having everything planned out from the beginning. We knew we were going to do a cabin and we had a short asset list however this began to expand over the course of the project. Members of my group did do some concept art that we used in the creation of the level but there wasn’t a lot. This was also stated in the feedback and I 100% agreed with this.

Feedback – “Well scoped and “complete” project, displayed well in the video. The environment could have more clutter to make the environment feel even more alive. Some of the materials and textures look like default Substance Painter work, so try to push for the next level by adding extra details (use more reference material for this). Your early planning could’ve been more efficient and the end result would be even better than the already impressive result you have now. The sounds didn’t quite have the impact they could’ve done, so make sure they get a little more of your attention in future. Adding more jump scares would have really captivated the audience and provided more atmosphere for the world – look at games like Condemned and Outlast. Pre-production is really important – you need to fully realise the project in as much detail as possible before you start. Make sure on synoptic you plan and TEST is a lot more depth. Expose yourself to as much research as possible rather than finding one thing you like and settling with that – cast your net wider.”

Imagine Worlds – Finishing Touches & Making the Presentation

Over the past week Ben worked on some of the final few touches that would go into the unreal 4 scene such as some small animations as well as a couple extra sound cues. Once this was done we were able to export the final version of our scene. We took the export to my house so that we could use a capture software to record the gameplay that would be used in our final video teaser. The footage was roughly four minutes long as the main purpose of the scene was to show off our 3D modelling skills as well as include diegetic and non-diegetic sounds. We did encounter some small problems with the capture software as the quality was not that great. After some research and some trial and error I had noticed it was a compression issue on the export. I then fixed this problem by removing the compression which meant the video file size was larger but still manageable.

Thumbnail.png

Once this video was done I began to work on the presentation by compiling images from different stages of the development of our scene as well as the individual renders of everyone’s models, so that we can display what everyone’s individual contribution is effectively. To also prepare me and Ben have updated all the documentation such as the asset list and the burn-down chart so that it is correct before hand in. While I was creating the presentation Ben was doing some final edits of the video in Adobe Premier.

Capture.PNG

Creative & Technical Model – Hand in

Download Link –Modelling Pipeline of a Wood Axe

This axe had taken around a week to complete from the beginning of the pipeline to the end. This was the first proper model that I have created using the modelling pipeline and as 3D modelling is my primary preference on the course I believe that this has been very beneficial and it has helped me with the overall development of many of my other models. When it came to the pre production of my model I did research many different types of axe, to get the overall shape and style however I could have looked into other similar tools to get some more research into the texture I wanted to use. As my research was more for the shape rather than the texture. Another thing that I had lacked in was the low to high poly baking plan as I knew that I wanted the high poly version to simply be a more smoothed out version of the model I did not state this in my planning.

Arnold 1.png

When it came to the creation of my model I wanted it to stay quite simple as it was supposed to fit in with a horror environment so most of the detail would come in the texture and I think I had done a really good job with this, however one thing that I could do in the future is look into some sculpting software to add more detail into the high poly version of the model. My low poly ended up at 474 Polys where as my high poly had 2504.

Arnold 3.png

Once the axe was exported into the engine I really liked the way it turned out and it really fit with the overall style and tone of the level. I have used a similar pipeline for many of my other models since this so I could get a more professional look on all of them. When it came to the presentation of my model I had initially used Substance to render however for the final presentation I used Arnold within Maya. I made sure to include some renders from the different angles of the axe, including a close up as well as a wire-frame render.

Axe Portfolio Render.png

Creative & Technical Modelling – Rendering My Axe Again

As my Creative & Technical model is due in on Monday I chose to use this time to make sure that my workflow was completed to the best of my ability. One of my main pieces of feedback that I received was that I needed some beauty shots of my model as well as a wire-frame render; as well as a poly count. These shots would be necessary for my final portfolio piece that will be used to show off my model. Initially I had just used the renderer that is built into substance however I wanted to return to use Arnold for this. One mistake that I had made with my renders last year was that I did not use the AiStandard shader when rendering with Arnold which explained why I could not get normal maps to work in the rendered image. To set up this shader I simply created an aiStandard and then plugged in the textures that I had to re-export from Substance with the Arnold Settings.

Arnold 2

It looked a little strange as if I had done some shell shading on the objects texture however when I took the render the maps worked fine. Another thing that I used was the Arnold Lighting. For this object I used the aiSkyDome. Arnold 1

This slideshow requires JavaScript.

Once I had all of the renders I needed I placed these images into my new portfolio page.

Axe Portfolio Render.png

Imagine Worlds – Minimal Viable Product Hand in

Feedback – “Great looking environment so far! Play around with lighting, especially around the fire, and the atmosphere. Add creepy sounds and animation triggers, subtle movements to existing objects to build tension, etc. Seal the scene off and add in the trail you mentioned to let players know where to head.”

Today was the deadline for the Minimal Viable Product to be handed in. Overall I was really happy with the progress that had been made to this project. The overall look of all of the objects fit with the tone and the style of the level and a lot of the in engine work that me and Ben had done for the project had really paid off. Some of the assets from the asset list had not been completed by the deadline however this was due to the fact that we kept adding assets to the list as well and it was ever growing. This shows that our pre-planning could have been better as a longer list could have been made initially. Over the next two weeks we are going to work on the finalisation of the level and use the feedback as a list of things we will try and get done by the deadline.

Below are many different screenshots of our level at the MVP stage, I do not think this will change much in terms of assets however different lighting and animations will be put in place so there is more tension within the gameplay.

ArmchairAxe_Deckingbarrelsbarrels_2BedroomDoorwayBinsCabin_ExteriroioChoopingBoardCookerCrate+CboxCurtainsDeckingDiningRoomDoorwayFireplace_DarkFireplace_LightfridgeKitchen_darkOutside_1Outside_treesPhonePicturePots+PansSinkSofa_Tabletable_BedTableCloseTorchWindowLight


Imagine Worlds – Lighting Changes

After adding in the flickering lights last week Ben came up with the idea of further developing this concept and rather than using this on the wall lamps we added a ceiling light into the scene within the kitchen and added a dim flickering light to this area. I really liked the look and effect that this light had on the scene.

kitchen1

We were also initially going to add the flashlight asset so that the character was holding it, however instead we chose to set it up on the chair in the bedroom and have it shining towards the trap door to show that this area may be of significance to the player, as this area may be where the level ends. torchbedroom

We are now down to the last two weeks on this project and almost all of the assets that we needed for the creation of the scene has been complete and this means we have been able to focus on more level oriented changes. We have discussed the possibility of adding different sound cues to the scene such as a ringing phone that may prompt the character to go over and interact with that item just to add a little backstory to the level. As originally the level was intended to just be a really nice looking environment.

Imagine Worlds – Adding Atmospheric Detail, Sound & Lights

Last week we began to add some of the final touches to our environment so that the overall project would hit the minimal viable product. One of the key components that was missing was the audio of the level; as part of out pass criteria was to include audio within the built scene. Due to this we looked back to previous horror games to look at what sort of audio clips they included. One of the more important ones was the overall ambiance that plays in the background of the level as the use of music can increase the overall tension. This was non-diegetic sound. For the diegetic sound we have added a heavy breathing affect to the character that will play in a loop over the course of the level. One problem that we have ran into is not being able to add footsteps as we cannot find any tutorials at this time related to adding footsteps in first person, due to this we will continue to research.

Once the sound was in the scene we added some fog to the level. Fog will add to the overall spooky affect and this was another key component to the level to get the overall scary feeling. I personally really liked the way that the fog turned out as did the rest of my group. It added another level of depth to the scene and increased the immersion.

1

We also imported many of the objects that we did not have in the scene such as the decking fence, the stove and the wall lights. Currently I do not have any images of the stove in the scene as I had forgotten to take one but I will be able to get some next time I open the project.2232

Once this was in Ben researched how we could add flickering lights to the scene. At this time we were not 100% if this is what we wanted in the scene however it was useful to include at this time just to have a look so we could decide.

42

Imagine Worlds – Barrels

Last year I had created some barrel assets that I used to go along with my dystopian vehicle. This was originally intended to be something that would go on top of my vehicle and I had noticed I could use this asset in the Imagine Worlds project. However as the model was so old it had not been textured using substance and I therefore knew I could make it look better so I opened up the model file and made some small changes such as removing some edge loops so there was less tris. I also redone some of the UVs just so the layout would be better overall as well as making sure they had been unwrapped correctly. I had noticed through this process that my unwrapping skills have greatly improved since I originally created this asset.

When it came to texturing this asset I went for an old rusted metal look so that the barrel would look worn as if it had been left outside for a while. I had also noticed that this asset could be duplicated and used in a couple different locations within the scene, due to this I chose to make a couple different textures for the asset just to add a little but of variety to the asset and to the scene.

Render 1Render 2Render 3 (Different Texture)Render 4 (Different Texture)

Imagine Worlds – Flashlight

Just like the barrels this is another old asset that I had created for an old project in the first year however this mesh had not been UV unwrapped at all and the mesh was a little bit messy, due to this I started by cleaning up the object by remove necessary edge loops to reduce the poly count. I also softened the edges to make the mesh look more rounded and less sharp.

flash1

Once the mesh was cleaned I began to UV unwrap the object as all it had been automatic unwrapped before this and none of the edges were sewed together. The layout of the UVs vastly improved.flash2

I then began to work on texturing the torch within substance. For the base material I went for a matte plastic that looked a little worn with different marks across it to show it was old and had been used previously. There was also some dirt added as torches are the stereotypical item that someone would use while camping. On many different reference images I was looking at the torches had grips on the handle. Due to this I looked for a different rubber grip material and I placed this onto the torch. I added a mask to the plastic and began to rub away the areas that would have the grip. I also added this material to the button that is used to turn the torch on and off, I did this because these sorts of materials are usually found on torches that have a button rather than a switch.

flash 3

I had also added some glass to the front of the torch as well as adding some emission to the bulb.

Render1Render 3Render 2