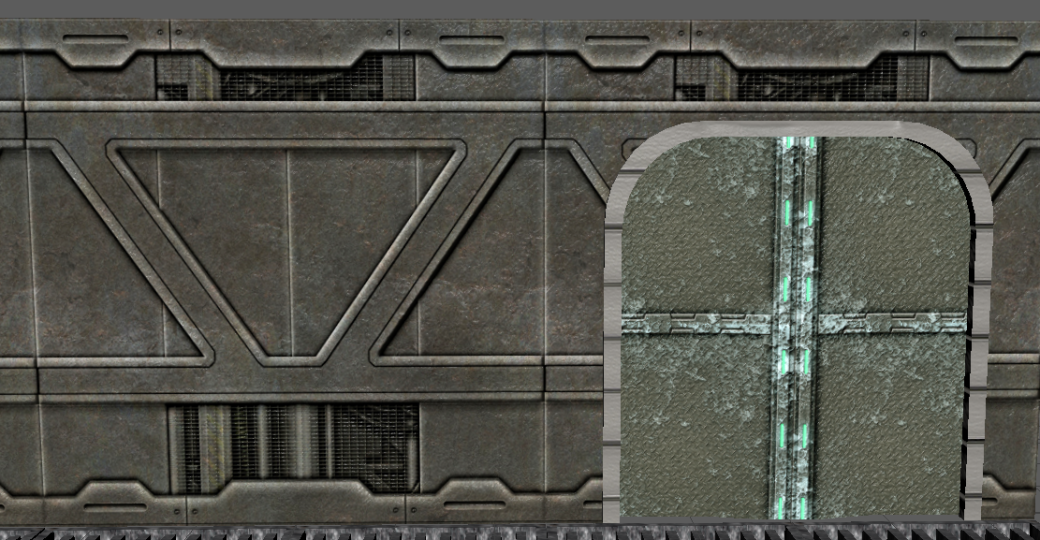
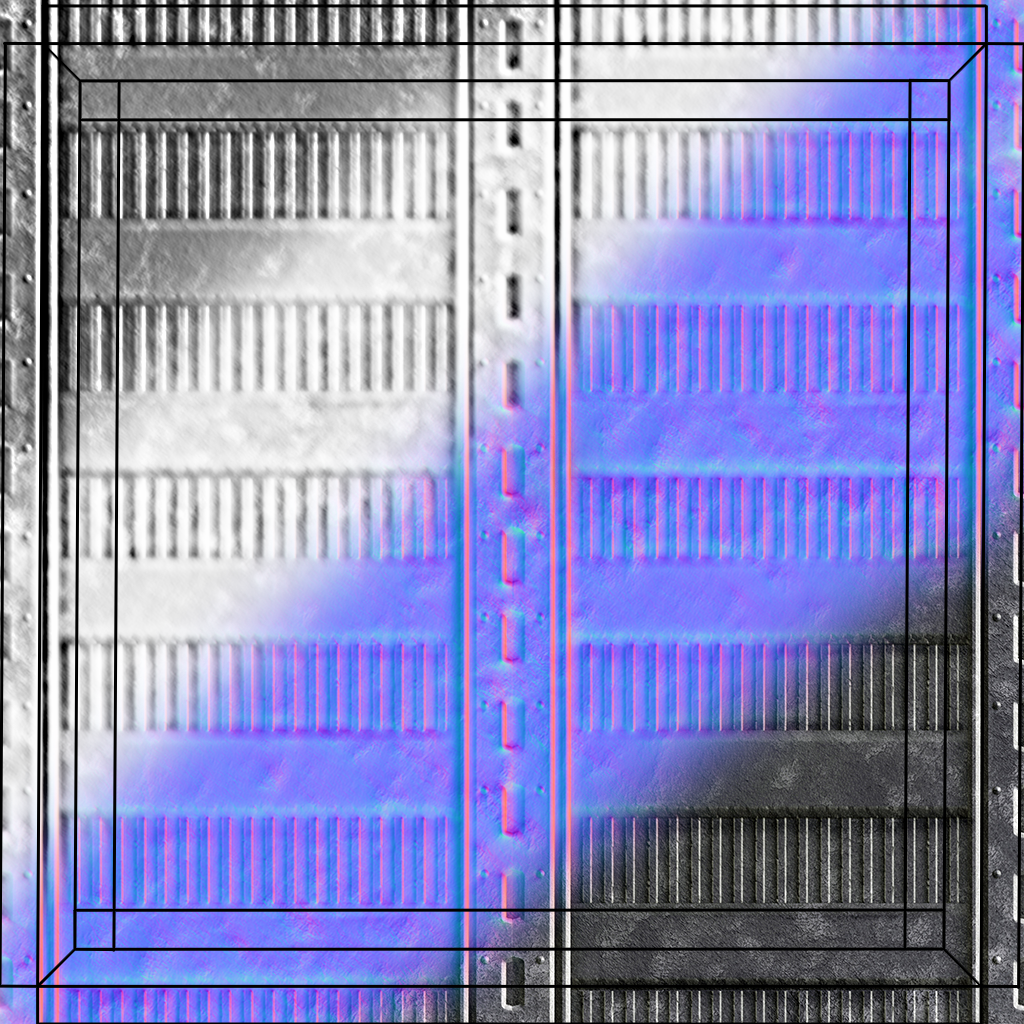
Yesterday I had decided that I would start creating a bunker so that I could begin to further develop my skills in Maya but also learn how to use the Unreal Engine. I had started this project by creating a simple and flat wall but with different maps. The next model that I began to create was a doorway and a door that would also fit into the same theme. Because of this I made the door look like it was thick and made of steel. To indicate where a door is and add the extra level of detail I also added a door frame.
Once the Door was finished I exported that and the wall as an FBX and imported them into the Unreal Engine.

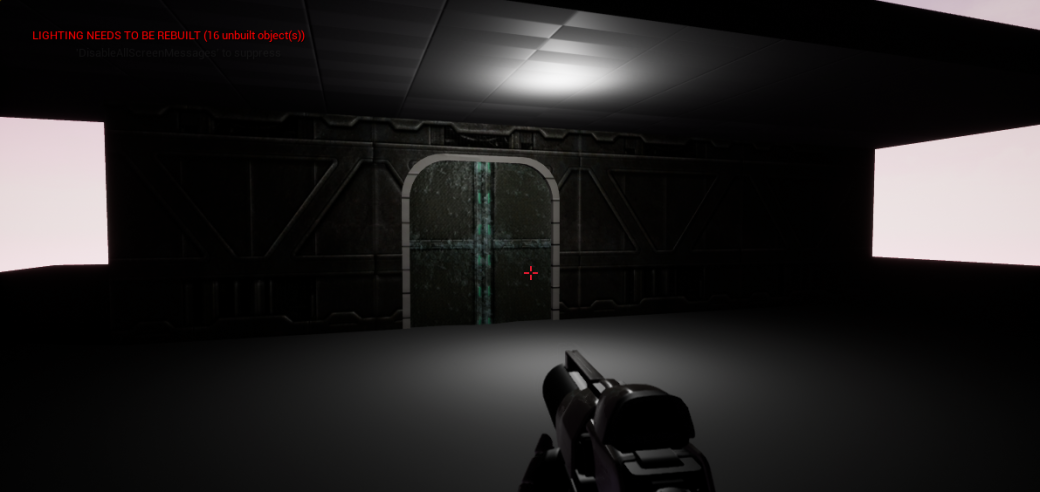
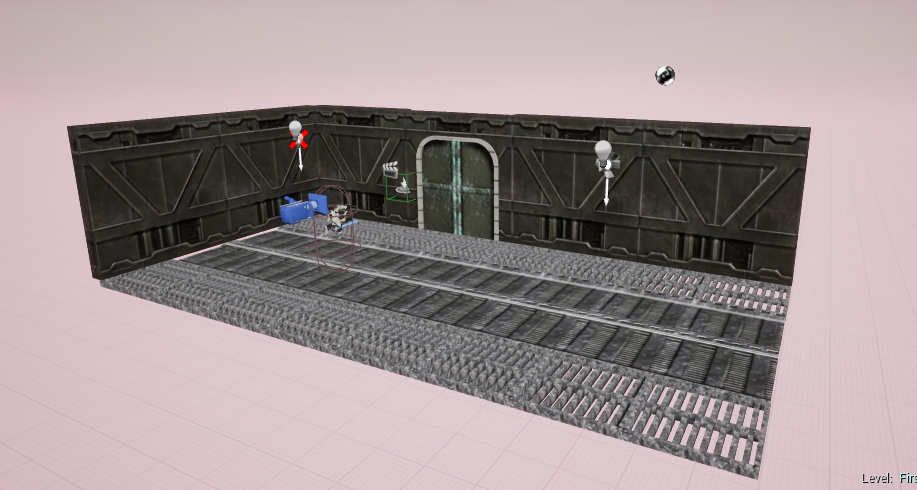
As I had put a lot of hours into modelling and texturing these assets I decided to play around with some of the lighting features within unreal. This is what the scene looked like once I had removed the skylight and added in a point and spotlight.
Since I had created the wall assets of this room I chose to create a flooring next as this would be key for my player to stand on. As I am going for a underground bunker approach I decided to have the floor be in two sections. The main panel that is in the middle and also the grates on the sides of this panel. The grates allow me to be able to add more features under the scene such as pipes which will be added for more detail.

This is a small snapshot of my environment within unity.
After the Floor was finished I began to play around in unreal and research up on how I could Animate the door so that it could open. This gave me a bit of practise with the blueprints within unreal. The door is set up so that the player must press the E key on a trigger box that is connected with the door so that the door will open.

I had also found out about the Post processing volume cube that allows all the lights and other features to be affected by this cube to add a more atmospheric feel. This is what the level looks like so far, this will a lot as I begin to work on it some more.
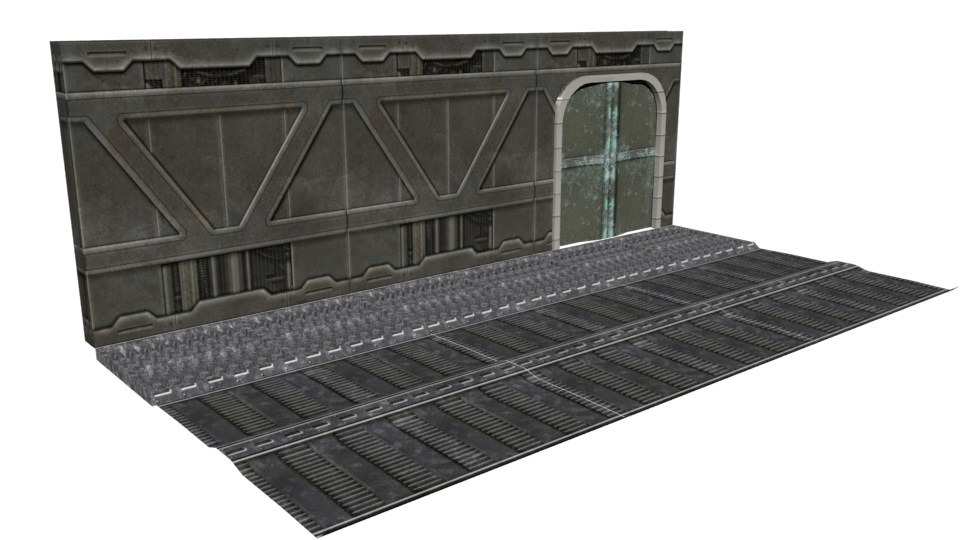
This is what the assets look like so far rendered in Maya using Arnold.