Home Project – Modelling a Bunker – Early Development

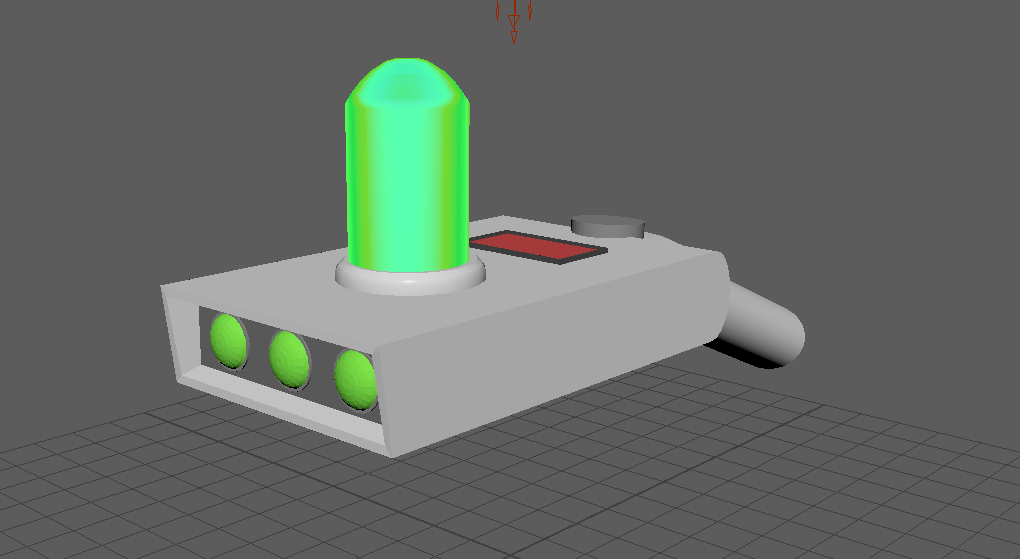
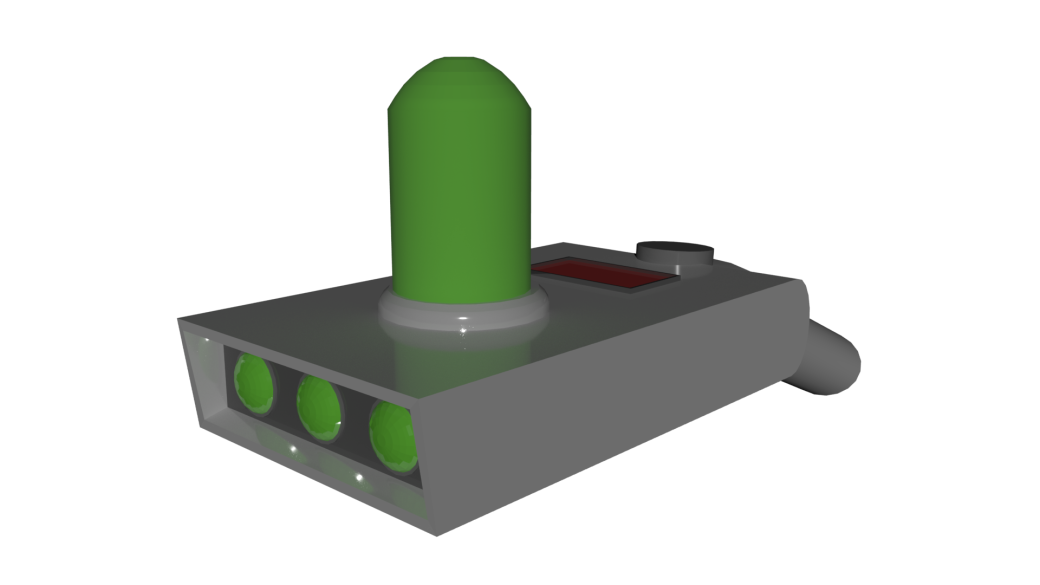
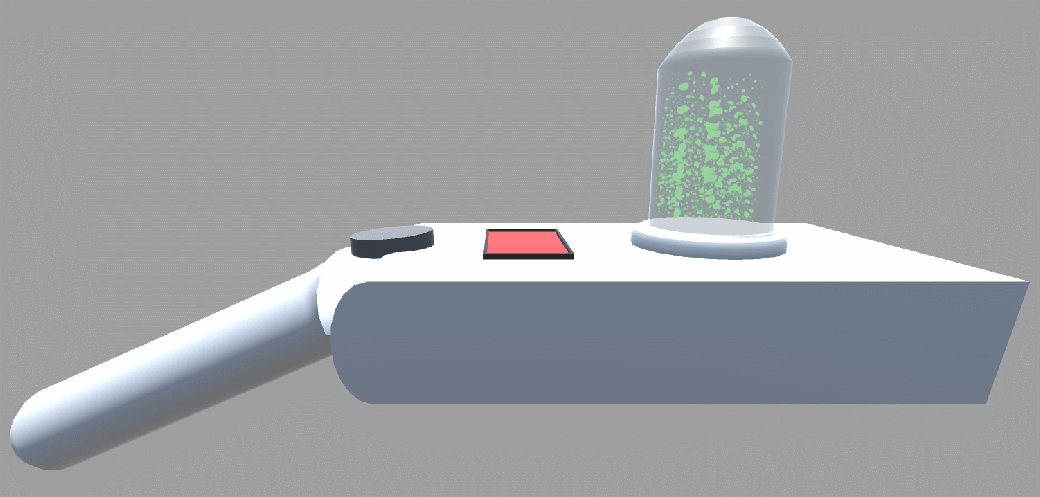
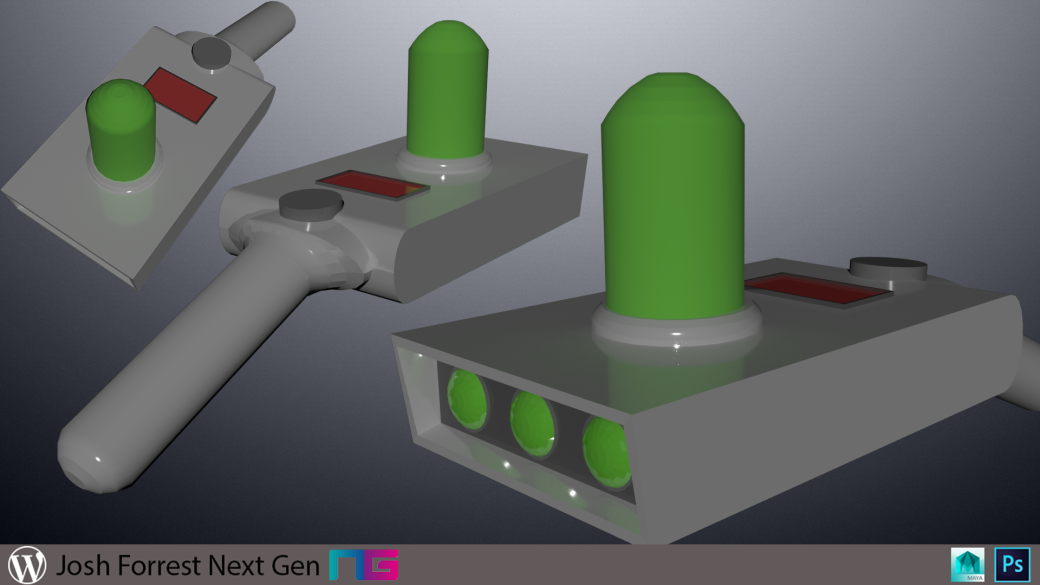
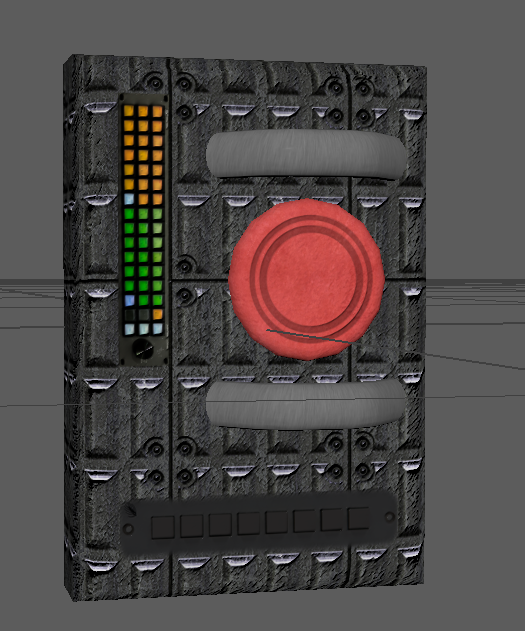
Over the last two days I have continued work on my bunker and I have recently created a button to go alone with the door and also a window wall piece to add a little more depth into the scene.

This button was not too hard to make and the UV unwrapping was definitely the more difficult part in the production line of this model. The model was made up of four different meshes. The button, the main box and the 2 smaller handles. These handles were added mainly for detail so that it did not look as flat. The button is the main component of this console as this is what would be used to open the door in terms on immersion. The texturing was no too difficult. I had sourced a few different textures and edited them together within Photoshop. I also added a normal map so that the box and the detail buttons on it did not look flat and had some more density.

Button Textured

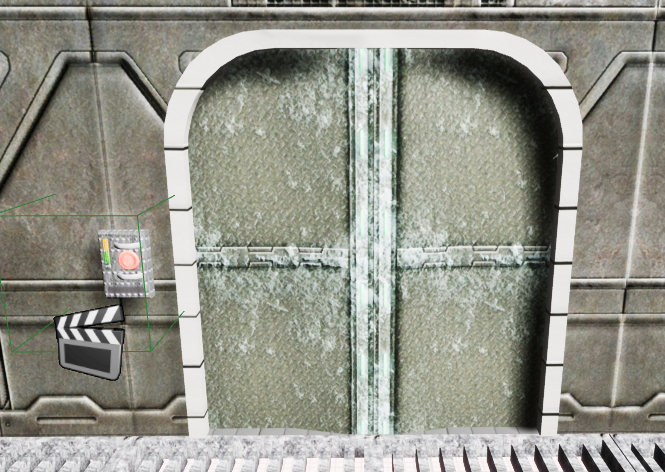
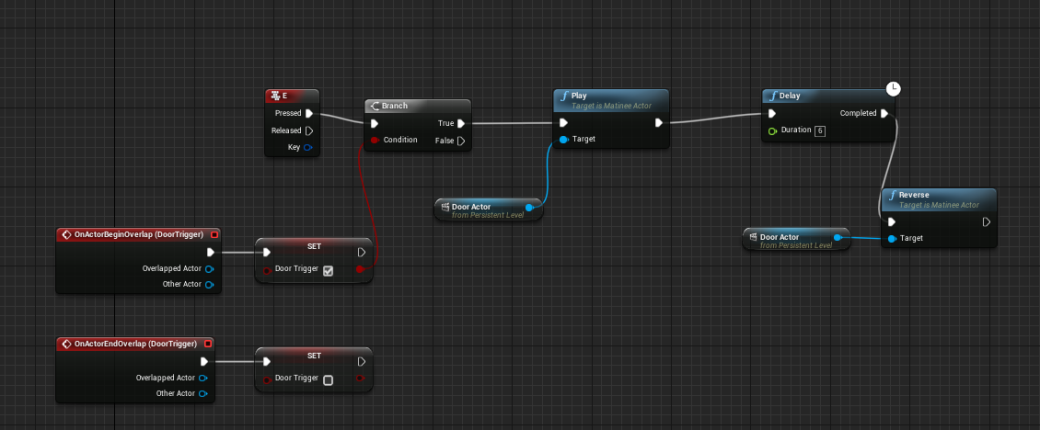
Once this button was created and I dragged it into unreal I had noticed that my trigger box was not working as I could open the door from anywhere using the E key. This took me a long time to fix as I could not work out where I had went wrong, so I followed a new tutorial and got it working.

Door with button.PNG

This is the Blueprint of the Box Trigger that activates the animation. The player must be in the trigger box and when E is clicked then the door will open.

Trigger Box.PNG

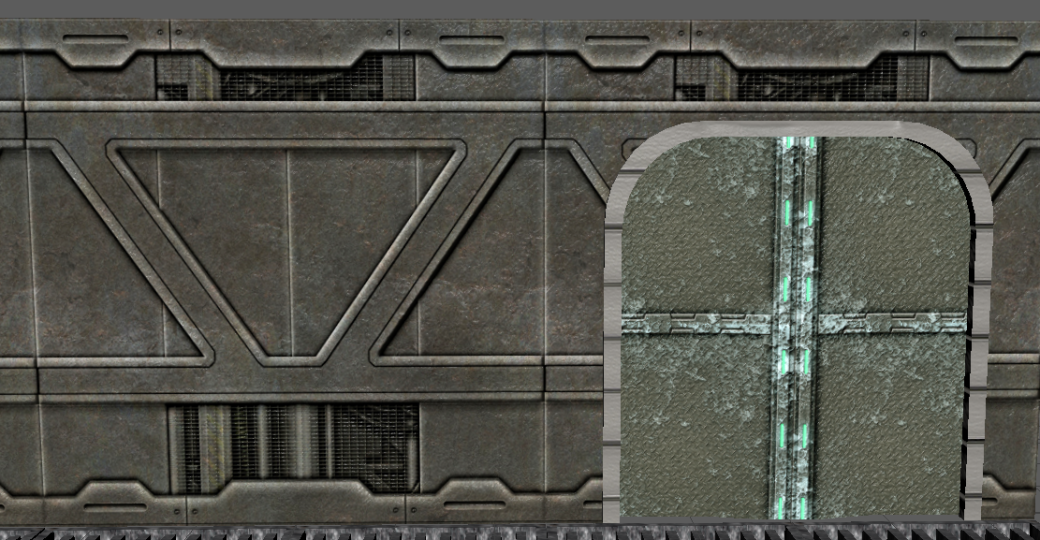
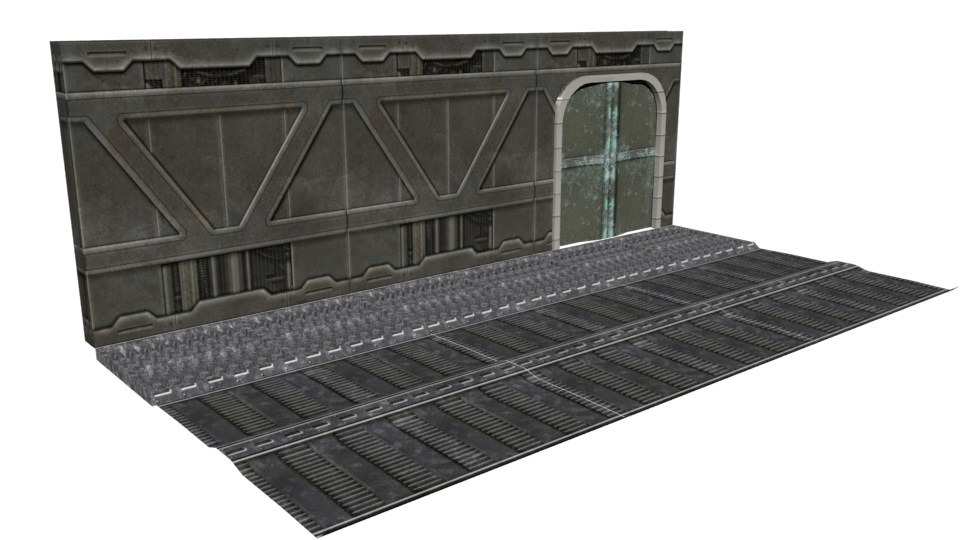
After the button was sorted out I began to create a window panel for the wall I had already created. I did this by creating a rounded square shape and used a boolean to remove it from the wall. I think quadrangulated the wall so that there were no edges that were not supposed to be there. I then added a window frame with a rounded thick window in it.

Wall Window

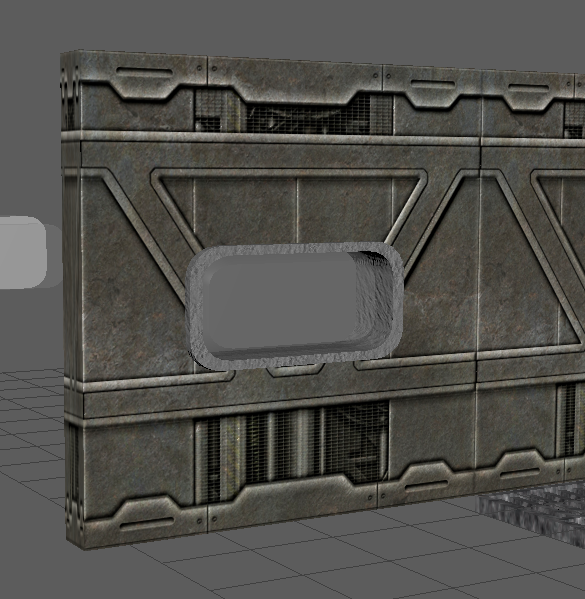
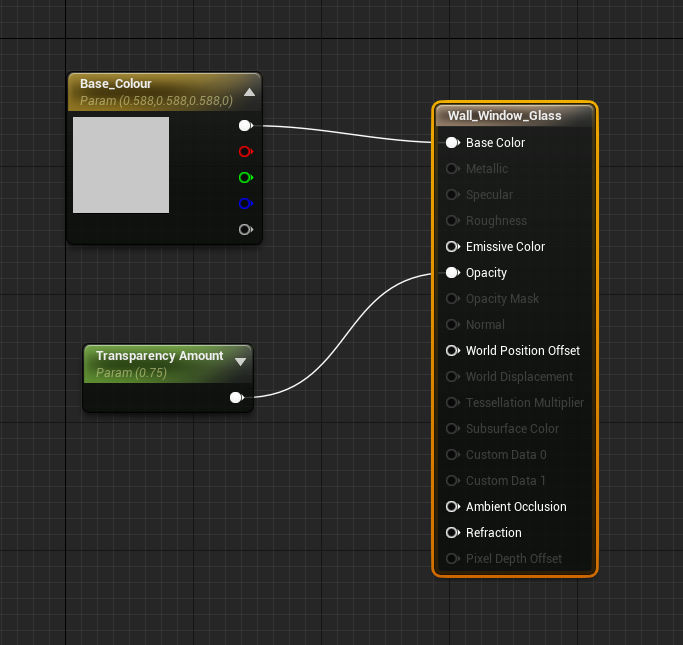
The texturing was not too hard for the window frame and window however when I imported the items in Unreal there was no transparency on the window. This was because the opacity setting must be added separately within unreal. I did some research into how to do this by looking at the unreal documentation.  I had to click into the Glass Texture and add the component.

Transparency

As I had created a window for my environment I began to further increase the size of the level by beginning to create a new room. So far I have only created the floor panel for this room.

Room floor panel.PNG

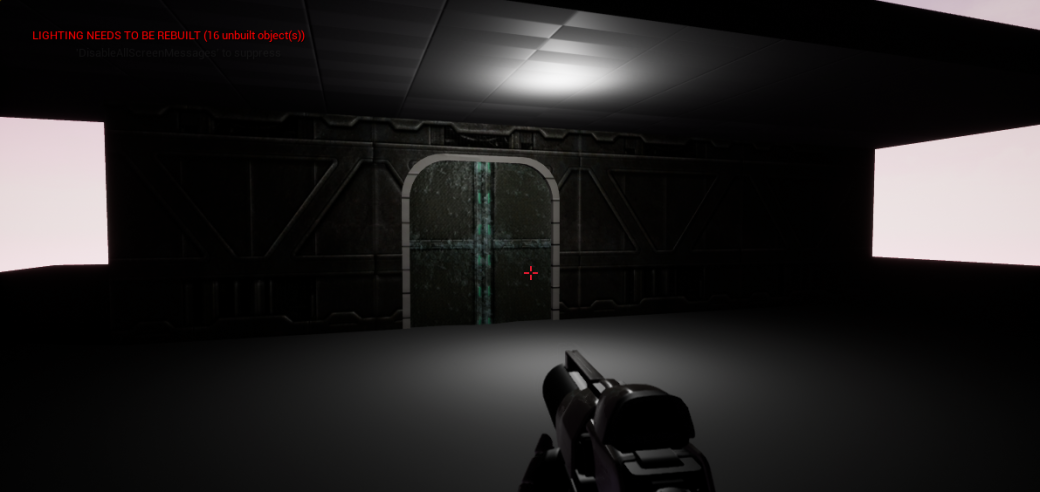
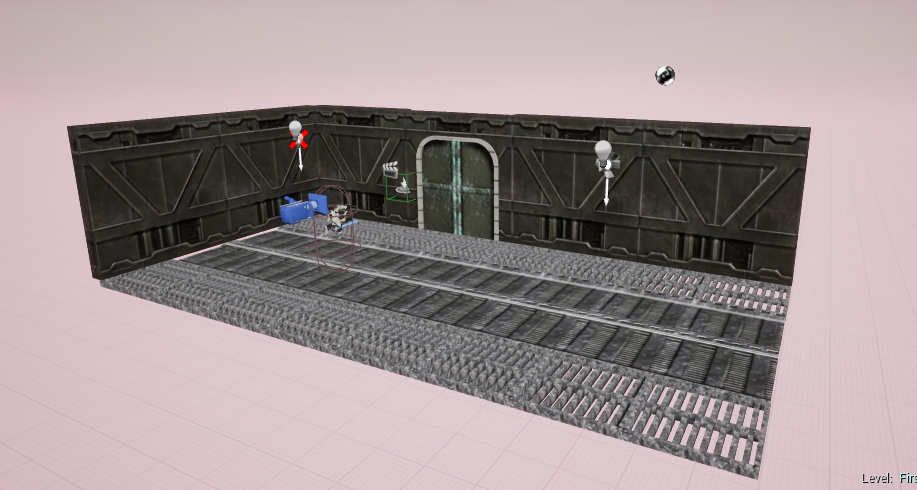
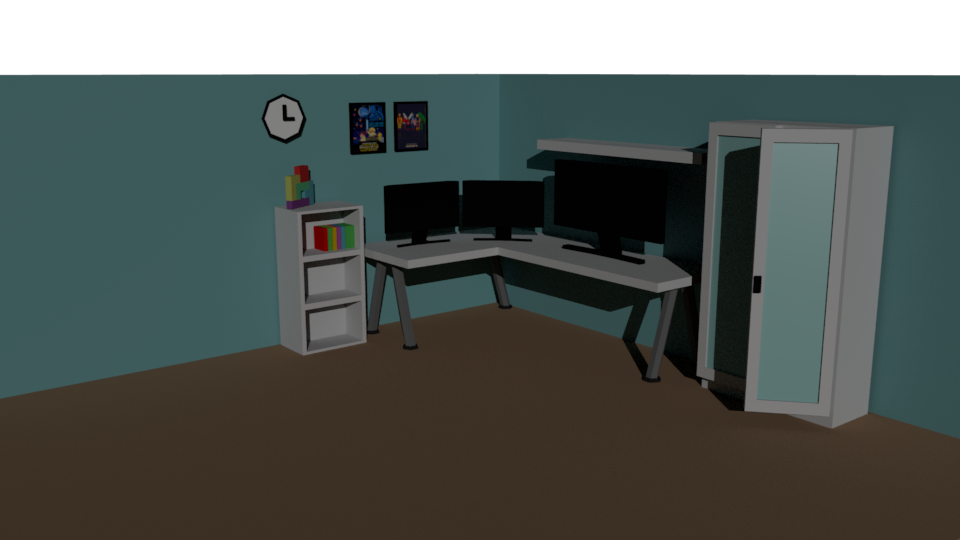
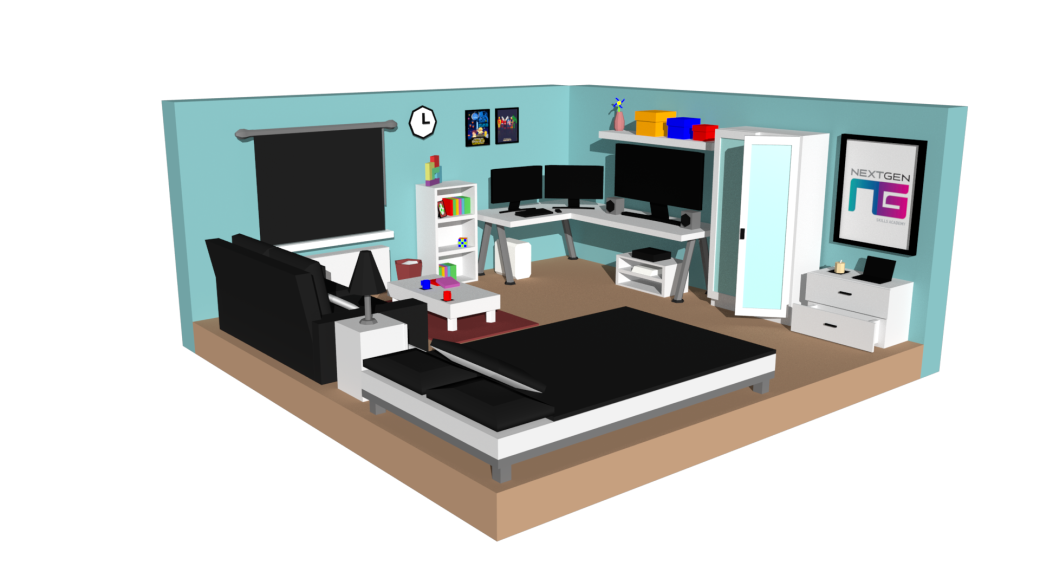
This is an up to date preview of what my level currently looks like.

Unreal Screenshot day 3.PNG

Home Project – Modelling a Bunker – Getting Started

Yesterday I had decided that I would start creating a bunker so that I could begin to further develop my skills in Maya but also learn how to use the Unreal Engine. I had started this project by creating a simple and flat wall but with different maps. The next model that I began to create was a doorway and a door that would also fit into the same theme. Because of this I made the door look like it was thick and made of steel. To indicate where a door is and add the extra level of detail I also added a door frame.

Doorway.PNG

Door Maps.png

Once the Door was finished I exported that and the wall as an FBX and imported them into the Unreal Engine.

Unreal screenshot.PNG

As I had put a lot of hours into modelling and texturing these assets I decided to play around with some of the lighting features within unreal. This is what the scene looked like once I had removed the skylight and added in a point and spotlight.

Light test Unreal.PNG

Since I had created the wall assets of this room I chose to create a flooring next as this would be key for my player to stand on. As I am going for a underground bunker approach I decided to have the floor be in two sections. The main panel that is in the middle and also the grates on the sides of this panel. The grates allow me to be able to add more features under the scene such as pipes which will be added for more detail.

Flooring Maya.PNG

Floor Maps.png

This is a small snapshot of my environment within unity.

Flooring.PNG

After the Floor was finished I began to play around in unreal and research up on how I could Animate the door so that it could open. This gave me a bit of practise with the blueprints within unreal. The door is set up so that the player must press the E key on a trigger box that is connected with the door so that the door will open.

Door gif.gif

I had also found out about the Post processing volume cube that allows all the lights and other features to be affected by this cube to add a more atmospheric feel. This is what the level looks like so far, this will a lot as I begin to work on it some more.

This is what the assets look like so far rendered in Maya using Arnold.

So far.png


Different Maps – Research & Practise

I have spend the majority of the day researching different themes and trying to think of an idea that I could do as a little home project over the next few weeks. I have tossed around a few different ideas and so far I like the idea of creating a bunker. Because of this idea I began to research into different mapping methods within maya and refreshing my memory. While researching this I found a piece of software which creates different types of maps based off of the texture you plug into it. Using this software I created a simple wall in maya and attached all of these maps. The result was much better than I had expected.

wall.png

From left to right I have included;

  • Colour map / texture
  • Spectacular Map
  • Displacement Map
  • Normal Map
  • Occlusion Map

Wall2.png

This wall panel I have created could be simply copied and pasted and used as an asset throughout my project to created corridors.

wall 3

Rick’s Portal Gun – Fan Art (Maya)

As I like to try and do a broad range of modelling I chose to do a little bit of fan art today as previously I have done a realistic object. I chose to create the portal gun from Rick and Morty as I am a very big fan of the show and the style of it is very unique. The portal gun itself turned out very well and I think I got the proportions of the item accurate to as it looks in the show. The image below is what I used for reference.

Portal Gun Inspo

For this I simply used blinn shaders however for the part on top I used a ramp shader with several different shades of green on it to allow a glowing effect.

no render

I also added a specular glow to the shader so that it looks like it lights up as it does in the show, sadly I could only get this to work within the Maya renderer and not Arnold.

Maya Render with Glow

The Arnold renders make the model look far more realistic however I could not get the Ramp shader to work with this renderer. However overall I am happy with how it turned out.

Arnold Render

Once the render was done I decided to export the model as an FBX and import it into unity so  I could have a little play around with the particle effects system. This was just a little mess around so I could get familiar with the system, it doesn’t look to great but for a first try it was not too bad.

GIF

This is my professional display of the model.Portal Gun Presentation

Fire Axe – High Poly (Maya)

To get back into the swing of things using Maya I chose to create something simple that could also include detail, I went with a fire axe as my chosen model. This had taken me roughly 4 hours to make including all the textures and adding the normal maps. One thing that I had struggled with on this model was finding how to add bump/normal maps into Arnold renders. I had found that the reason the maps originally did not show up was because I did not have them installed into an Arnold shader and instead i was using the standard Maya blinn. This problem was a quick fix once I knew what I was doing.  I used a few different reference images for the colour scheme of the axe and also the proportions. Overall I think I had done a good job with the textures and the model itself. The UV unwrapping process was also pretty straight forward.

Axe ArnoldCombo

This was my attempt at displaying the axe I created professionally. Axe Presentation

My Bedroom – Low Poly (Maya)

As it has been a few weeks since I have used maya I chose to come back to the software by creating a low poly environment based on the basic layout of my bedroom, I also improvised in certain locations just to make the room more interesting and this also allowed me to develop some other low poly items that you would not normally find in my room.

Capture

I started this by creating my desk and monitors first, once this corner of the room had been done i began to branch out from there and it slowly began to fill.

Capture 2

I went with the same overall colour scheme as my bed room however I wanted to take a minimalist approach and to help with this I kept the objects as one solid colour.capture 3

This is the finished project and I may begin to develop this further by creating other rooms in my household as each room would be unique in the terms of objects and furniture.  I chose to render the scene out using Arnold and I could not have been happier with the way it turned out.

capture 4

wireframe combo.png

capture 5 - background.png