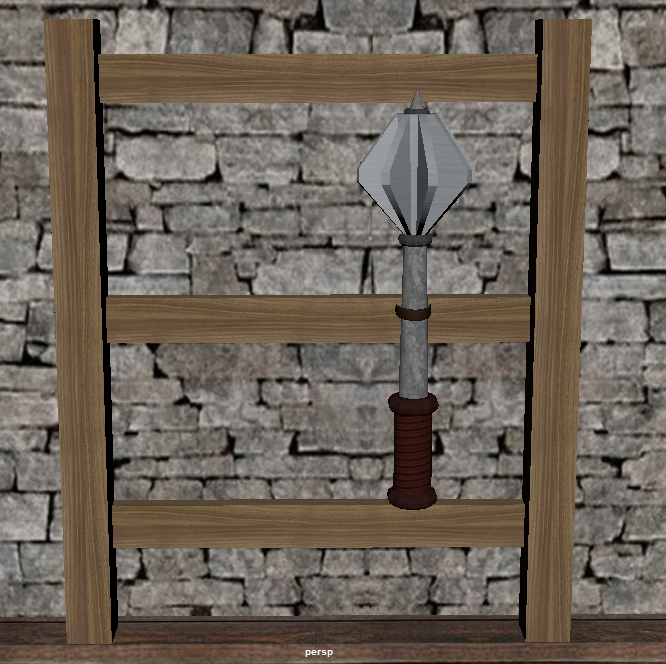
One thing that my room was lacking from its theme was weapons, so using knowledge from previous models I began to develop some weapons that could help fill my room. First I needed a weapon rack which I simple made by creating a few different pole shapes, I then textured the poles using a light wood texture then placed this onto the wall of my room. This was really easy to create so I will not bother going into detail.

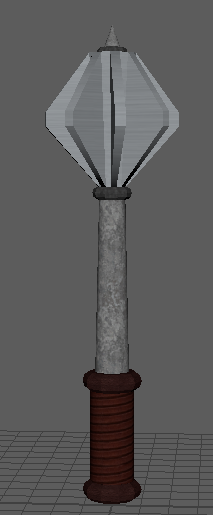
Next up was a weapon that I could place onto this rack and the first thing that sprung to mind was an iron mace. This model consisted of two cylinders, one for the hilt and another for the pole. To separate these I inserted three torus shapes. One placed at the bottom of the hilt, one at the top and another separating the pole from the top of the weapon. I tried to put a lot of detail into this model so I used numerous textures. For the top of the model I created another cylinder and extruded every other face to create the old style mace. So that the top did not look flat I also added a spike. This model took me about an hour and a half to create and texture.
Here is an image of the mace on the weapon rack in the room.
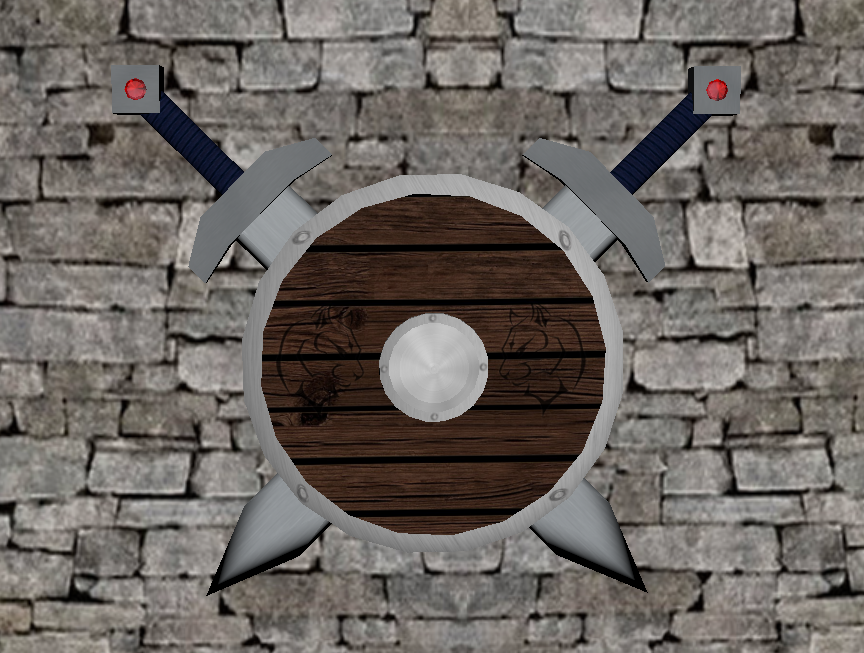
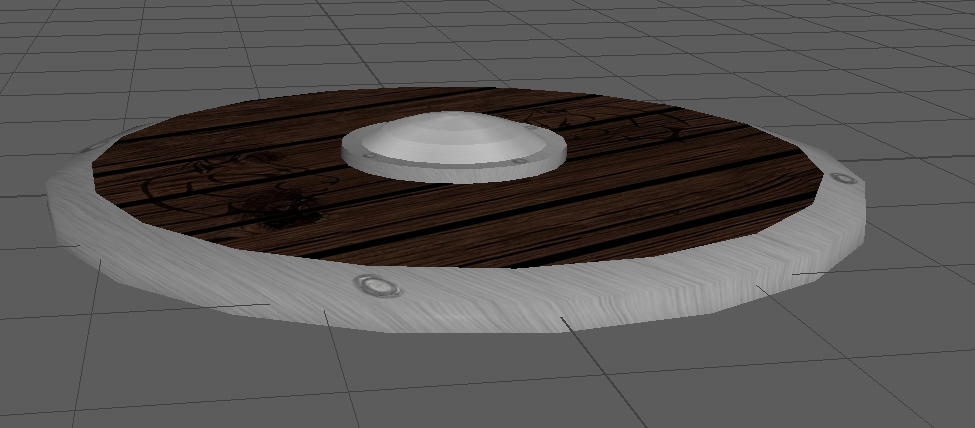
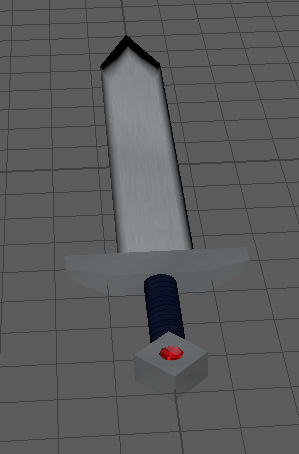
Next up I decided to create an iron sword and shield, however half way through the creation of the shield I decided that it would be better if I place the sword and shield on the wall rather than the rack to help add detail into the walls. The shield was very easy to create and I had no trouble as it was a flat cylinder that had some extra detail through the use of the extrusion of faces. I made the shields middle wood and the inner and outer edges iron. I took inspiration from the Guards city shields from Skyrim. Even though I created the shield first the primary goal of this would be to compliment the iron sword that I would later create however they ended up complimenting each other.

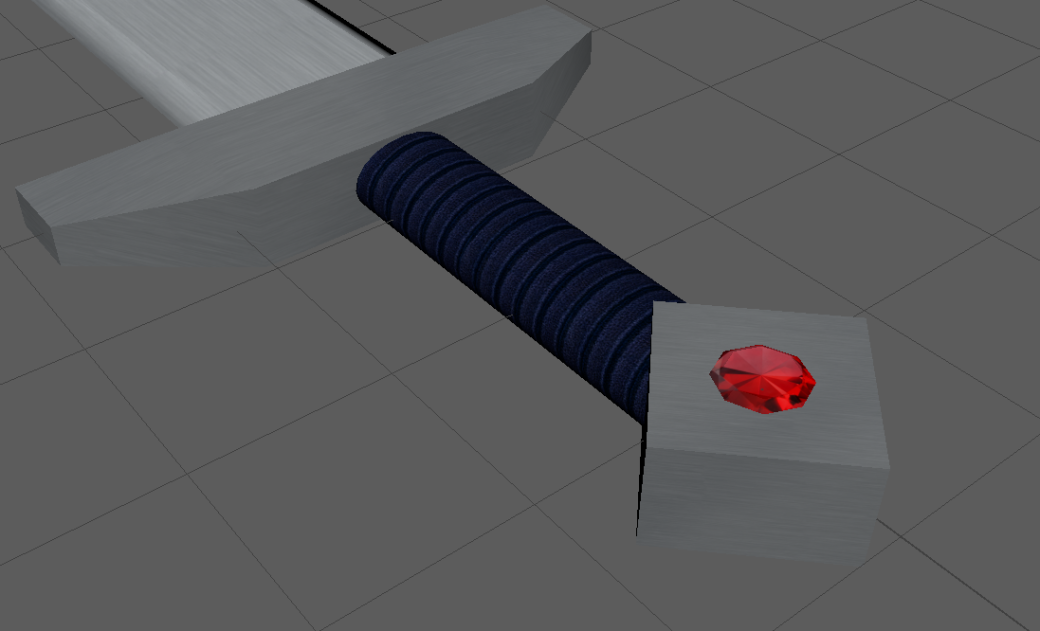
After the shield was done I began work on the iron sword, this did not take too long to model however UV unwrapping and texturing took a while as i experimented with numerous silver textures until I found one that I thought suited the sword. For the hilt I used the same texture as the one on the mace however I recolored it blue as I thought it suited the silver blade. The sword was built up in 4 parts, the blade, the cross guard, the hilt and the bottom of the hilt. However the bottom of the hilt looked rather plane so I chose to create a small gem shape and place that into the bottom of the sword.
Once I had finished the sword and shield I placed them into the room and I was extremely happy with the result.