My Portfolio – Feedback

Feedback – “Slightly busy slides – I like the development arrows but I would like maybe bigger images of the models. Think about the organisation of your slides – nice big hero shots – no slides should have more than 3 or 4 images on preferably just one. Think about the hero shots. I love the inclusion of the UVs and textures with multiple skins. Strong 3d work. Good experimentation with animation – focus on polishing the animation rather than the quantity of the animation. Great experimentation with VFX work, leading to professional quality work. Good doodles to explain game design ideas – always use images to explain your points rather than text. Good gameplay videos to demonstrate your work. Careful of pasting masses of code – be nice and specific with what you have done and how it works. Very reflective – telling us how you plan to improve which is good. Think about which areas you are most interested in and produce quality work in that area.”

From this feedback I will –

  • Put three or less images per slide
  • Give significant images there own pages
  • Create high quality Animations
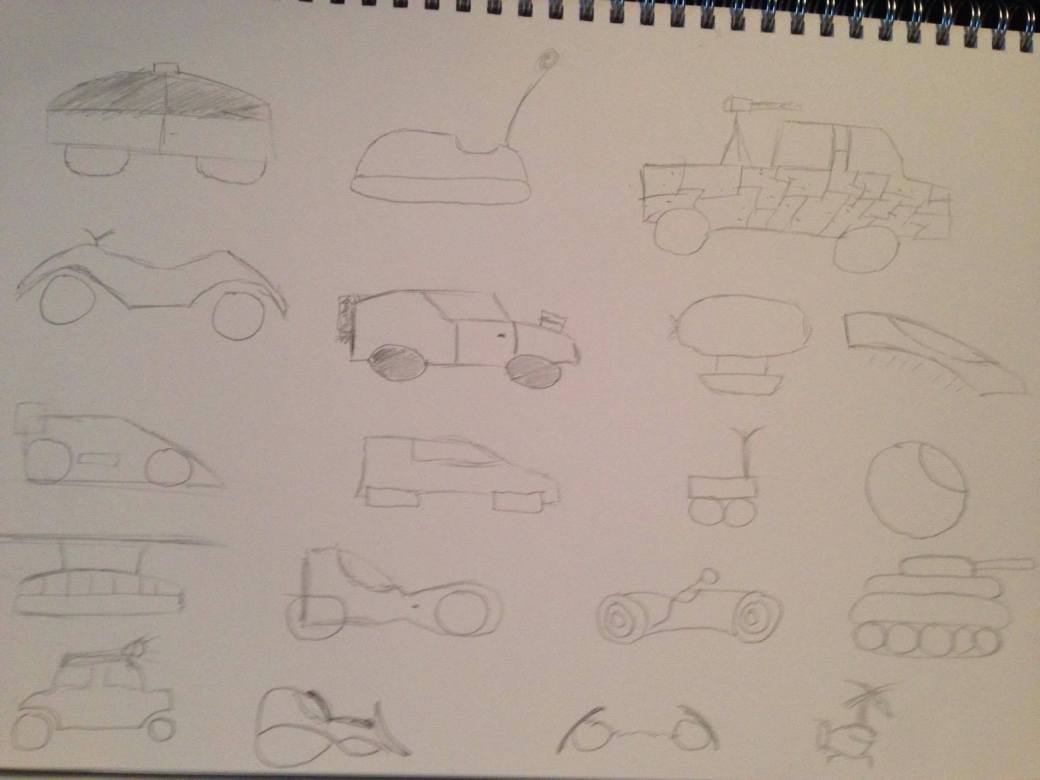
  • Use more images rather than text when explaining games story
  • Continue to self reflect
  • Try and choose a focus point for my work

Unity Horror Project – Door/Key Mechanism & Main Menu

After completing the flashlight I downloaded an assets package from the store which included a building that I could use in my game.  The player could go up the building and click on the door and it would make a noise as if it was locked, and a little debug log will show saying that there is a key nearby. Once this has been triggered I added in a key that can be collected by the player, using this the door can be unlocked. Sound effects have been added appropriately. I also added some more models into the scene for environmental reasons. Other than improvements to the main scene I also created a new scene which would be the main menu. I created two buttons; one which starts the game and one which will exit the game. When exiting there is also a box that pops up asking the player if they are sure they would like to quit.

Door Controller Script – This allows the door to be locked unless the user has a key, sound effects have also been added to this for extra immersion.

door-controller-codeInventory Item Script –  This is the code that would go on the key allowing the player to pick it up.

inventory-item-code

Inventory Script – This is the script that goes on the player giving the an inventory.

inventory

Button Manager Script – This is the code that goes onto the GUI text that will be the button. It allows scenes to be dragged onto the button so that the user can access them.

button-manager-code

Quit Menu Script – This is the script that will go onto the quit button. Instead of immediately quitting out the game the user will be asked if they are sure they want to quit.

quit-menu-code

This is the game in action so far –


Dystopian Vehicle Sketch Designs

Using my research from last week I began to draw up a few sketches of different dystopian style vehicles. They are built up from different shapes and can come in many different styles. In these sketches I only drew the basic shell of the vehicle and I have not designed the detail for what service they will be for yet however many of them can be adapted for any service. A  Dystopia can look very different, it may be an apocalyptic desert or a run down city or something entirely different. Due to this my designs can be adapted to these environments depending on what I choose on a later date.

vehicles

Unity Horror Project – Introduction & Flashlight

Over the past couple days I have been trying to get a little more familiar with Unity. To do this I began to follow different tutorials to try and create a horror game within the engine. A few things I have learnt on my own and used initiative for but other things I had to look up on the internet. So far in the game I have inserted a terrain and added trees, the grass, some hills and a road. Other than this I have also downloaded a car model and a fence model and I have added them into the scene. These have mesh colliders on so that the player can not walk through them. I also added my flashlight in that I had created on the previous night; this was positioned in front of the main camera so that it looks like the player is holding it. I also created a script that would allow the light to be turned on and off along with a sound effect that is played when this happens. I added a sound effect to the car that has a spatial blend on it and there is also background noise to add atmosphere and tension. There is a spotlight which is the child to the main camera which means that the light moves with the player and looks like it is coming from the flashlight.

code

Maya – Developing a Flashlight

In my free time I have decided to begin creating different assets that may be used in games that I create in the future, they may or may not be used however it will help develop my skills in the software. The first thing that came to mind that I could try and create was a flashlight. I had used previous methods I had learned to create this and I then textured it. I applied the texture to two separate shaders, one for the bulb and one for the rest of the flashlight. I did this so I could add some incandescence so that the bulb actually looked like it was lit. I then placed a spotlight where the bulb would be and rendered an image to see what it could look like in game.

This slideshow requires JavaScript.

My Ident – Planning

The first step in the creation of my own indent was to do the planning for the animation. This is because in a working enviroment I would not make it up as I went along. I started by looking into other animations to get a feel of what I wanted to do. Other idents include the name of the company, as I do not have a company name I decided upon using my last name. Sometimes the name is revealed near the end of the animation, for example in Nickelodeons Idents. From the research I create a synopsis and a list of what would happen in my animation. Through this I could also decide on what assets I would need and from this I could create a storyboard to show a quick idea of what each scene will look like. My overall idea was to have a small robot character knock into dominos and this will spell my last name out.

Planning is important as you need to get a feel for the animation before beginning development. The research is necessary to get an idea of what animation you would like to create. The synopsis is the story ofthe animation whewreas the treatment is a list of what happens. The Assets are also necessary as this is what will be in the animation. Finally this can be compiled into a sotryboard and this can be used in the development of the animaiton.

Research Download – animation-research

Unity -2D Game development Timer

Before learning about the code behind implementing a timer into the game I had to learn about conditional statements. If something is conditional it will only happen under certain circumstances. In this case the condition will be if the time has reached below 0. If this happens then the level would reset. To implement this into the game i used an if statement within my ShipController script. This if statement asks if the time is below 0 and if it is then the level will restart.

timer